 Pin to board
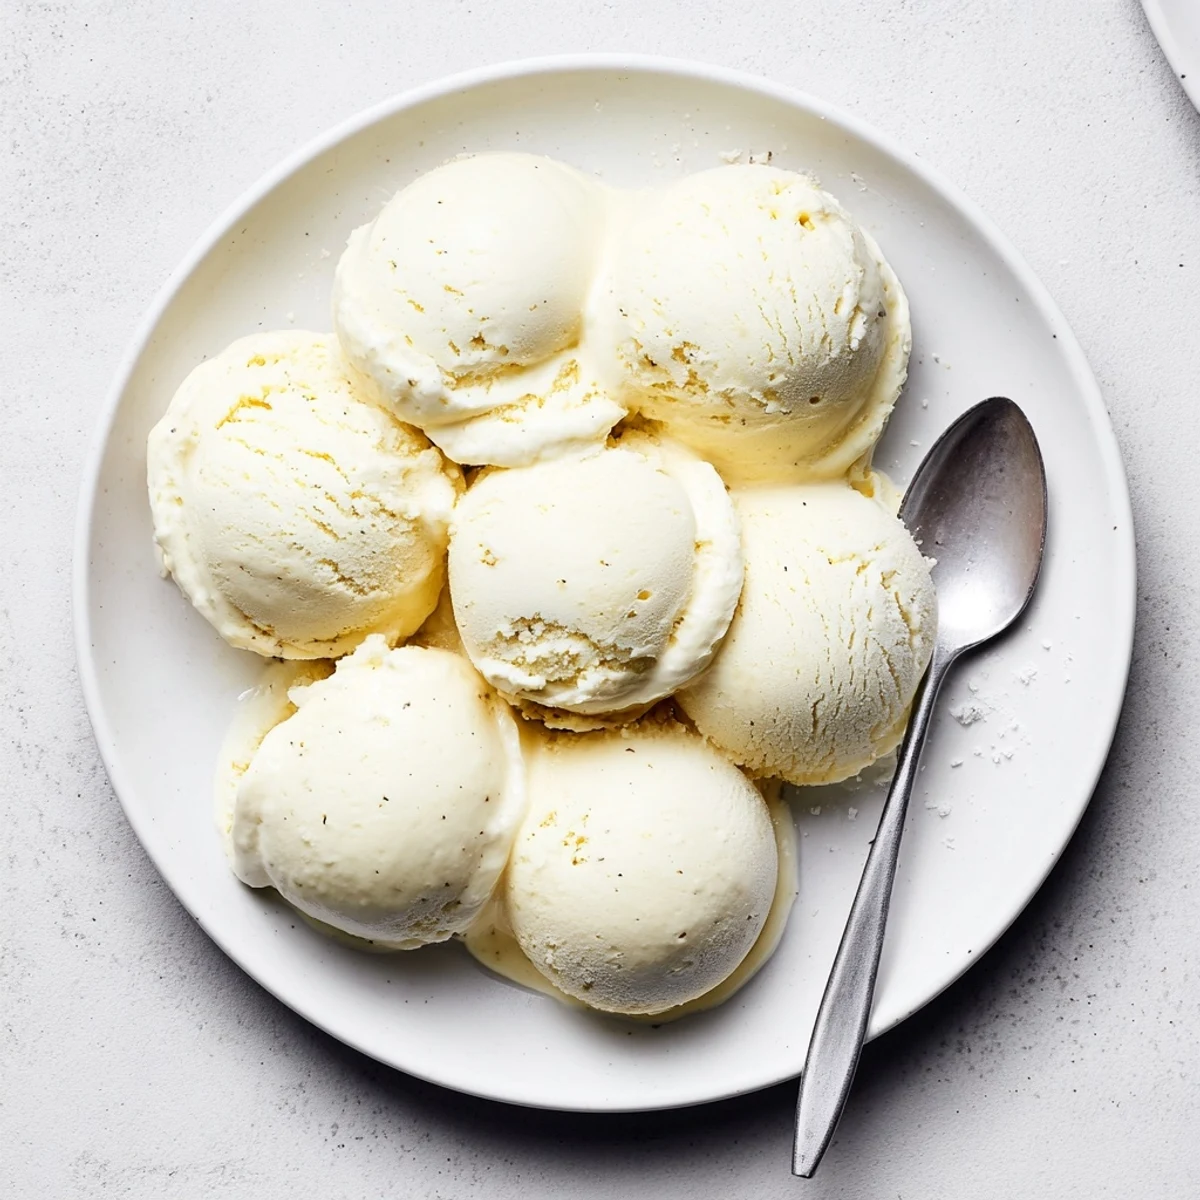
 Create velvety smooth vanilla ice cream using simple ingredients like heavy cream, whole milk, and egg yolks. This custard-based method delivers superior texture and rich flavor that store-bought versions can't match. The process involves tempering eggs, creating a smooth custard base, then churning until perfectly thick and creamy. Total hands-on time is just 30 minutes, plus chilling and freezing time for optimal results.
The summer my air conditioning broke was the summer I learned to make ice cream from scratch. Every evening I would stand over the stove stirring custard while sweat rolled down my back and somehow that made the whole process more rewarding. There is something deeply satisfying about transforming humble cream and eggs into something that tastes like pure indulgence. That broken thermostat turned me into a person who refuses to buy store bought ice cream anymore.
My neighbor Dave knocked on my door one August evening carrying a bowl of sad melting store vanilla and asked if I could do better. I handed him a spoonful of my freshly churned batch still soft and wobbly from the machine. He stood on my porch in complete silence for about ten seconds before asking if I would make a batch for his daughters birthday party.
Ingredients
- Heavy cream (2 cups): The fat content here is everything, do not even think about substituting half and half because you will end up with icy disappointment.
- Whole milk (1 cup): Balances the richness of the cream without making the final result too heavy on the palate.
- Granulated sugar (3/4 cup): Sugar lowers the freezing point which keeps the ice cream scoopable straight from the freezer.
- Salt (pinch): Just a tiny amount makes the vanilla flavor pop in a way that surprises people every time.
- Pure vanilla extract (1 tablespoon): Please use the real stuff, imitation extract will leave a chemical aftertaste that ruins all your careful work.
- Large egg yolks (5): These give the custard its body and that luxurious mouthfeel that separates homemade from commercial.
Instructions
- Heat the base:
- Pour the cream, milk, sugar, and salt into a saucepan and set it over medium heat. Stir gently until you can no longer feel sugar grains on the bottom of the pot but stop before you see any bubbles forming.
- Prepare the yolks:
- Crack those yolks into a bowl and give them a light whisk just to break them up. You are not trying to make them frothy, just combined enough to accept the hot liquid.
- Temper carefully:
- Slowly drizzle about one cup of the hot cream into the yolks while whisking like your life depends on it. This is the moment where patience prevents scrambled dessert.
- Cook the custard:
- Pour everything back into the saucepan and stir continuously over medium low heat. You will know it is ready when the mixture coats the back of a spoon and you can draw a clean line through it with your finger.
- Add the vanilla:
- Take the pot off the heat and stir in the vanilla extract. The warmth releases the aroma beautifully and your kitchen will smell incredible.
- Strain and chill:
- Pour the custard through a fine mesh sieve to catch any tiny cooked bits then let it cool to room temperature. Cover and refrigerate for at least four hours or overnight if you can stand the wait.
- Churn it up:
- Pour the thoroughly chilled custard into your ice cream maker and churn according to its instructions until thick and creamy like soft serve.
- Freeze to finish:
- Transfer the churned ice cream to a freezer safe container, press a piece of plastic wrap directly against the surface, and freeze for at least two hours before scooping.
 Pin to board
 Dave showed up to collect the birthday batch with his daughter and her eyes went wide when I opened the freezer. She told me it was better than the ice cream shop downtown and honestly that tiny review meant more than any cooking compliment I have ever received.
Getting Creative With Mix Ins
Fold in chocolate chips or swirl warm caramel into the churned ice cream right before that final freeze. Fresh berries work beautifully too but toss them in a little sugar first so they do not freeze into rock hard pebbles.
What If You Do Not Have An Ice Cream Maker
Pour the chilled custard into a shallow dish and freeze for about 45 minutes then stir vigorously with a fork. Repeat this process every 30 minutes for about three hours and you will get a surprisingly decent texture without any special equipment.
Storage And Serving Wisdom
Homemade ice cream is best eaten within a week because it lacks the stabilizers that keep commercial brands smooth for months. Let it sit on the counter for five minutes before scooping to save your wrists and preserve the creamy texture.
- Always press plastic wrap directly on the surface to prevent ice crystals from forming.
- A shallow wide container freezes more evenly than a tall deep one.
- If it gets too hard to scoop a quick ten second microwave burst works wonders.
 Pin to board
 Making ice cream from scratch is an act of patience that rewards you with something no carton can replicate. Grab a spoon and enjoy every single bite of your creation.
Recipe FAQs
- → Why use egg yolks in ice cream?
-
Egg yolks create a rich, custard-like base that adds creaminess and helps prevent ice crystals from forming. They also contribute to the smooth texture and enhance the overall flavor profile.
- → Can I make this without an ice cream maker?
-
Yes, though the texture will be slightly different. Pour the chilled custard into a shallow container and freeze, stirring every 30 minutes for the first 3-4 hours to break up ice crystals.
- → How long does homemade ice cream last?
-
Properly stored in an airtight container, homemade ice cream maintains best quality for 1-2 weeks. For optimal texture and flavor, consume within the first week.
- → Why must the custard chill before churning?
-
Chilling the custard for at least 4 hours allows flavors to meld and ensures the mixture is cold enough to freeze properly in your ice cream maker. This step is crucial for achieving smooth results.
- → What's the purpose of tempering the eggs?
-
Tempering gradually raises the egg temperature to prevent scrambling when adding hot liquid. This technique ensures a smooth, silky custard base without cooked egg pieces.
- → Can I reduce the sugar?
-
Sugar affects freezing point and texture, so reducing too much results in icy, hard ice cream. You can reduce by 25% maximum, or try sugar substitutes specifically designed for frozen desserts.
