 Pin to board
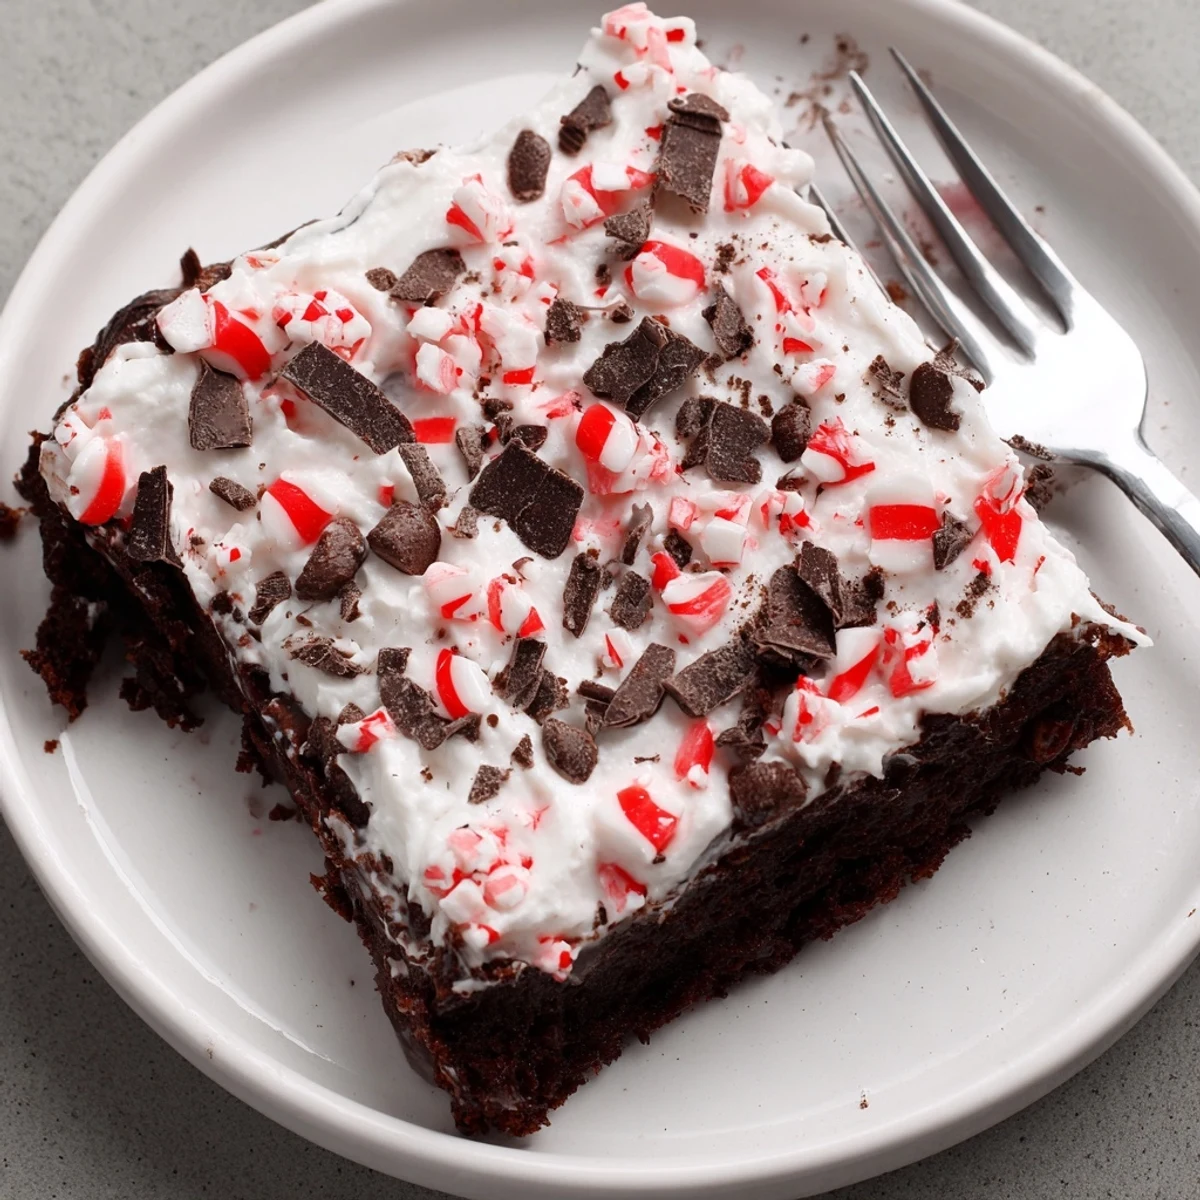
 This chocolate poke cake is baked until tender, then holes are poked across the surface so a peppermint-infused vanilla pudding can seep into the crumb. Chill at least an hour to set the filling, then smooth a layer of whipped topping and scatter crushed peppermint and optional chocolate shavings. Quick to assemble, the chilling step creates a cool, minty contrast to the chocolate base for easy slicing and serving.
The first time I made Peppermint Poke Cake, I was chasing the irresistible combination of chocolate and mint on a whim one blustery winter afternoon. The scent of crushed peppermint and melting chocolate wafted through my kitchen like a holiday invitation, even though the calendar hardly justified the sparkle. I couldn’t resist poking holes in the cake and watching the peppermint pudding sink in—there’s something oddly satisfying about it. Serving it chilled while the radiators hummed felt like a playful rebellion against the season.
One year my neighbor dropped by unexpectedly with a box of peppermint candies when this cake was half-assembled on my counter. We ended up laughing over who could crush the candies finer, making a happy mess together. By the time the cake came out of the fridge, there were more stories than sprinkles—and not a crumb left on the plate. It’s now my standby for spontaneous celebrating, planned or not.
Ingredients
- Chocolate cake mix: Starting with a boxed mix keeps things simple, leaving more room for experimenting with flavors or decorations.
- Eggs: Three eggs add richness and help create a sturdy yet soft base.
- Water: Just the right amount so the cake isn’t too dense—don’t skip the measuring!
- Vegetable oil: Brings a lovely moistness, and in a pinch, melted butter can be swapped in for extra depth.
- Instant vanilla pudding mix: This is the magic that seeps into the holes, making every forkful creamy and lush.
- Cold milk: Helps the pudding set perfectly and infuses the cake with cool freshness.
- Peppermint extract: A little goes a long way; it wakes up the entire cake with that refreshing kick.
- Food coloring: It’s optional but completely transforms the look—just a drop or two for a cheery blush.
- Frozen whipped topping: Once thawed, it glides over the cake like a cloud and makes serving effortless.
- Crushed peppermint candies: The crunch and sparkle finish things off; keep a few whole to press on top for show.
- Chocolate shavings or chips: Not essential, but who ever complained about extra chocolate?
Instructions
- Warm up the kitchen:
- Preheat your oven to 350°F (175°C) and lightly grease a 9x13-inch pan, letting the anticipation build as the oven heats.
- Stir up the batter:
- In a large bowl, combine the cake mix, eggs, water, and oil—mix until smooth and glossy, feeling the weight of the batter shift in your arm.
- Bake and test:
- Pour the mixture in, spread it out, then pop it in the oven for about 28–32 minutes; a toothpick should come out clean with just a few crumbs.
- Let it breathe:
- Cool the cake for about 10–15 minutes—just long enough so you don’t burn your fingers but not so long it loses steam.
- Poke with purpose:
- Grab the handle of a wooden spoon and poke holes every inch or so; you want enough for the pudding to sink deep and leave delicious traces throughout.
- Whip up the pudding:
- In a fresh bowl, whisk together instant pudding mix, cold milk, peppermint extract, and a hint of food coloring; after about 2 minutes it thickens to a dreamy blush.
- Peppermint pour-over:
- Immediately spread the pudding all over the cake, nudging it into the holes so every bite gets its fair share.
- Chill out:
- Cover the cake and let it rest in the fridge for at least an hour, letting flavors deepen and set.
- Crown with cream:
- Smooth the thawed whipped topping over the set cake so it looks like a winter wonderland.
- Peppermint finish:
- Shower with crushed candies and sprinkle on chocolate shavings—don’t hold back, more is merrier.
- Slice and serve:
- Cut into squares, serve chilled, and try to save yourself a piece before it’s all gone.
 Pin to board
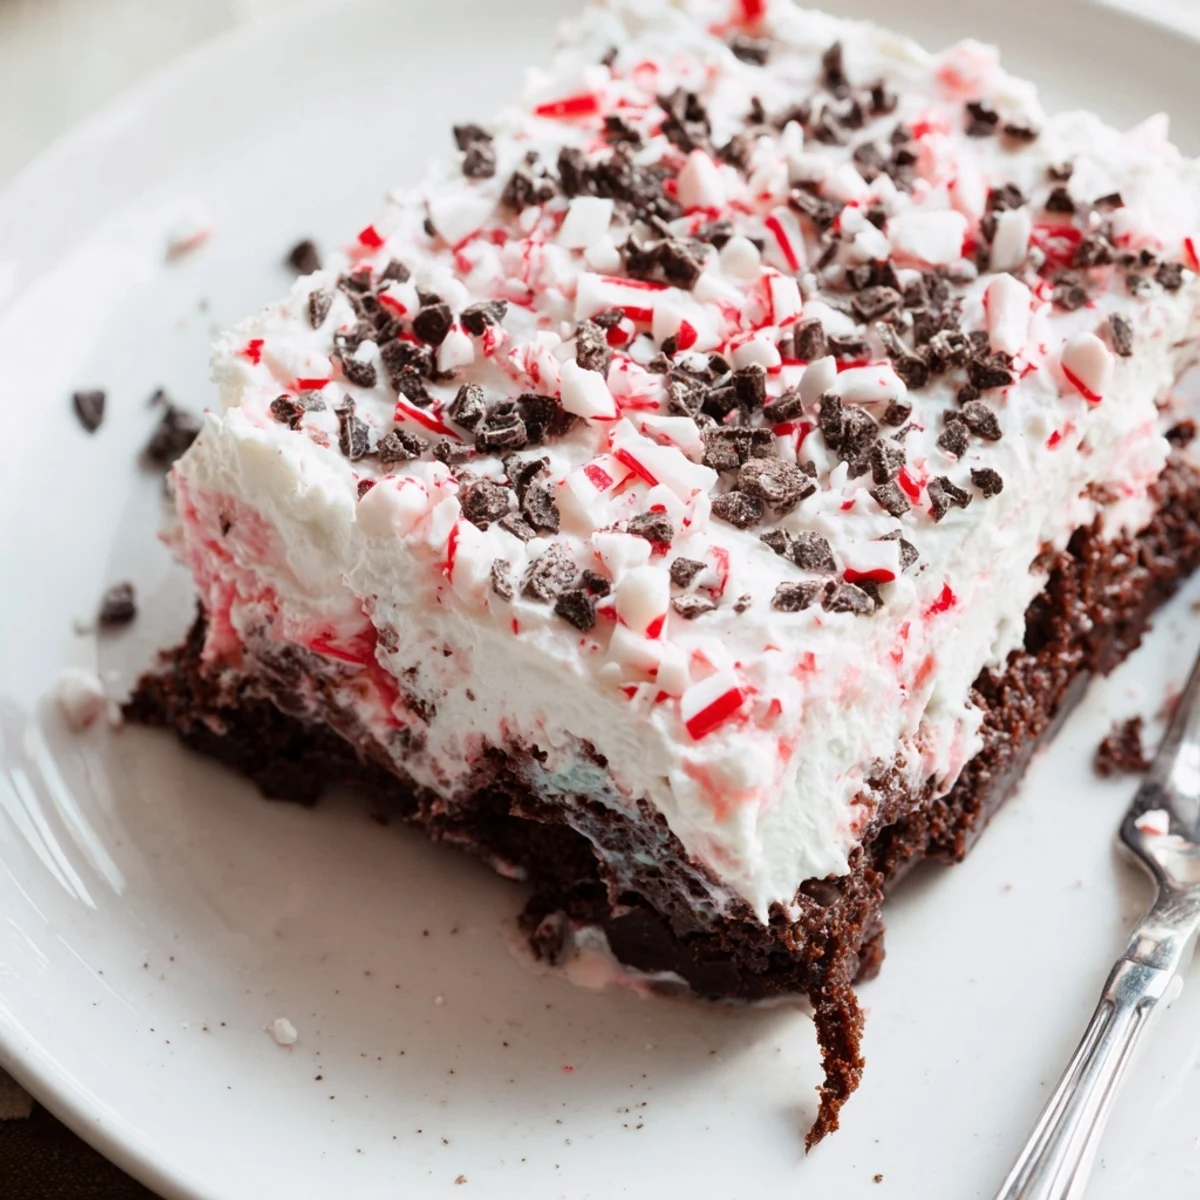
 The time this cake became the unofficial centerpiece of our neighborhood holiday potluck, I realized it wasn’t just dessert—it was everyone’s excuse to linger and swap stories long after plates were empty. There’s always at least one guest who asks for the recipe jot it down quick before the party ends.
Why Poke Cakes Steal the Spotlight
Poke cakes banish dryness by letting creamy fillings seep through every crumb—a technique I wish I’d discovered sooner. They’re also impossibly forgiving, so even lopsided holes or overzealous toppings can’t spoil the party. Whenever I see those colorful pockets on a slice, I know I’m in for something playful and unexpected.
Adjusting for Every Occasion
This cake wears any occasion well—once I swapped in red velvet mix for Valentine’s Day and showered it with pastel candies. During a hot summer, I went lighter on the mint and added crushed berries as garnish, making it just as refreshing. The base is all about flexibility, so let your pantry inspire you.
How to Crush Candy Without the Mess
Years of sticky counters taught me to pop peppermint candies into a zip-top bag and use a rolling pin or heavy jar to smash them—the noise is thrilling, but the cleanup is minimal. You can even hand the bag to kids for supervised fun, letting them join the action. While pre-crushed candies work, there's something about doing it yourself that adds just the right touch.
- Keep some candies whole for extra sparkle when serving.
- Scatter toppings just before serving so they stay crisp.
- Don’t forget to refrigerate leftovers so the whipped topping stays fresh.
 Pin to board
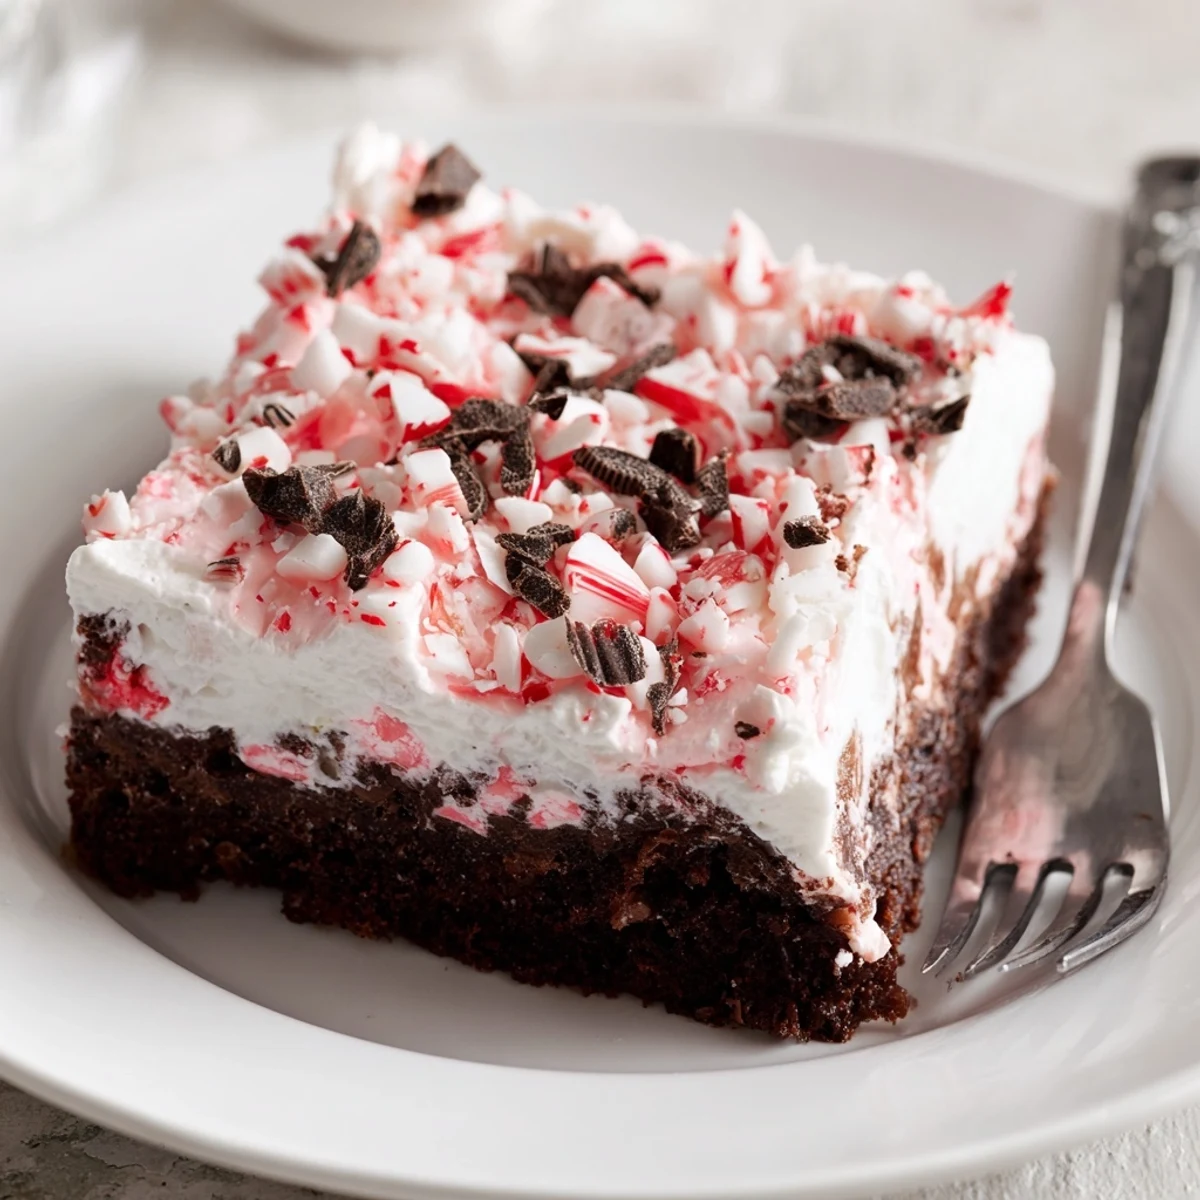
 What begins as a simple boxed cake transforms into something completely swoon-worthy with just a few extra steps. I hope your kitchen fills with laughter and minty sweetness the next time you bake it.
Recipe FAQs
- → How do I create even holes without damaging the cake?
-
Use the handle of a wooden spoon for uniform holes about 1 inch apart. Press deep enough to reach the bottom third of the cake but avoid cutting through the pan; spacing keeps the filling distributed and prevents large gaps.
- → Can I use homemade pudding instead of instant mix?
-
Yes. A thicker cooked vanilla custard works well; cool it slightly so it still pours but won't be too thin. Adjust sugar and add peppermint extract to taste so the mint doesn't get diluted.
- → How long should the cake chill before serving?
-
Chill at least 1 hour to let the pudding fully set in the holes; 2 hours gives a firmer texture and cleaner slices. Keep the pan covered to prevent absorbing fridge odors.
- → What can I use instead of frozen whipped topping?
-
Lightly sweetened chilled whipped cream or stabilized whipped cream (gelatin or cornstarch) both work. For a richer finish, beat mascarpone with a little cream and sugar until smooth, then spread over the chilled cake.
- → How do I intensify mint flavor without overpowering?
-
Start with 1/2 teaspoon peppermint extract in the pudding and taste before adding more; small amounts go a long way. Fold in crushed peppermint candies for crunchy bursts rather than adding extra extract.
- → Can this be made ahead or frozen?
-
Make ahead and refrigerate up to 24 hours; add crushed candies just before serving for best texture. Freezing is possible but may change texture—freeze uncut, omit whipped topping, and thaw overnight in the fridge before finishing.
