 Pin to board
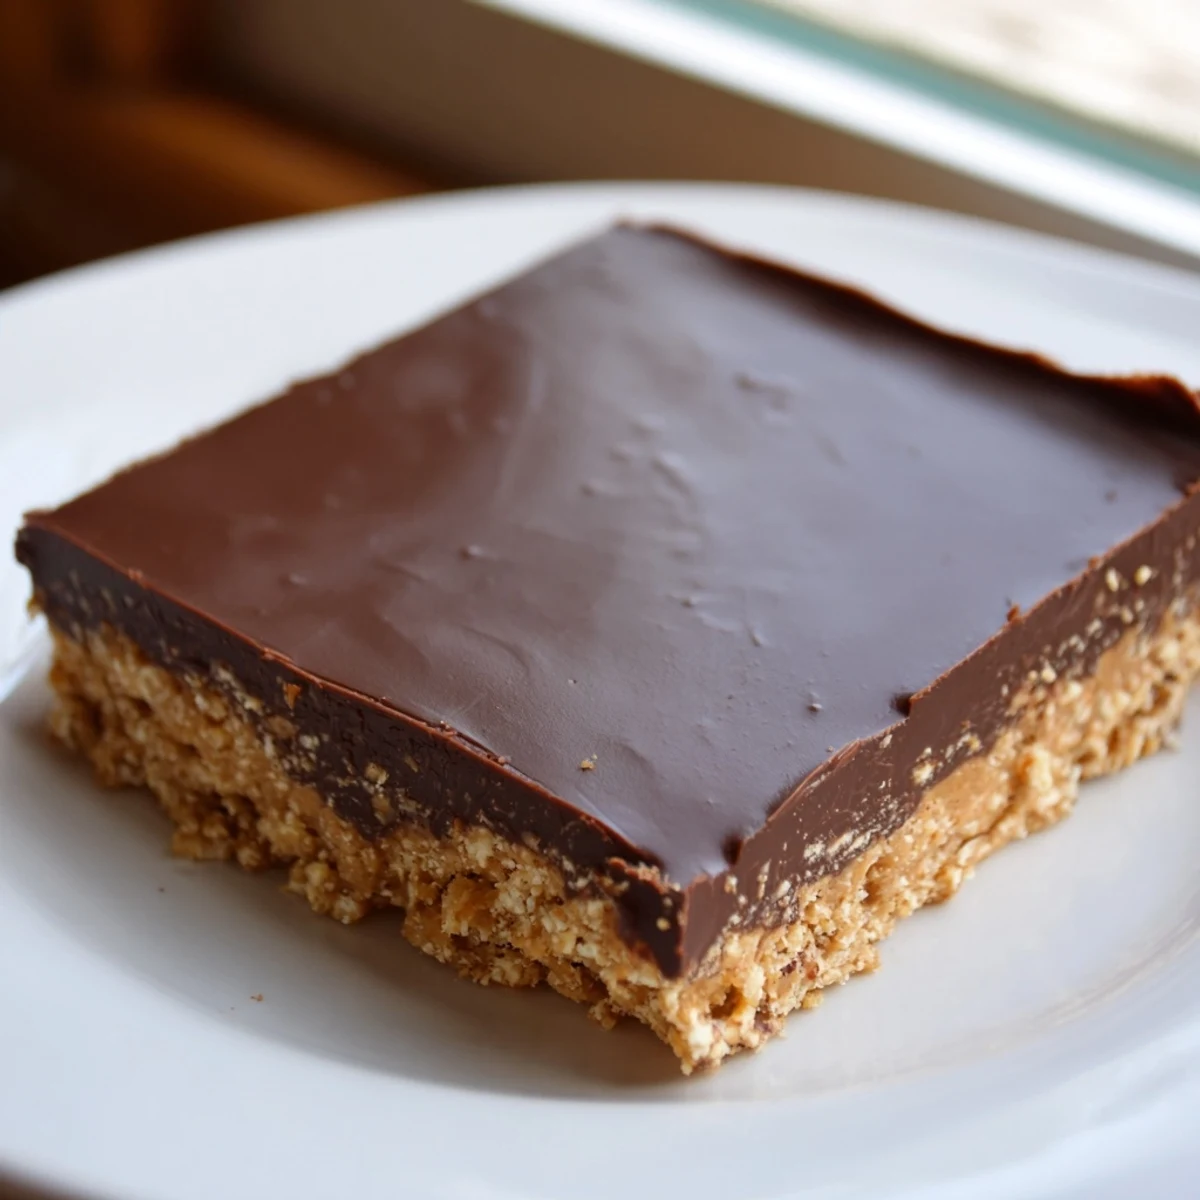
 These indulgent bars combine a creamy peanut butter and graham cracker base with a velvety chocolate topping. The no-bake preparation comes together in just 15 minutes, requiring only basic pantry staples. After chilling for two hours, the layers firm into perfectly sliceable squares that balance sweet and salty flavors. The texture contrasts beautifully—crisp graham cracker crumbs, smooth peanut butter filling, and glossy chocolate coating create a satisfying dessert experience.
The summer my air conditioner broke was the summer I discovered no bake desserts out of pure desperation, and these peanut butter bars were the undeniable winner of that sweaty experiment. Something about pressing that thick peanut butter dough into the pan with my bare hands felt oddly therapeutic, like edible therapy on a Wednesday night. The chocolate topping seized on my first attempt because I got impatient with the microwave, but by the third batch I had it down to an art. Now I make them year round, broken AC or not.
I brought a pan of these to a neighborhood potluck last fall and watched a man I had never spoken to eat four of them standing right next to the dessert table before dinner was even served. He caught me staring and just shrugged, saying his grandmother used to make something similar and he could not help himself. We have been friends ever since, bonded entirely by peanut butter and chocolate.
Ingredients
- Creamy peanut butter (1 cup for base plus 1/4 cup for topping): Use the regular kind, not the natural stir style, because the stabilized texture helps the bars set firmly and slice cleanly without crumbling apart.
- Unsalted butter (1/2 cup, melted): Melted butter binds everything together and adds richness, and using unsalted lets you control the overall salt level of the base.
- Powdered sugar (2 cups, sifted): Sifting is genuinely important here since any lumps will create weird pockets of grit in an otherwise silky base layer.
- Graham cracker crumbs (1 1/2 cups): These give the base structure and a subtle toasty sweetness that plain crushed cookies simply cannot replicate.
- Semisweet chocolate chips (1 1/2 cups): Semisweet strikes the right balance against the salty peanut butter layer without tipping everything into cloying territory.
Instructions
- Prepare the pan:
- Line a 9x9 inch baking dish with parchment paper, leaving generous overhang on two sides so you can lift the whole slab out later without wrestling it.
- Build the base:
- Stir melted butter and one cup of peanut butter together until completely smooth, then work in the powdered sugar and graham cracker crumbs until you have a thick, moldable dough that smells impossibly good.
- Press it in:
- Firmly press the peanut butter mixture into every corner of your prepared dish, using a spatula or your hands to get an even, flat surface with no gaps.
- Melt the topping:
- Combine the chocolate chips and remaining quarter cup of peanut butter in a microwave safe bowl and heat in 20 second bursts, stirring between each one, until the mixture is glossy and lump free.
- Spread and chill:
- Pour the chocolate mixture over the base and spread it into an even layer, then refrigerate for at least two hours until everything is completely firm to the touch.
- Cut and serve:
- Use the parchment overhang to lift the whole block out of the pan, then cut into 16 squares with a sharp knife, wiping the blade between cuts for the cleanest edges.
 Pin to board
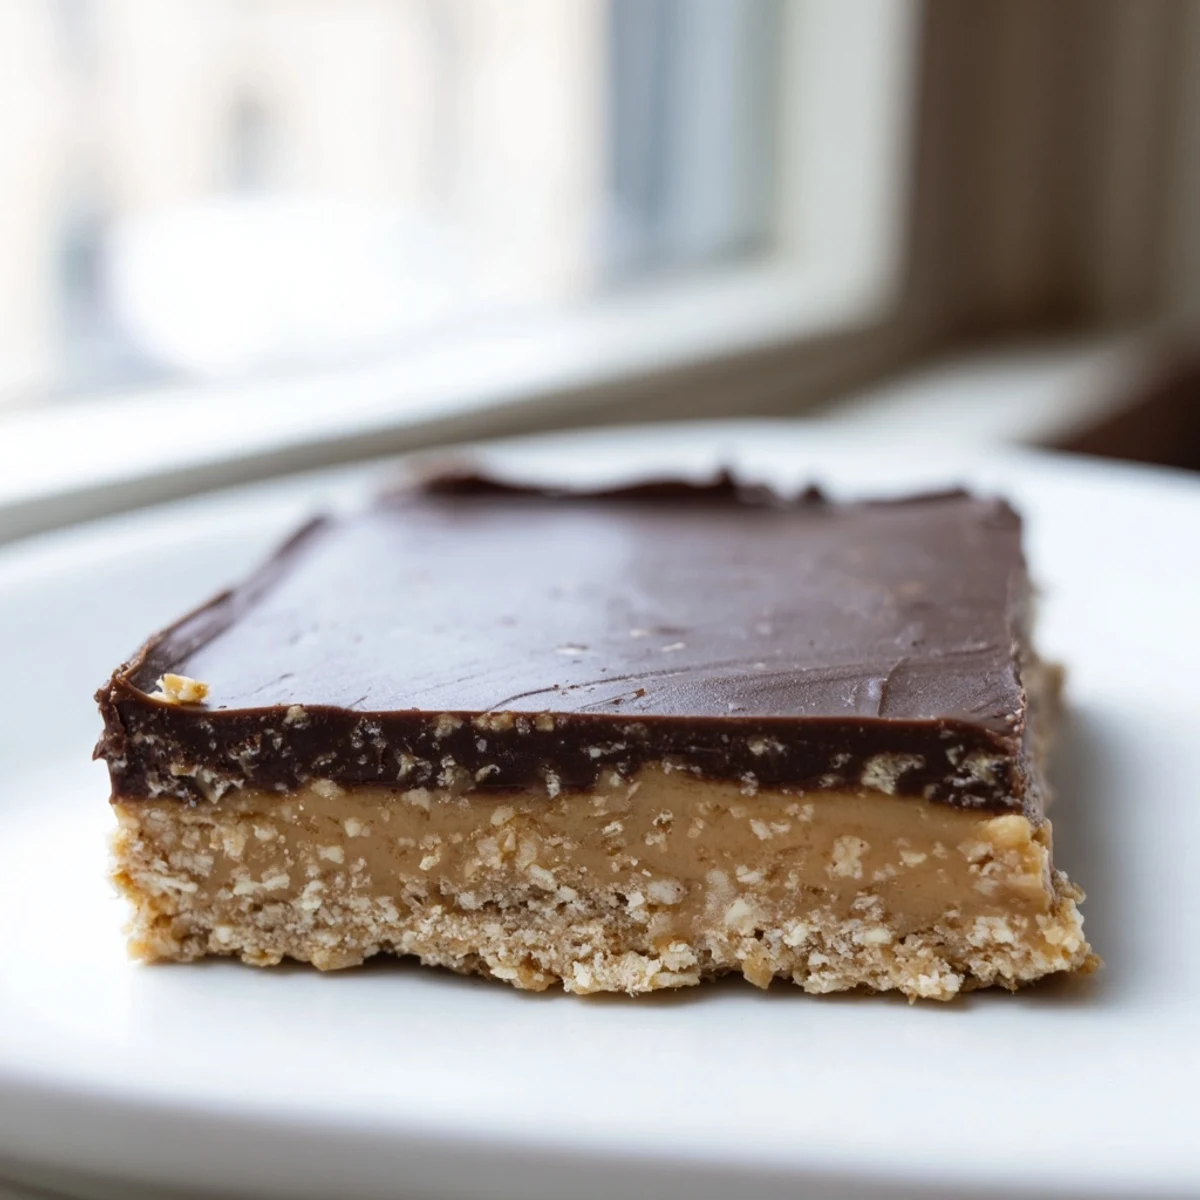
 There is something deeply satisfying about lifting that entire rectangular slab out of the pan by the parchment edges and seeing the clean layers waiting to be portioned. It feels professional, like something you would see in a bakery case, except you made it in your kitchen in sweatpants at ten oclock on a Tuesday.
Storage and Make Ahead
These bars keep beautifully in an airtight container in the refrigerator for up to a week, and honestly they taste even better on day two when the flavors have had time to mingle and settle. You can also freeze them for up to three months by wrapping individual squares tightly in plastic wrap and tucking them into a freezer bag. Let frozen bars thaw in the fridge overnight rather than on the counter so the chocolate layer does not develop condensation spots.
Swaps and Variations
Chunky peanut butter works wonderfully if you want little bursts of crunch throughout the base, and I have also stirred in a handful of mini chocolate chips right into the dough for double the chocolate impact. Digestive biscuits or gluten free cookies can stand in for graham crackers with no real sacrifice in flavor or texture. A light sprinkle of flaky sea salt across the warm chocolate topping before it sets takes the whole thing into fancy territory with almost zero effort.
Serving Suggestions
Cold bars straight from the fridge have a satisfying snap to the chocolate and a fudgy base, but letting them sit at room temperature for about ten minutes softens everything into a more tender, chewy bite. They pair ridiculously well with a glass of cold milk or a cup of hot coffee depending on your mood and the season.
- Dust the tops with cocoa powder right before serving for a simple bakery style finish.
- Crumble leftover bars over vanilla ice cream for an indulgent sundae situation.
- Always store them chilled or the chocolate topping will soften and leave fingerprints everywhere.
 Pin to board
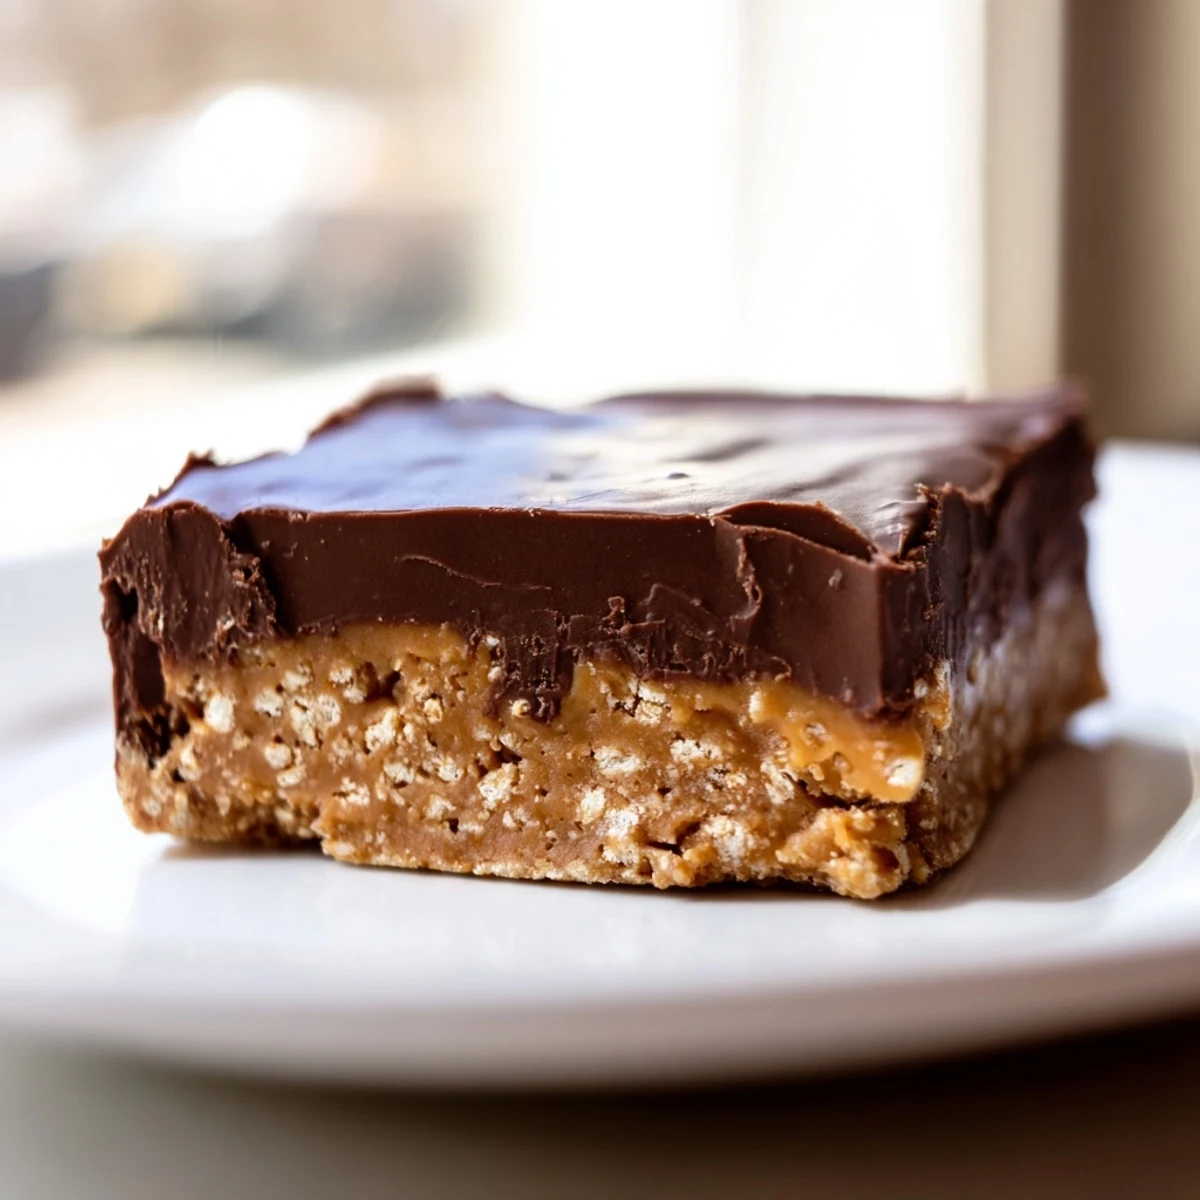
 Keep a batch in your fridge at all times and you will never be caught without something sweet when unexpected guests appear. They are simple, reliable, and exactly the kind of recipe that makes people think you worked harder than you actually did.
Recipe FAQs
- → How long do peanut butter bars need to chill?
-
Refrigerate the bars for at least 2 hours until the chocolate layer is completely firm and the base sets. For best results, chill overnight before cutting.
- → Can I freeze these bars?
-
Yes, place cut bars in an airtight container separated by parchment paper. Freeze for up to 3 months. Thaw in the refrigerator for 2 hours before serving.
- → What's the best way to cut clean squares?
-
Use a sharp knife warmed under hot water and wiped dry between cuts. Lift the entire slab from the pan using parchment overhang, then cut on a cutting board.
- → Can I use natural peanut butter?
-
Natural peanut butter works, though the bars may be slightly softer due to oil separation. Store in the refrigerator and use within 5 days for best texture.
- → How do I make these gluten-free?
-
Substitute graham cracker crumbs with gluten-free cookie crumbs or crushed gluten-free graham-style crackers. Ensure all other ingredients are certified gluten-free.
- → Why add peanut butter to the chocolate?
-
The peanut butter in the chocolate topping creates a creamier texture and enhances the peanut flavor throughout. It also helps the chocolate set properly without becoming too hard.
