 Pin to board
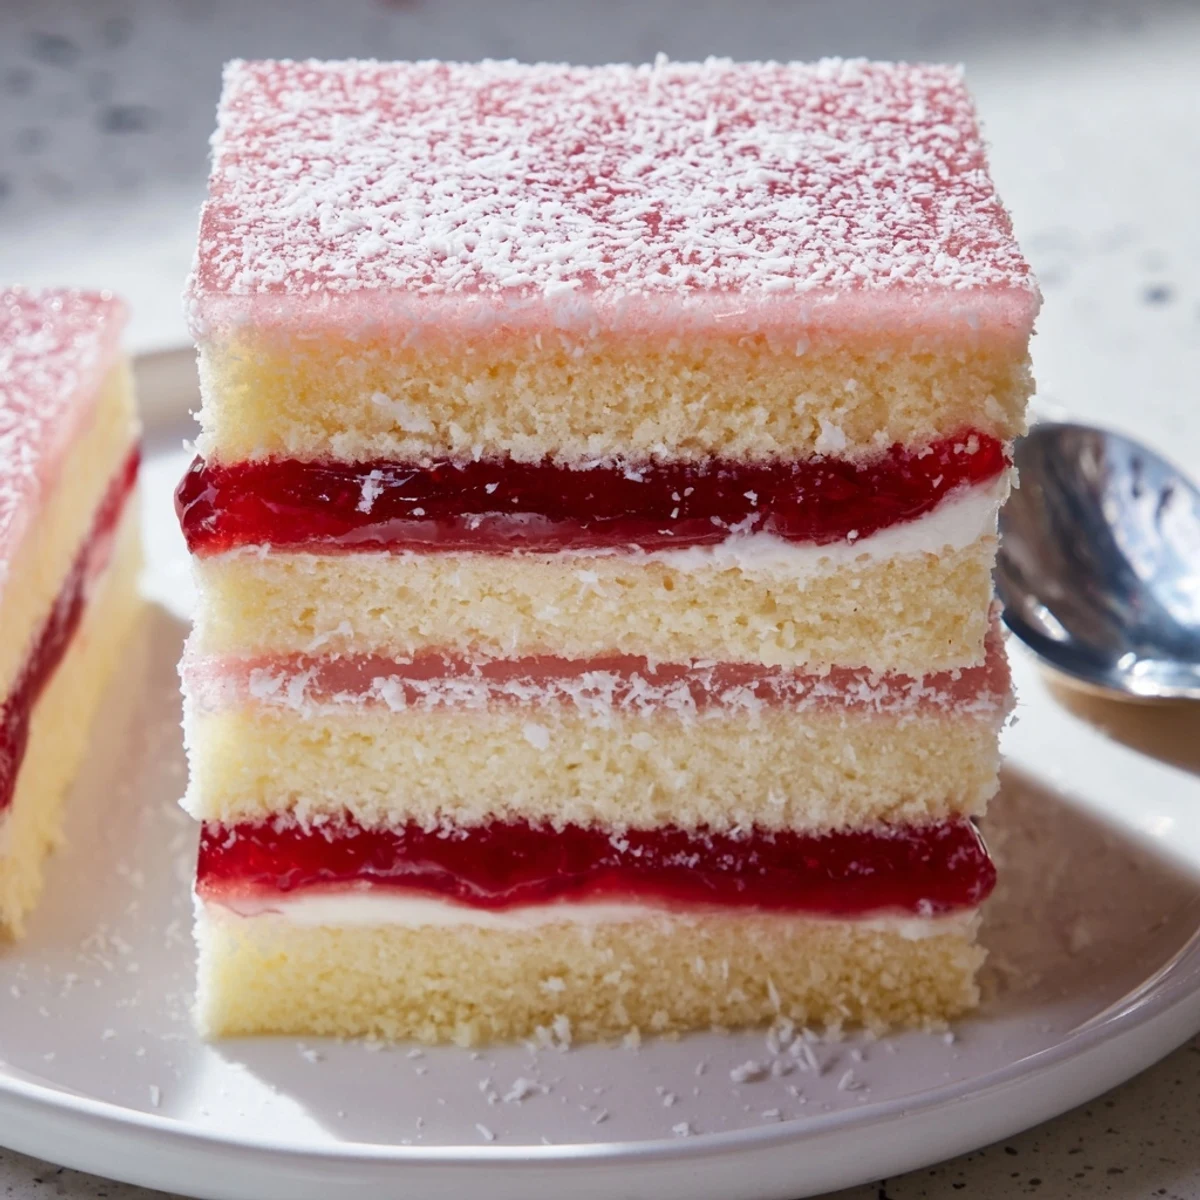
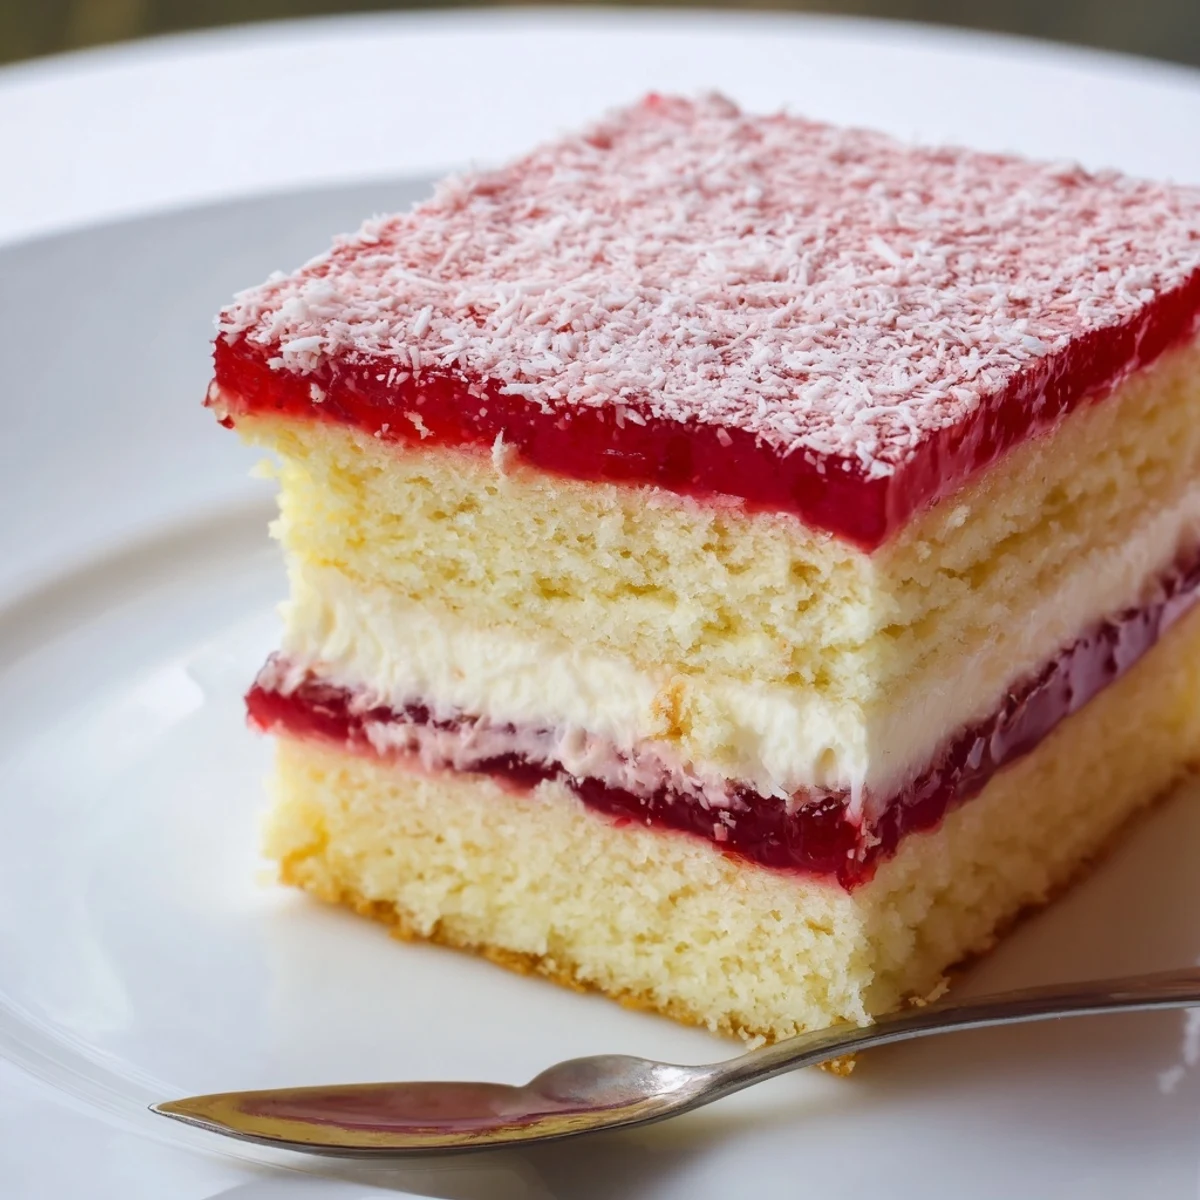
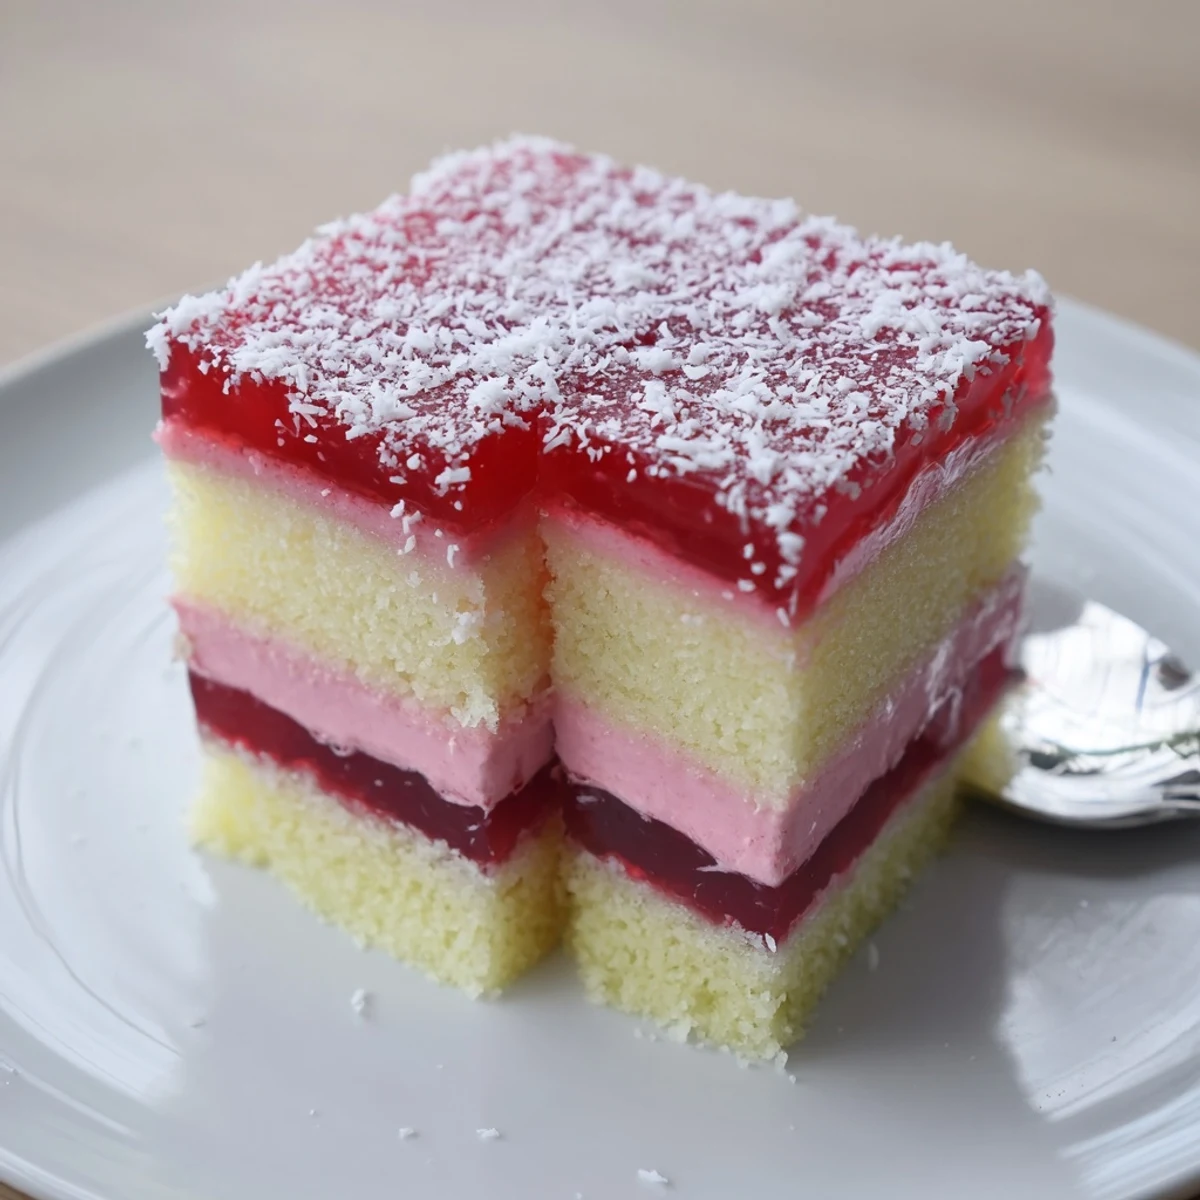
 Make a light sponge by creaming butter and sugar, folding in flour and milk, then bake until just risen. Dissolve raspberry jelly and chill until semi-set. Cut cooled sponge into squares, whip cream with icing sugar and vanilla, sandwich squares, dip each into the semi-set jelly, then roll in desiccated coconut. Chill for at least 30 minutes to set. Yields about 12 cakes; handle gently to keep edges neat.
My grandmother's kitchen smelled like raspberry jelly every Saturday afternoon, a scent so vivid it still transports me straight to her linoleum floor and floral apron. She called them her pink delights, and we'd devour them before the tea had even cooled. These Old Fashioned Pink Jelly Cakes are pure Australian baking soul, soft sponge hugged by wobbly jelly and snowy coconut.
I once brought a plate of these to a charity morning tea and a woman grabbed my arm and said her mother used to make exactly the same cakes in rural Victoria during the nineteen sixties. We stood there for ten minutes swapping memories while the plate emptied behind us. That is the quiet magic of this recipe.
Ingredients
- Unsalted butter (125 g): Softened butter is the backbone of a light sponge, so pull it out of the fridge an hour before you start.
- Caster sugar (125 g): The fine crystals dissolve faster than regular sugar, giving you that silky batter without grainy patches.
- Large eggs (2): Room temperature eggs incorporate more air, which is exactly what you want for a fluffy crumb.
- Vanilla extract (1 tsp): A good quality extract adds warmth without overpowering the delicate sponge.
- Self-raising flour (180 g): Sift it twice if you have the patience, because the extra aeration makes a real difference.
- Milk (100 ml): Whole milk keeps the sponge tender, so avoid low fat versions here.
- Raspberry jelly crystals (85 g packet): Raspberry is classic but strawberry works beautifully too if that is what you have.
- Boiling water (250 ml): Dissolves the crystals quickly and evenly.
- Cold water (150 ml): Brings the jelly temperature down so it sets faster in the fridge.
- Thickened cream (200 ml): Thickened or heavy cream whips to firm peaks and holds its shape between the sponge layers.
- Icing sugar (1 tbsp): Just enough sweetness for the filling without making it cloying.
- Vanilla extract (1/2 tsp): A whisper of vanilla in the cream ties the filling to the sponge.
- Desiccated coconut (100 g): The coating that makes these unmistakably Australian, so do not skip it.
Instructions
- Prepare your oven and tin:
- Preheat to 180 degrees Celsius and grease then line a 20 by 30 centimetre baking tin with baking paper.
- Beat the butter and sugar:
- Cream them together until the mixture turns pale and looks fluffy, which usually takes about three minutes with an electric mixer.
- Add eggs and vanilla:
- Beat in one egg at a time, mixing well between each, then stir in the vanilla until everything looks smooth and cohesive.
- Fold in flour and milk:
- Alternately add sifted flour and milk, folding gently with a large spoon or spatula until just combined so you do not knock out the air.
- Bake the sponge:
- Spread the batter evenly in your prepared tin and bake for 12 to 15 minutes until the top springs back lightly and a skewer comes out clean.
- Cool completely:
- Let the sponge rest in the tin for 10 minutes, then turn it out onto a wire rack and wait until it is completely cold before cutting.
- Prepare the jelly:
- Dissolve the jelly crystals in boiling water, stir in the cold water, pour into a shallow dish and refrigerate for 45 to 60 minutes until it is just beginning to set but still liquid.
- Cut the sponge:
- Using a sharp knife, cut the cooled sponge into 24 even squares, trimming the edges if they are a bit crusty.
- Whip the cream:
- Beat the thickened cream with icing sugar and vanilla until it holds firm peaks, stopping just before it looks grainy.
- Sandwich the cakes:
- Spread a generous spoonful of whipped cream between two sponge squares and press gently so they stick together.
- Dip in jelly:
- Quickly roll each sandwiched cake through the semi-set jelly, coating all sides, and let the excess drip off over the dish.
- Coat in coconut:
- Roll the jelly coated cakes immediately in desiccated coconut, place on a wire rack and refrigerate for at least 30 minutes to set properly.
 Pin to board
 The first time I made these alone I panicked when the jelly seemed too liquid and almost threw it out. I plunged a cake in anyway and it worked perfectly, teaching me that sometimes the best thing you can do in the kitchen is simply keep going.
Getting the Jelly Consistency Right
You want the jelly to coat the back of a spoon like thick syrup, not slosh around like water or hold its shape like a mold. Check it at the 40 minute mark and then every 5 minutes because the window between too loose and too firm is narrow. If you miss it and it over sets, gently warm a small portion back to liquid and mix it through to loosen the batch.
Making Them Your Own
Passionfruit jelly gives these a beautiful tropical twist that feels very modern, and orange jelly turns them into something reminiscent of a choc orange slice without the chocolate. For a dairy free version, coconut cream whips up beautifully if you chill the can overnight and scoop off the solid layer.
Serving and Storing
Arrange them on a plain white plate so the pink and white and coconut really pop, because these cakes are as much about the visual as the taste. They are delicate little things and do not travel well once coated, so assemble them close to where you plan to serve.
- Keep them refrigerated in a single layer on a plate covered loosely with foil.
- Do not stack them or the coconut and jelly will stick together and create a mess.
- Pull them out of the fridge about 10 minutes before serving so the sponge softens slightly.
 Pin to board
 Every time I make these I think of my grandmother standing at her kitchen bench with jelly stained fingers, laughing at how many I could eat in one sitting. Some recipes carry love in their ingredients, and this one carries it in every pink coconut crumb.
Recipe FAQs
- → How long should the jelly be chilled before dipping?
-
Refrigerate the dissolved jelly in a shallow dish for about 45–60 minutes, until it reaches a semi-set, viscous state that will coat the sponge without running off completely.
- → What's the best way to get neat sponge squares?
-
Cool the sheet sponge completely on a wire rack before cutting. Use a sharp knife and press straight down without sawing to keep edges clean; refrigerating briefly can firm the cake for easier slicing.
- → Can I swap jelly flavour or cream for dietary needs?
-
Yes. Use passionfruit or orange-flavoured jelly for variation. For dairy-free options, replace thickened cream with whipped coconut cream and ensure the jelly mix is free from animal-derived stabilizers.
- → How do I prevent the sponge from becoming soggy when dipped?
-
Ensure the jelly is only semi-set so it clings rather than soaks in, and dip quickly, allowing excess to drip off before rolling in coconut. Work on a wire rack so moisture drains away.
- → Can these be prepared ahead of time?
-
They are best made the day they will be eaten. You can bake the sponge and prepare the jelly and cream ahead, then assemble and dip shortly before serving to preserve texture.
- → How should I store leftovers?
-
Keep cakes covered in the refrigerator for up to 24 hours on a tray with a loose cover to prevent crushing. Return to room temperature briefly before serving for best flavour.
