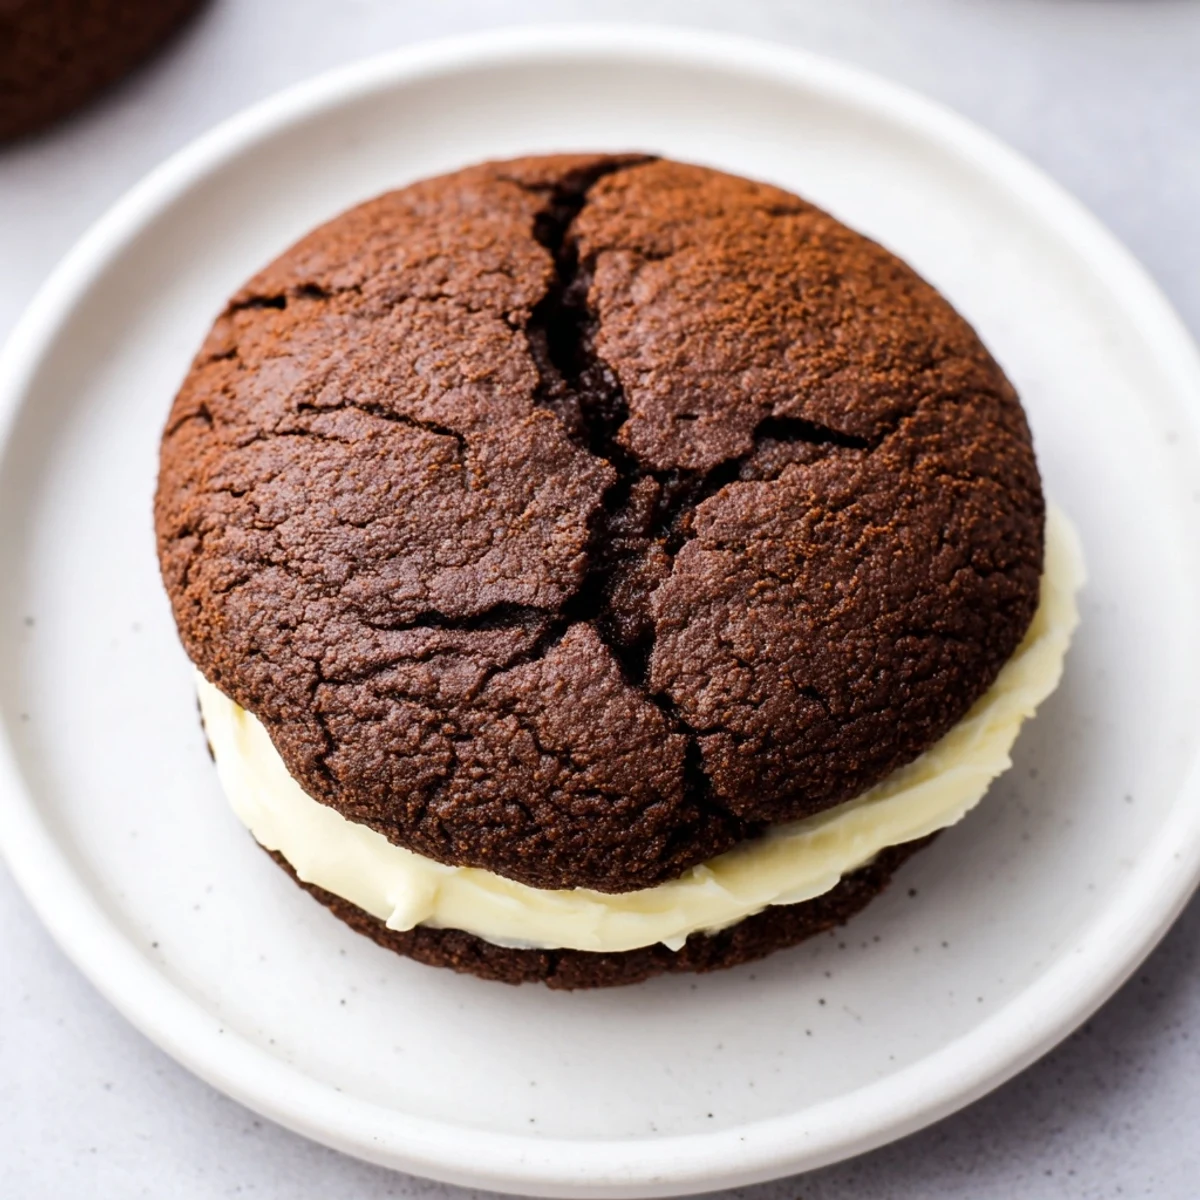
 Pin to board
 These classic dark chocolate sandwich cookies pair rich Dutch-process cocoa and a tender buttery dough with a smooth vanilla buttercream. Mix the dough, form 1-inch balls, flatten and bake 10–12 minutes until set. Cool on a rack, then sandwich about 1 tablespoon of filling between two cookies for a creamy center.
For extra depth, stir in 1 tsp espresso powder. Substitute more butter for shortening in the filling for a richer taste. Store airtight at room temperature up to 5 days and let sandwiches rest 10–15 minutes before serving.
The smell of dark cocoa hitting a hot oven pan is enough to stop a conversation mid sentence, and these homemade Oreo style cookies proved that in my kitchen on a rainy Tuesday afternoon. My roommate walked in, sniffed the air, and immediately abandoned the phone call she was on. We stood there in silence watching the first batch dome and crack through the oven window like two kids pressed against a candy store display.
I brought a tin of these to a friend's barbecue last summer and they vanished before the burgers even came off the grill. Three people asked for the recipe, and one person quietly stuffed two extras into her purse thinking nobody noticed.
Ingredients
- All purpose flour (1 cup, 125 g): This provides the structure, and I learned the hard way that scooping directly from the bag packs it down and makes the cookies tough, so spoon and level instead.
- Unsweetened Dutch process cocoa powder (3/4 cup, 70 g): Dutch process is non negotiable here because it gives that deep, nearly black color and mellow chocolate intensity.
- Granulated sugar (1 cup, 200 g): Do not cut back on this because the sugar balances the extreme bitterness of the cocoa and helps the edges crisp.
- Baking soda (1/2 tsp): Just enough lift to keep the cookies from turning into hockey pucks.
- Salt (1/4 tsp for cookies, pinch for filling): Salt wakes up the chocolate and stops the filling from tasting like pure sweetness with no personality.
- Unsalted butter, softened (1/2 cup, 115 g for cookies and 1/4 cup, 60 g for filling): Room temperature butter is essential, so pull it out an hour ahead or you will be cursing at a cold stubborn block.
- Large egg (1): This binds the cocoa heavy dough together and adds just enough moisture.
- Vanilla extract (1 tsp for cookies, 1 tsp for filling): Use real extract, not imitation, because the filling relies entirely on vanilla for its flavor.
- Vegetable shortening (1/4 cup, 55 g): This keeps the filling stable and smooth at room temperature, which is the secret to that authentic Oreo cream texture.
- Powdered sugar, sifted (1 1/2 cups, 180 g): Sifting is not optional here because even tiny lumps will show up as gritty pockets in the filling.
Instructions
- Get your oven ready:
- Preheat to 350 degrees F (175 degrees C) and line two baking sheets with parchment paper so nothing sticks.
- Build the dry mix:
- Sift the flour, cocoa powder, baking soda, and salt together into a bowl and watch the cocoa dust float up like dark little clouds.
- Cream the butter and sugar:
- Beat the softened butter and granulated sugar until the mixture turns pale and fluffy, then add the egg and vanilla and beat until everything is smoothly combined.
- Bring the dough together:
- Gradually add the dry ingredients to the wet and mix until a stiff, dark dough forms that pulls away from the sides of the bowl.
- Shape and flatten:
- Roll the dough into 1 inch balls and place them 2 inches apart on the sheets, then press each one down gently with your palm or a flat bottomed glass until they look like thick little discs.
- Bake and cool:
- Bake for 10 to 12 minutes until the tops look set and slightly firm, then let them rest on the hot pan for 5 minutes before moving them to a wire rack to cool completely.
- Whip up the filling:
- Beat the butter, shortening, powdered sugar, vanilla, and salt together until the mixture turns pale, fluffy, and spreadable like the inside of your favorite childhood cookie.
- Assemble the sandwiches:
- Pipe or spread about 1 tablespoon of filling onto the flat side of half the cookies, then top with the remaining cookies and press gently until the cream sneaks right to the edges.
- Let them settle:
- Give the assembled cookies 10 to 15 minutes to set so the filling firms up and holds everything together when you take that first bite.
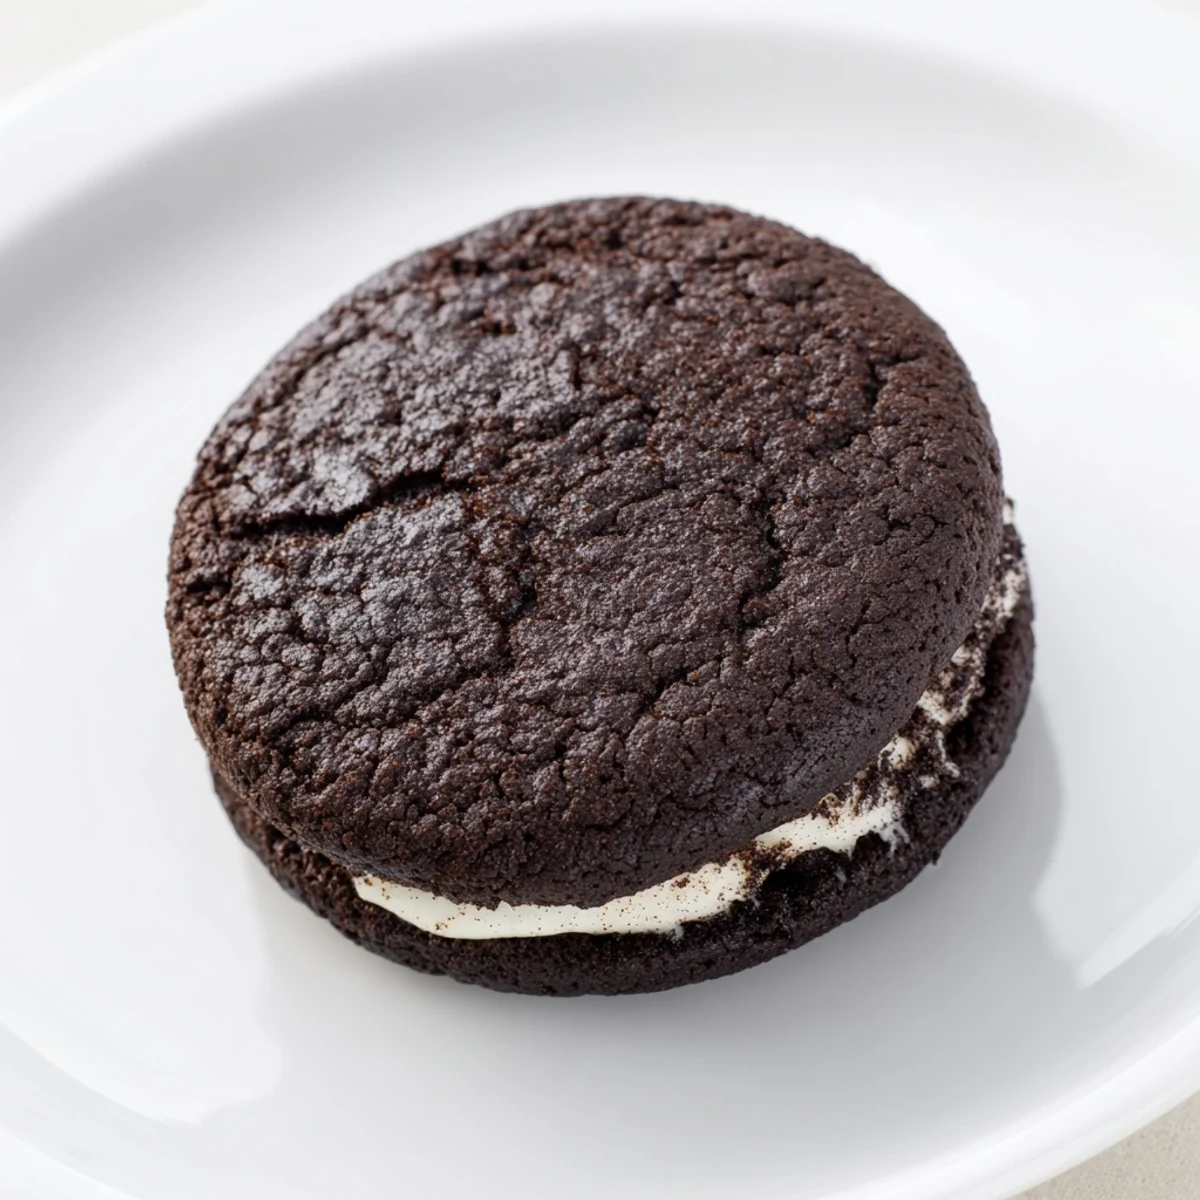 Pin to board
 There is something deeply satisfying about twisting apart a cookie you made yourself and seeing that perfect layer of white cream sitting there waiting. It transforms a simple afternoon baking project into a small personal victory.
Storing and Making Ahead
These cookies actually improve after a few hours as the filling softens the cookie layers slightly, creating that tender bite you remember from the store bought version. Store them in a single layer in an airtight container at room temperature for up to 5 days, though in my experience they rarely last past day two.
Dunkability Factor
The real test of any sandwich cookie is how it handles a glass of cold milk, and these pass with flying colors. The homemade cocoa dough softens beautifully without disintegrating, and the filling holds on just long enough before melting into the milk in the most satisfying way.
Little Tweaks Worth Trying
Once you have the base recipe down, a few small adjustments can take these in fun directions depending on your mood. Some of my favorite experiments happened when I was cleaning out the pantry and got creative.
- Add 1 teaspoon of espresso powder to the dough for a deeper, more adult chocolate flavor.
- Replace the shortening with all butter in the filling for a richer taste, though the texture will be slightly softer.
- Try rolling the edges of assembled cookies in mini chocolate chips or sprinkles for a party ready look.
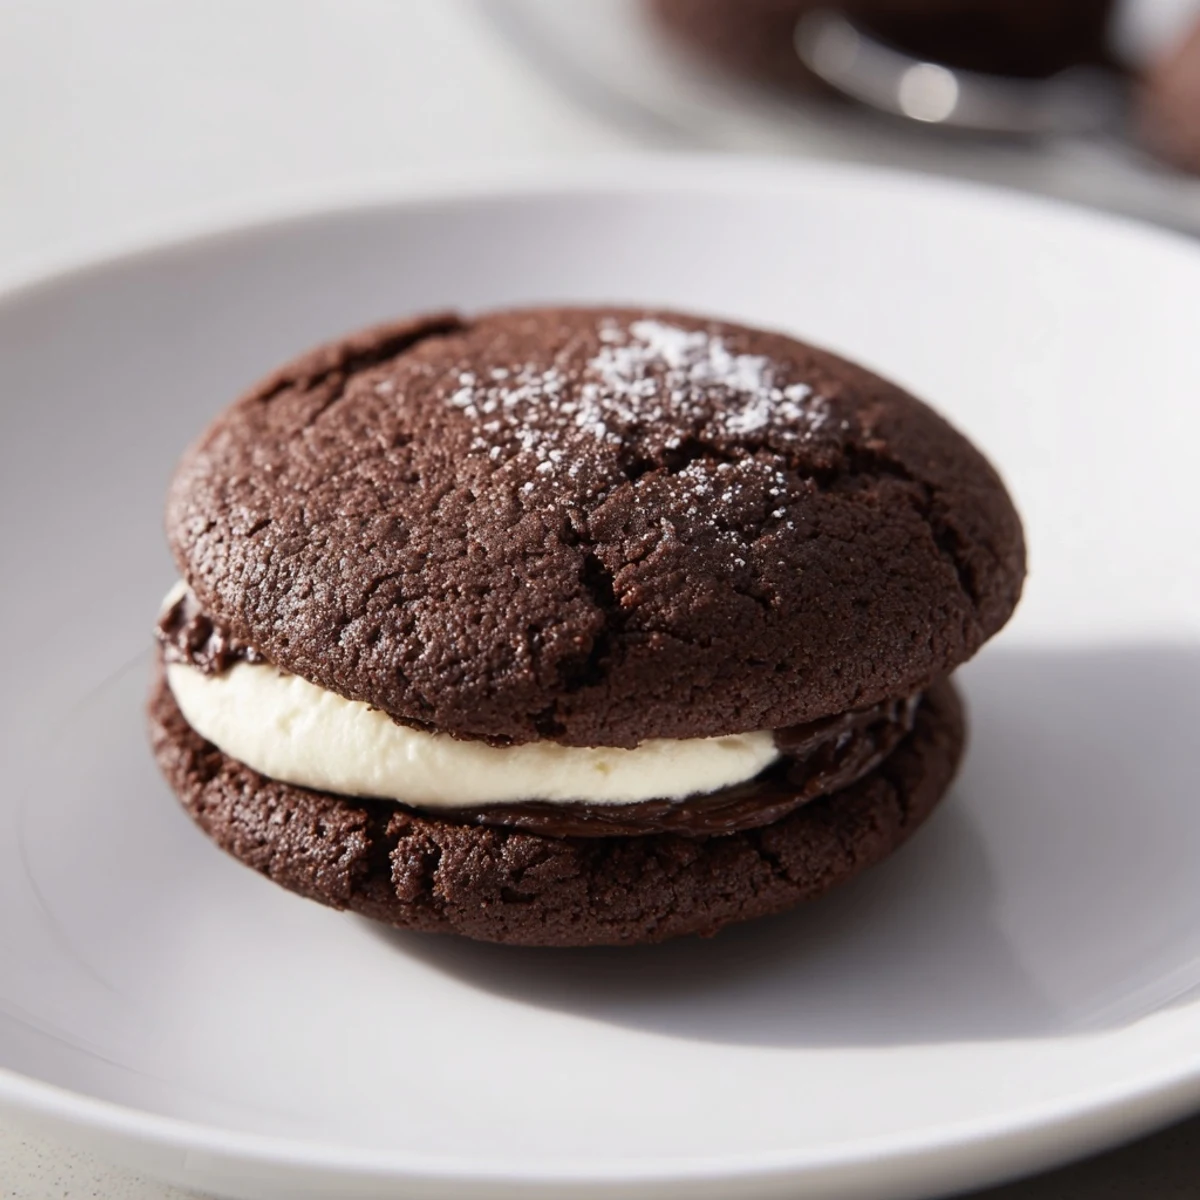 Pin to board
 Homemade cookies like these are a reminder that the best treats are the ones you build from scratch, with cocoa dusted hands and a fridge full of waiting possibilities. Share them generously or hide them behind the broccoli where nobody looks.
Recipe FAQs
- → Can I use natural cocoa instead of Dutch-process?
-
Natural cocoa will work but may alter the flavor and leavening. Dutch-process is less acidic and yields a smoother, richer chocolate notes; if using natural cocoa, consider swapping baking soda for baking powder to balance acidity.
- → How do I get evenly shaped sandwich cookies?
-
Roll uniform 1-inch balls and space them evenly on the sheet. Flatten each ball with the bottom of a glass for consistent diameter, and chill briefly if the dough softens before baking.
- → Is vegetable shortening necessary in the filling?
-
Shortening helps the filling hold shape and stay stable at room temperature. For a richer mouthfeel, replace it with equal butter, but expect a softer, more buttery filling.
- → How can I deepen the chocolate flavor?
-
Add 1 tsp espresso powder to the dough to amplify chocolate notes without adding coffee flavor. Using high-quality Dutch-process cocoa also enhances intensity.
- → What’s the best way to pipe the filling neatly?
-
Use a small round piping tip or a resealable bag with the corner snipped. Pipe about 1 tablespoon onto the flat side of half the cookies, then press a top cookie gently to spread the filling to the edges.
- → How should I store assembled sandwiches?
-
Place in a single layer in an airtight container at room temperature for up to 5 days. If stacking, separate layers with parchment to protect the filling and prevent sticking.
