 Pin to board
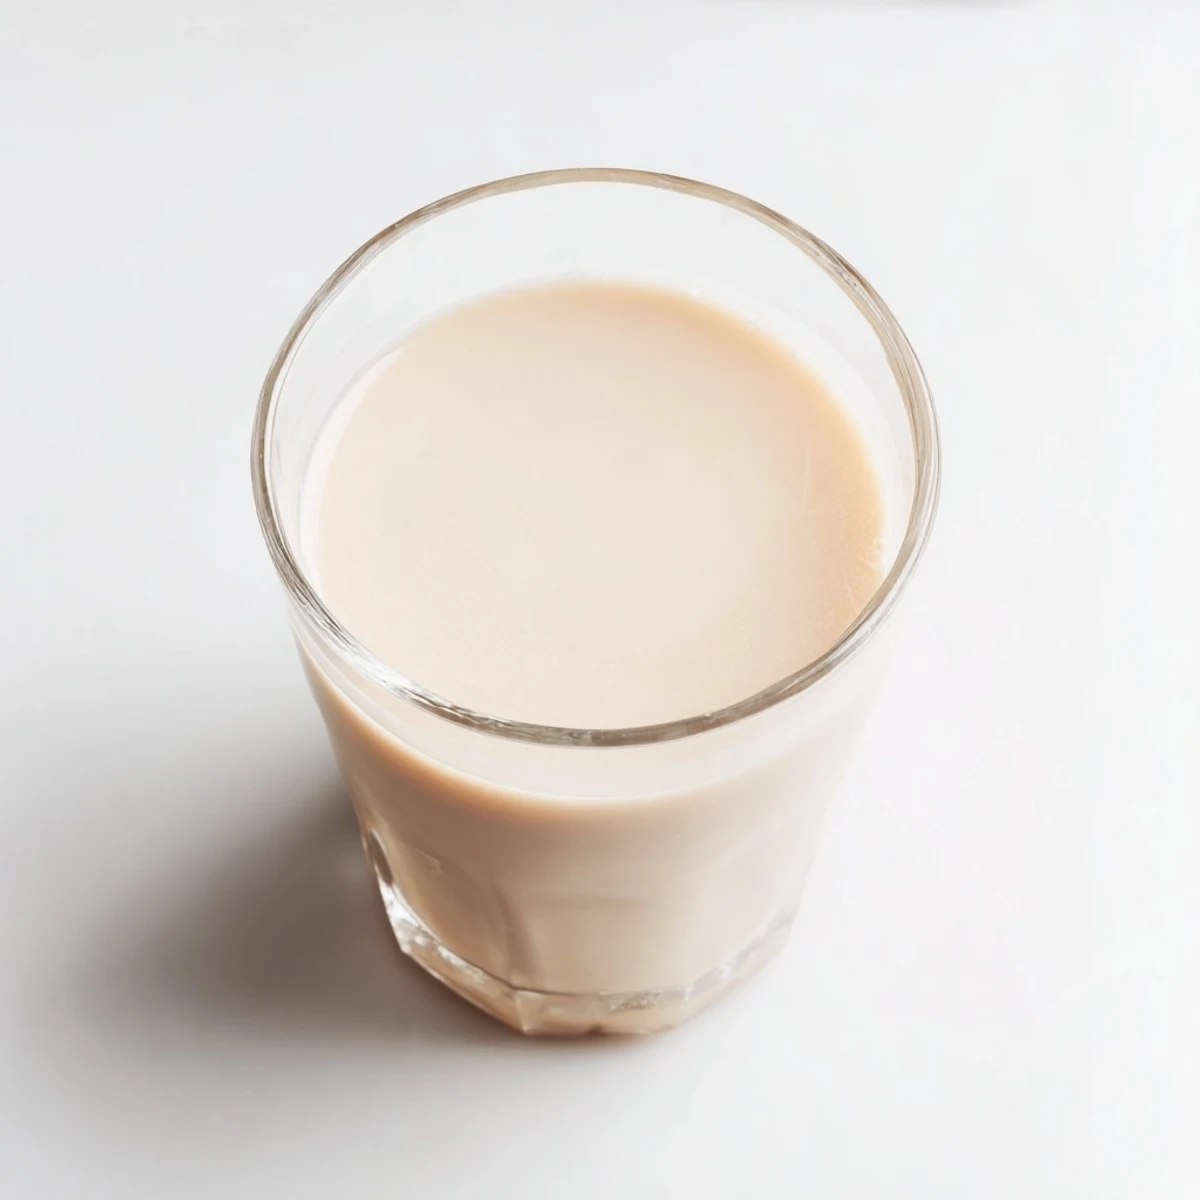
 Crafting your own almond milk at home delivers incredibly fresh, creamy results that store-bought versions simply cannot match. The process involves soaking raw almonds overnight to soften them, then blending with filtered water until completely smooth. After straining through a nut milk bag or cheesecloth, you are left with pure, silky milk free from additives or preservatives.
This homemade version typically stays fresh for 4-5 days in the refrigerator and can be customized with your choice of sweeteners, vanilla, or even cocoa for variations. The leftover almond pulp need not go to waste—it can be dried and used in baking, added to smoothies for extra fiber, or incorporated into energy bites.
For those with dietary restrictions, this plant-based milk is naturally vegan, gluten-free, and dairy-free, making it suitable for nearly any eating plan. The beauty of making it yourself lies in controlling exactly what goes into your milk—no gums, thickeners, or unexpected ingredients. Plus, the cost savings compared to commercial almond milk make this a worthwhile kitchen skill to develop.
My blender whirred at 6 AM on a Tuesday while I stood barefoot in the kitchen wondering why store bought almond milk tasted like watery disappointment. I had a bag of raw almonds staring at me from the pantry for three weeks and finally decided enough was enough. Ten minutes later I was drinking something that actually tasted like almonds and I never went back to the carton again.
I brought a mason jar of this to my sisters brunch last spring and she held it up to the light like wine, skeptical and curious all at once. One sip and she was rifling through her cabinets looking for her own nut milk bag before the eggs were even done.
Ingredients
- Raw almonds: Use truly raw unsalted almonds because roasted ones will give you a toasty flavor that overpowers everything and limits versatility.
- Filtered water: The quality of your water directly affects the taste so skip the tap if it has any chlorine or metallic notes.
- Maple syrup, honey, or sweetener: Entirely optional but a tablespoon of maple syrup rounds out the flavor beautifully without making it cloying.
- Vanilla extract: A teaspoon adds warmth and complexity that makes this feel like a treat rather than just a milk substitute.
- Sea salt: Just a pinch wakes up all the subtle flavors and prevents the milk from tasting flat.
Instructions
- The overnight soak:
- Drop your almonds into a bowl and flood them with plenty of water because they will swell significantly. Let them hang out on your counter or in the fridge for at least eight hours until they look plump and slightly bloated, then drain and give them a thorough rinse.
- Blend until dreamy:
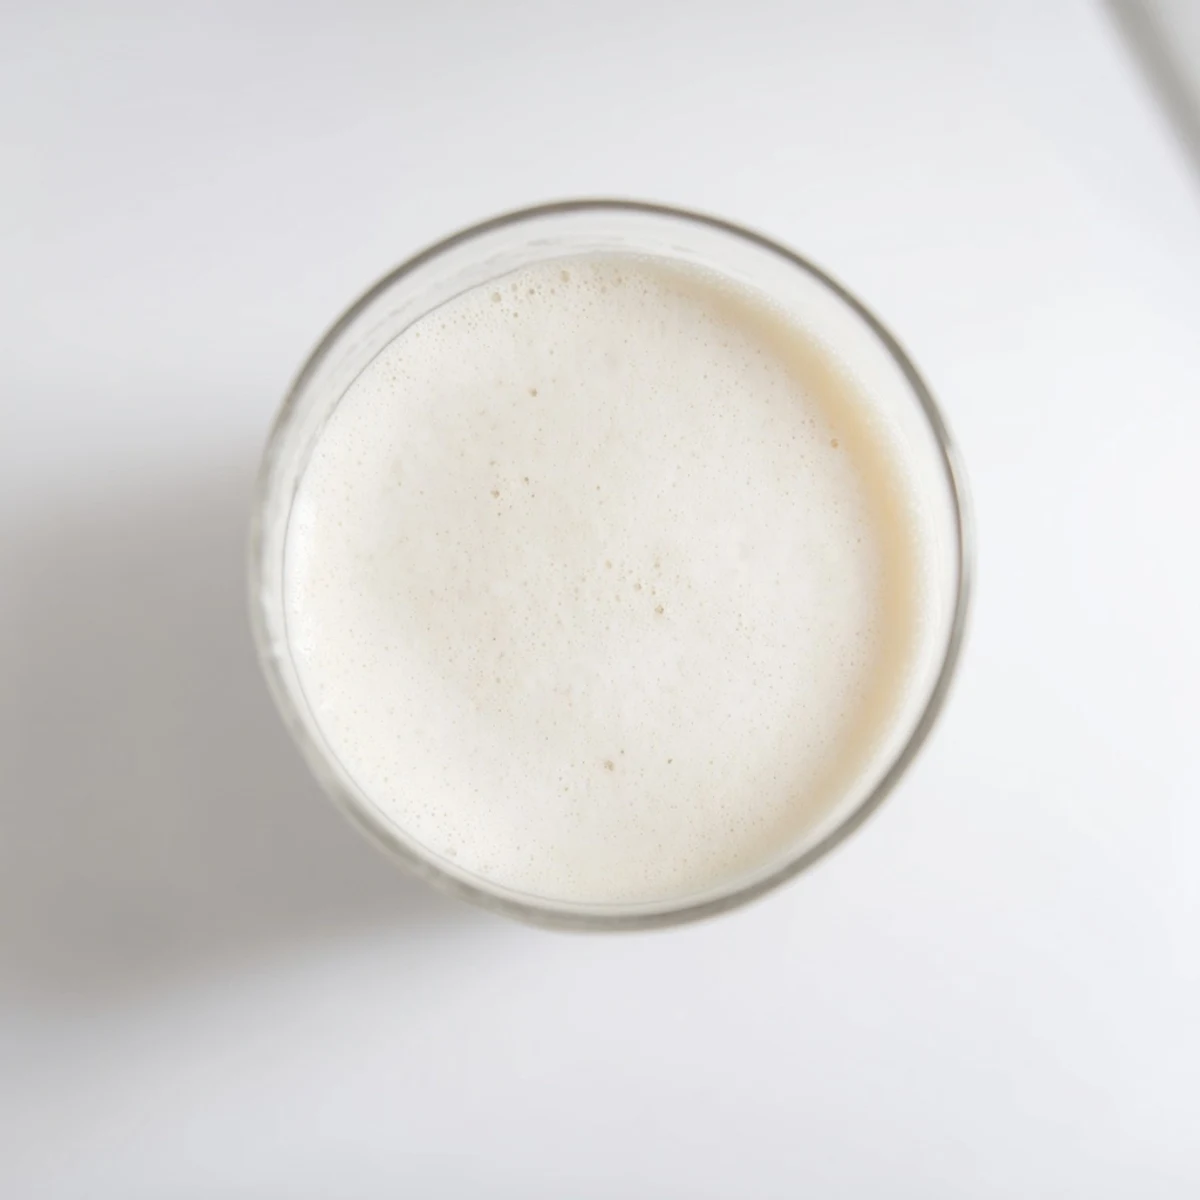
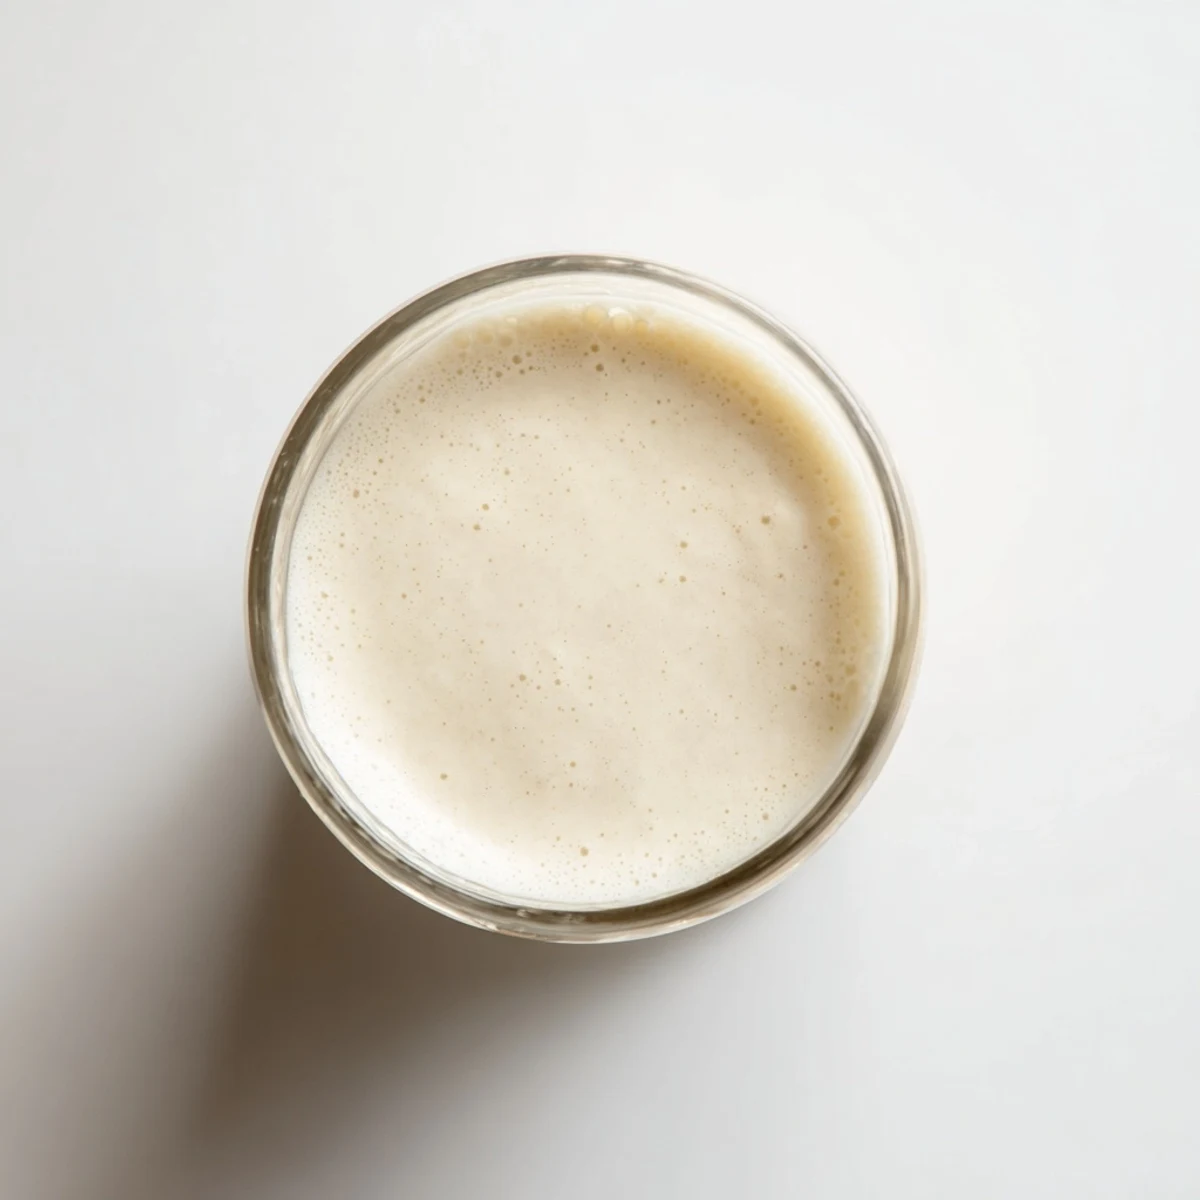
- Toss those soaked almonds into your blender with four cups of fresh filtered water and crank it to high for one to two minutes. You want the mixture to look completely homogeneous with no visible chunks and a creamy pale color throughout.
- Add your extras:
- If you are using sweetener, vanilla, or salt now is the moment to toss them in and give everything a quick ten second blitz to incorporate.
- Strain with purpose:
- Drape your nut milk bag or cheesecloth over a large bowl or jug and pour the whole blended mixture through it. Gather the corners and squeeze firmly with clean hands because there is always more milk hiding in that pulp than you expect.
- Bottle and chill:
- Pour your fresh almond milk into a clean glass bottle or jar with a tight lid and tuck it into the refrigerator where it will keep beautifully for up to five days. Always give it a hearty shake before pouring because separation is natural and completely fine.
 Pin to board
 There is something meditative about standing at the counter squeezing a nut milk bag while morning light hits the kitchen window. It became my quiet ritual before the house woke up and the day started making demands.
Getting the Right Consistency
If you prefer a richer milk that coats your cereal instead of sinking through, reduce the water to three cups instead of four. The result is closer to whole milk in body and works wonders in coffee because it does not separate as easily when heated.
Flavor Variations Worth Trying
A tablespoon of cocoa powder blended in at the end creates a chocolate milk that will make you question why you ever bought the powdered stuff. A cinnamon stick dropped into the storage jar infuses gently over a couple of days and makes the milk incredible in overnight oats or warm porridge.
Storage and Leftover Pulp Ideas
Keep your milk in glass rather than plastic because it picks up flavors easily and glass keeps everything tasting clean. The pulp dries out beautifully in a low oven and can be ground into almond flour for future baking projects.
- Label your jar with the date you made it so nothing gets lost in the back of the fridge.
- Freeze extra milk in ice cube trays for smoothies if you cannot finish it within five days.
- Remember that separation is a sign of purity not spoilage so just shake and enjoy.
 Pin to board
 Once you taste homemade almond milk you will wonder how the store bought version ever convinced you it was the real thing. Your mornings deserve better and now they have it.
Recipe FAQs
- → How long should I soak the almonds?
-
Soak almonds for at least 8 hours or overnight. This softens them, making blending easier and yielding creamier milk. Proper soaking also helps break down phytic acid, making nutrients more absorbable.
- → Can I skip the straining step?
-
While possible, straining creates the smooth, milk-like texture most people expect. Leaving the pulp results in a thicker, grainier consistency more similar to a smoothie. For cooking or baking where texture matters less, unstrained almond milk works fine.
- → What can I do with the leftover almond pulp?
-
The pulp is incredibly versatile! Dry it in a low oven and grind into almond flour for baking. Add wet pulp directly to smoothies, oatmeal, or energy bites. Mix into cookie or muffin batter for moisture and fiber. It can even be used to make secondary batches of lighter milk.
- → Do I need to remove the almond skins?
-
No need to remove skins before blending—the process works perfectly with whole raw almonds. If you prefer extremely white milk, you can blanch almonds in boiling water and slip off skins before soaking, though this adds time and the difference is minimal in the final product.
- → How can I make the milk more or less creamy?
-
Adjust the water-to-almond ratio to change creaminess. Using 3 cups water instead of 4 creates richer, thicker milk. Conversely, adding more water yields a lighter beverage. The ratio of 1 cup almonds to 4 cups water strikes a nice balance for most uses.
- → Can I use other nuts or seeds?
-
Absolutely! Cashews blend exceptionally smooth without straining. Brazil nuts add creaminess and selenium. Hazelnuts create a flavorful, chocolate-colored milk. Even sunflower seeds work for nut-free versions. Adjust soaking times—softer nuts like cashews need just 2-4 hours.
