 Pin to board
 These creamy frozen treats combine protein-rich Greek yogurt with natural peanut butter for a satisfying snack that's both nutritious and indulgent. The base requires just four simple ingredients you likely have on hand, and the entire process takes under 15 minutes of active preparation before freezing.
What makes these bites special is their versatility—enjoy them plain, top with dark chocolate chips, sprinkle with crushed peanuts, or get creative with your favorite add-ins. The texture becomes perfectly scoopable after just a few minutes at room temperature, making them an ideal post-workout recovery snack or healthy dessert alternative.
With 4 grams of protein per bite and naturally occurring probiotics from the yogurt, they're designed to keep you satisfied without the sugar crash of typical frozen treats. The honey provides subtle sweetness while the peanut butter delivers rich, nutty flavor and healthy fats.
My freezer has always been a graveyard of good intentions, but these little peanut butter yogurt bites changed everything about how I snack after workouts. I stumbled on the combination one July evening when the air conditioning was struggling and turning on the oven felt like a personal attack. Three ingredients, a muffin tin, and two hours later I had something that actually tasted like dessert rather than a punishment for caring about protein. Now I make double batches because they vanish faster than I can explain what is in them.
My roommate walked in while I was scooping the mixture into liners and asked if I was making cheesecake, which honestly felt like the biggest compliment I never earned. She ate six of them straight from the freezer that night and then texted me from the gym the next morning asking where the rest went.
Ingredients
- 2 cups plain Greek yogurt: Use the thickest yogurt you can find because thinner ones turn icy rather than creamy when frozen.
- 1/2 cup natural peanut butter: Smooth gives you a silkier bite but crunchy adds a pleasant surprise that keeps you reaching for more.
- 3 tablespoons honey or maple syrup: This is your chance to dial sweetness to your own preference, and maple syrup adds a warmth that honey does not quite match.
- 1 teaspoon pure vanilla extract: Never skip this because it rounds out the tang of the yogurt and makes everything taste more intentional.
- 1/3 cup dark chocolate chips (optional): Scatter these on top like confetti because the bitterness against the sweet peanut butter base is genuinely magical.
- 2 tablespoons crushed peanuts (optional): A finishing touch that tells people right away there is something crunchy waiting inside.
- Paper mini muffin liners or silicone molds: Silicone molds pop these out with zero drama, but liners work beautifully if that is what you have.
Instructions
- Prepare your tin:
- Line a mini muffin tin with paper liners or set out silicone molds on a flat tray that will fit in your freezer without wobbling.
- Whisk everything together:
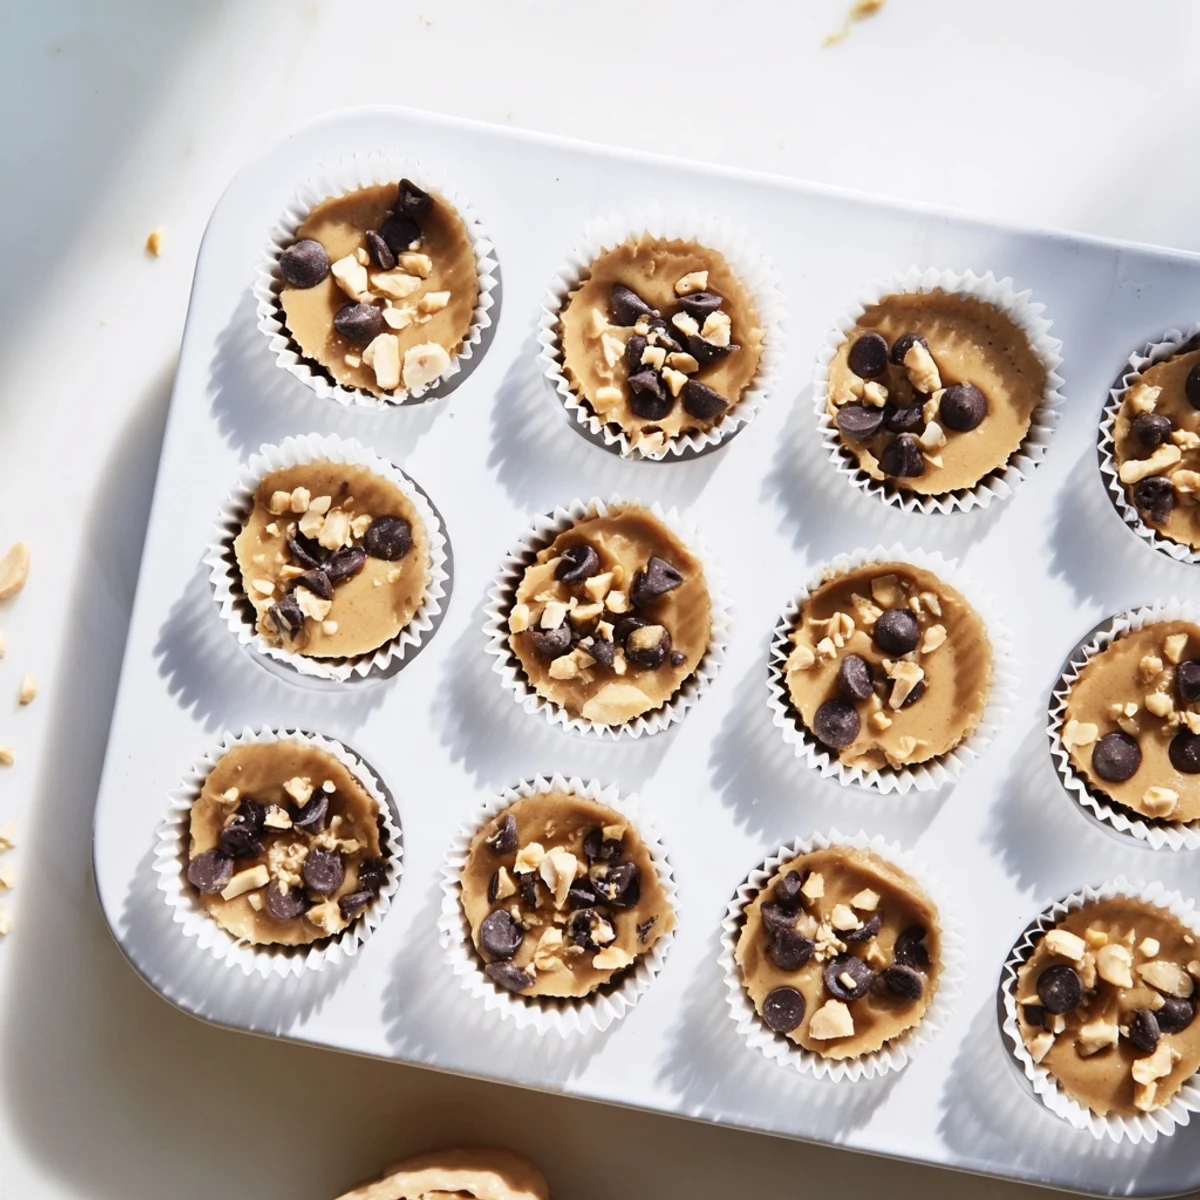
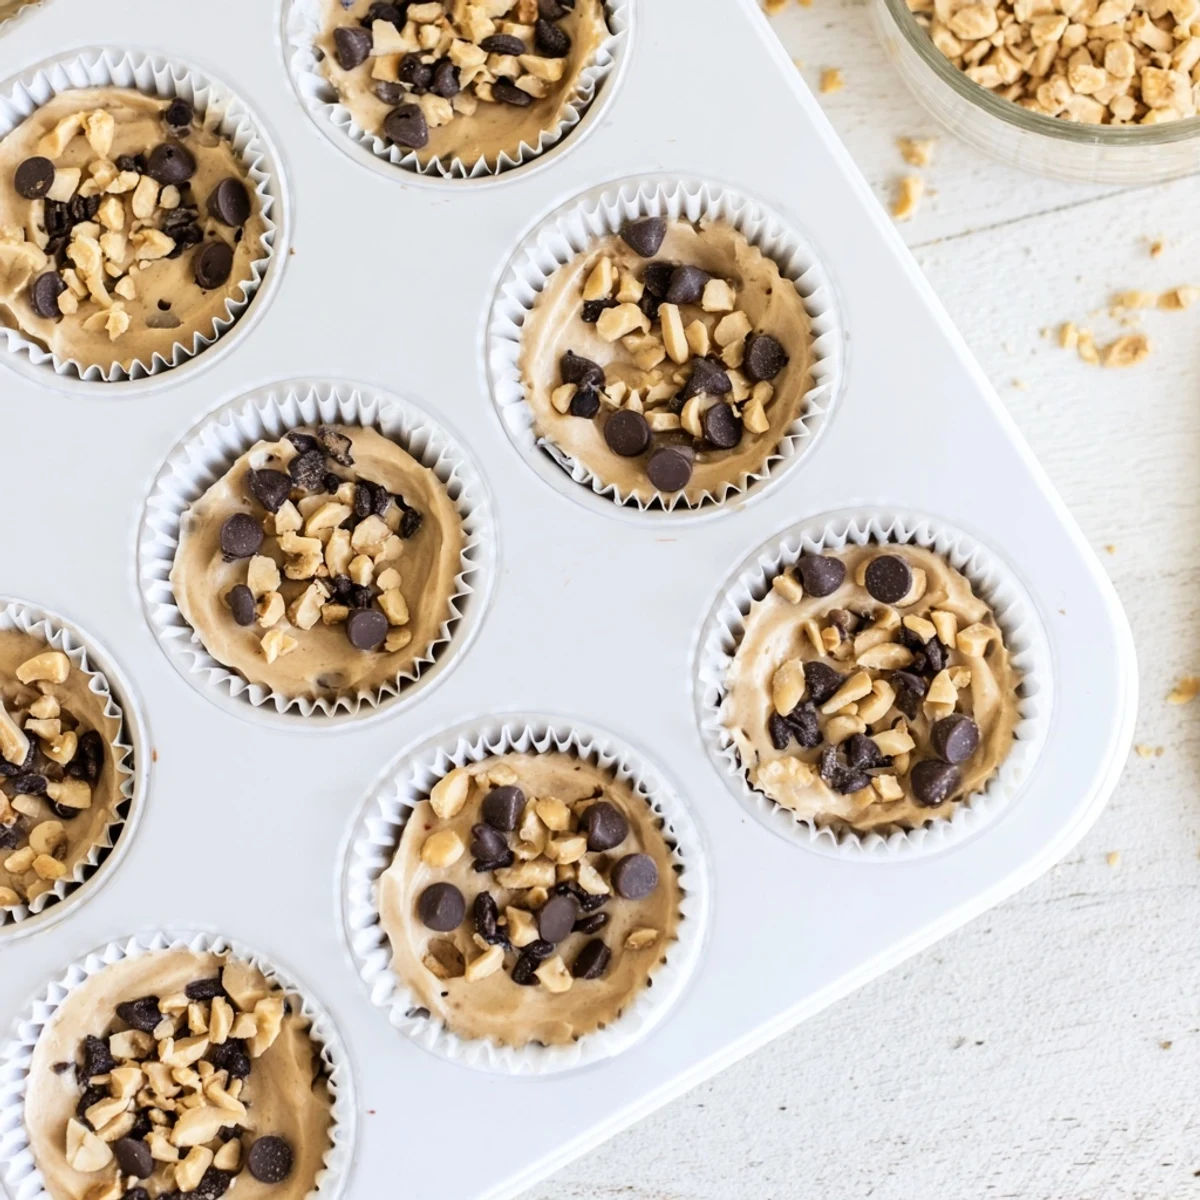
- Grab a large bowl and whisk the Greek yogurt, peanut butter, honey, and vanilla until you get a smooth, glossy mixture with no streaks of peanut butter hiding in the corners.
- Fill each cup:
- Use a small cookie scoop or a spoon to divide the mixture evenly, filling each liner or mold about a tablespoon full and smoothing the tops with the back of your spoon.
- Add your toppings:
- Sprinkle chocolate chips and crushed peanuts over each bite while the surface is still soft so they stick as everything freezes firm.
- Freeze until solid:
- Slide the whole tray into the freezer and let it sit for at least two hours until the bites are completely frozen through and hold their shape when pressed.
- Thaw briefly before eating:
- Let them sit at room temperature for two or three minutes so the texture softens into something luscious instead of jaw breaking.
 Pin to board
 I packed a handful of these in a cooler for a road trip last fall and my friend who claims to hate healthy desserts ate four of them before we made it to the highway entrance.
Swaps and Substitutions
Almond butter or sunflower seed butter work seamlessly in place of peanut butter if allergies are a concern in your kitchen. I once used tahini by accident and the result was oddly delicious, like a frozen halva bite that I have since made on purpose many times.
Texture Tweaks That Matter
Adding a tablespoon of chia seeds to the base gives these bites a pleasant pop and a nutritional boost that makes them even more satisfying as a post workout snack. You can also drizzle melted dark chocolate across the tops before freezing if you want something that looks like it came from a candy shop.
Storage and Serving Thoughts
Keep them in an airtight container in the freezer for up to a month, though mine have never lasted longer than a week. A single batch makes about twenty bites, which sounds like a lot until you realize how quickly people find them.
- Freeze them on the tray first before transferring to a container so they do not stick together in a giant clump.
- If you want lower carbs, swap the honey for a sugar free syrup and the nutritional profile shifts without sacrificing much flavor.
- Always check your chocolate chip labels for hidden allergens if you are sharing these with a crowd.
 Pin to board
 These bites are proof that the best recipes are often the simplest ones, and sometimes all you need is a spoon, a freezer, and fifteen minutes to make something worth looking forward to.
Recipe FAQs
- → How long do these frozen treats last in the freezer?
-
These store beautifully in an airtight container for up to 3 months. Place parchment paper between layers to prevent sticking, and let thaw 2-3 minutes before eating for the ideal creamy texture.
- → Can I make these without a mini muffin tin?
-
Absolutely. Silicone candy molds work perfectly, or you can drop spoonfuls onto a parchment-lined baking sheet. The muffin tin just helps create uniform shapes and makes for easy removal once frozen.
- → What's the best way to add chocolate?
-
You can sprinkle chocolate chips on top before freezing, or melt dark chocolate and drizzle it over the frozen bites. For a chocolate swirl, mix melted chocolate into the yogurt base before freezing.
- → Are these suitable for meal prep?
-
These are ideal for meal prep. Make a large batch on Sunday, portion into individual containers, and you'll have grab-and-go snacks for the entire week. They're perfect for busy mornings or post-gym recovery.
- → Can I use regular yogurt instead of Greek yogurt?
-
Greek yogurt is recommended for its thicker texture and higher protein content, but you can use regular yogurt. Just strain it through cheesecloth for 2-3 hours first to remove excess whey and achieve the right consistency.
- → How do I make these dairy-free?
-
Use a dairy-free Greek-style yogurt alternative made from coconut or almond milk. The texture will be slightly different but still delicious. Pair with sunflower seed butter instead of peanut butter for a completely allergen-free version.
