 Pin to board
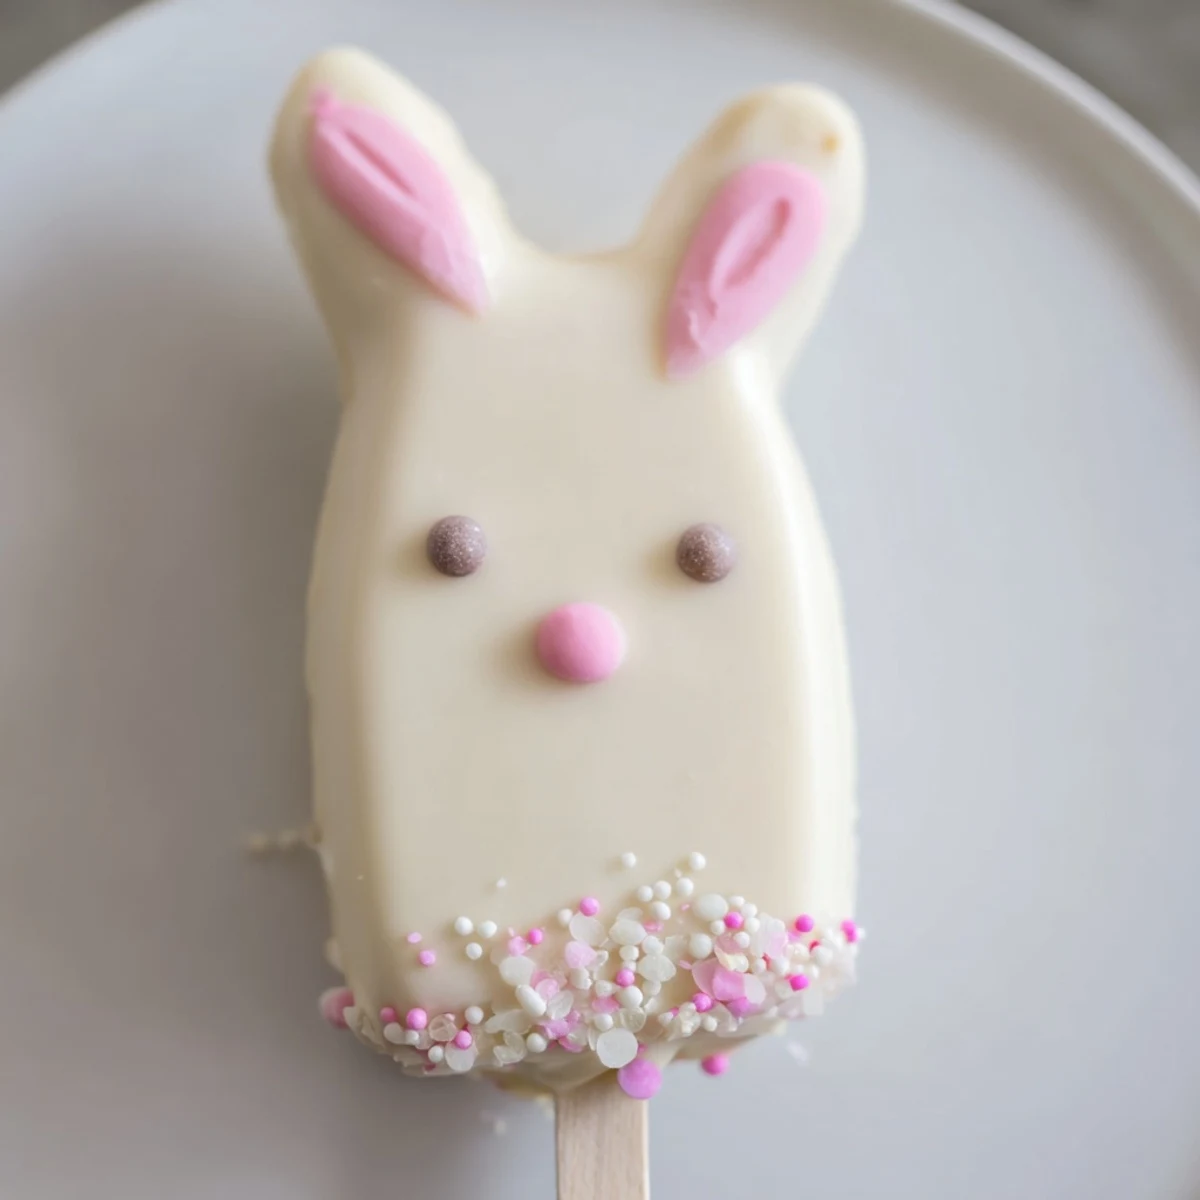
 These delightful bunny cakesicles combine moist vanilla cake crumbs with cream cheese and butter, shaped into adorable bunny faces and dipped in luscious white chocolate. Perfect for Easter gatherings, each treats features a handheld stick for easy serving and endless decoration possibilities from candy eyes to fondant ears.
The preparation comes together in just one hour, making these ideal for last-minute holiday entertaining. Kids and adults alike will love decorating their own bunnies with sprinkles, edible colors, and creative touches.
Last Easter, my niece looked at the dessert table and whispered, "Where are the bunnies?" That moment sparked an impromptu kitchen session that turned into our new favorite tradition. These little cakesicles have since become the most anticipated part of our holiday celebration, and honestly, I get just as excited as the kids about making them.
I remember setting up a decorating station with all the sprinkles and candy eyes laid out, watching my nieces and nephews carefully place each feature on their bunny cakesicles. One particularly proud nephew held up his creation and declared it the best bunny he had ever seen, chocolate smudges and all.
Ingredients
- Vanilla cake crumbs: Start with about one cup of crumbled cake. Homemade works beautifully, but a good store-bought vanilla cake or cupcakes will save you time without sacrificing flavor.
- Cream cheese: Two tablespoons of softened cream cheese binds everything together while adding a subtle tang that balances the sweet white chocolate coating.
- Unsalted butter: One tablespoon, softened to room temperature, helps create that perfect dough-like consistency that holds its shape.
- Powdered sugar: Two tablespoons adds just enough sweetness to the filling without making it cloyingly sweet.
- Vanilla extract: Half a teaspoon enhances all the flavors and makes the cake taste freshly baked.
- White chocolate: You will need about ten ounces. White chocolate melts work best for coating since they are designed to set smoothly and have a lovely sheen.
- Edible gel food coloring: Pink, yellow, or other pastel colors let you add cute details like bunny ears and noses.
- Cakesicle sticks: Eight sticks transform these into handheld treats that are perfect for parties.
- Decorations: Candy eyes, sprinkles, or fondant pieces bring your bunnies to life.
Instructions
- Mix the cake mixture:
- In a medium bowl, combine the cake crumbs, cream cheese, butter, powdered sugar, and vanilla extract. Mix with a spatula or clean hands until everything comes together into a dough-like consistency that holds its shape when squeezed.
- Shape the bunnies:
- Divide the mixture into eight equal portions. Gently press and shape each portion into a flattened oval that resembles a bunny face, making them slightly thicker than you think you need so they do not fall off the sticks.
- Add the sticks:
- Carefully insert a cakesicle stick into the bottom of each shape, pressing about halfway through but not all the way. Place them on a parchment-lined tray and refrigerate for twenty to thirty minutes until they are firm to the touch.
- Melt the chocolate:
- Put the white chocolate or candy melts in a microwave-safe bowl and heat in thirty-second bursts, stirring well between each interval. Continue until completely smooth and flowing, being careful not to overheat or the chocolate will seize.
- Coat the cakesicles:
- Dip each chilled cake pop straight down into the melted chocolate, submerging completely. Lift it out slowly, tap the stick gently against the bowl edge to remove excess chocolate, and let any drips fall off before placing back on the parchment.
- Decorate while wet:
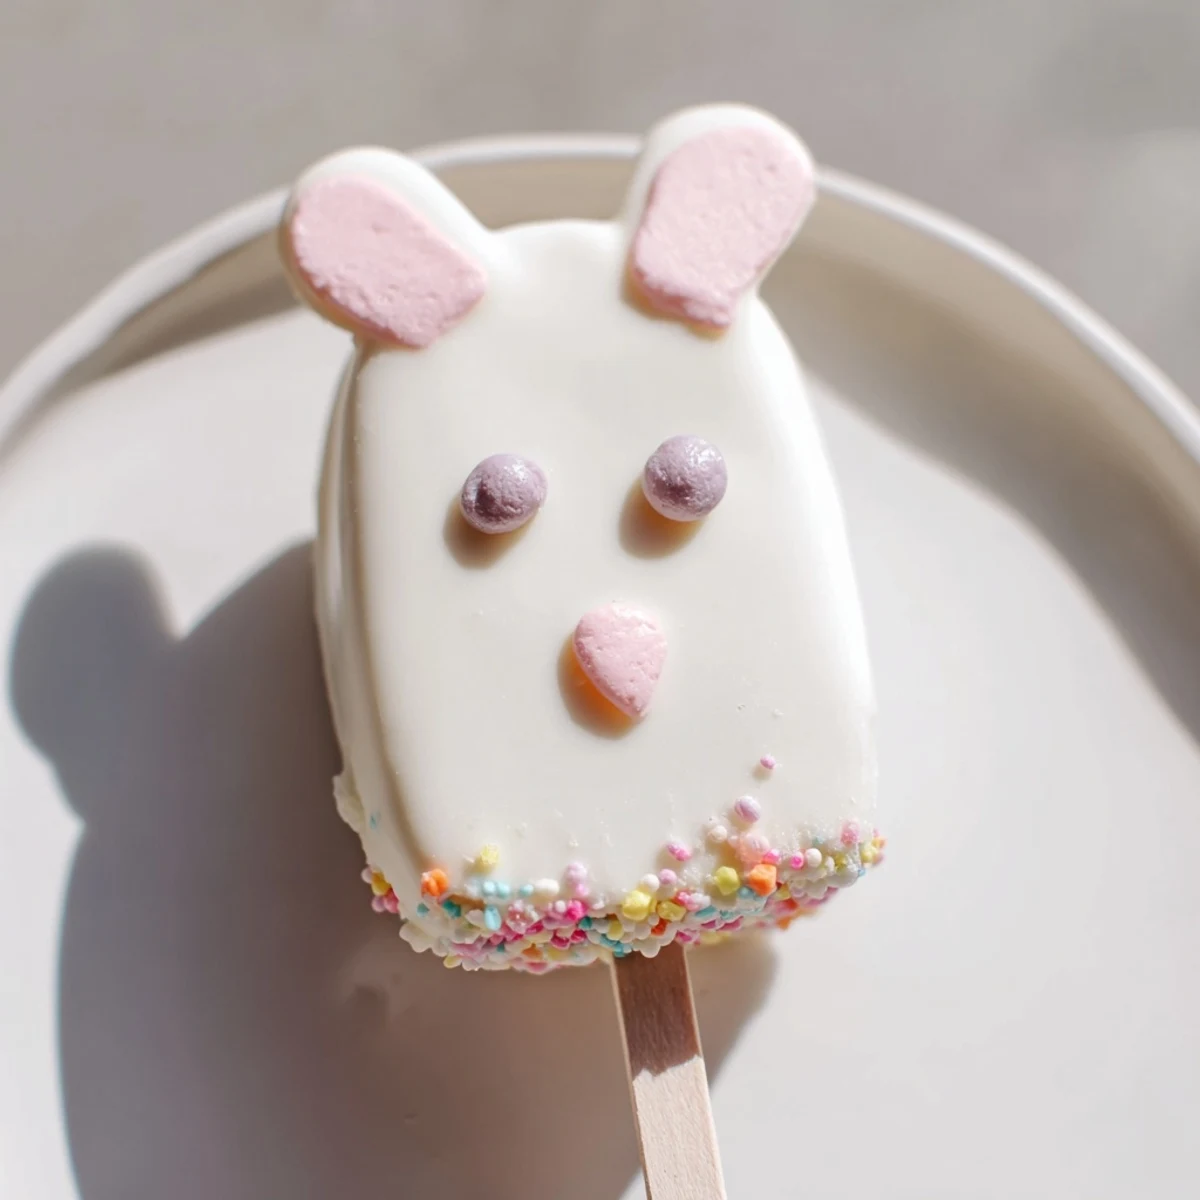
- While the coating is still soft, carefully place candy eyes, sprinkle whiskers, or fondant ears and noses onto each bunny face. The decorations will set right into the chocolate as it hardens.
- Set completely:
- Let the cakesicles sit at room temperature for about thirty minutes until the chocolate is fully set and no longer tacky. If you are in a hurry, you can refrigerate them for ten to fifteen minutes instead.
- Add final details:
- Use food coloring pens or gel to add tiny details like pink noses or whisker dots if you want extra personality. Serve immediately or store until your Easter celebration.
 Pin to board
 My sister still talks about the year we made these for our neighborhood egg hunt. Parents were sneaking seconds when they thought no one was watching, and the kids were carefully carrying their bunny treats around like precious treasures.
Making These Your Own
While vanilla cake with white chocolate is a classic combination, do not be afraid to experiment with different cake flavors. Chocolate cake with white coating creates a striking contrast, and lemon cake feels incredibly springlike and fresh.
Decoration Ideas
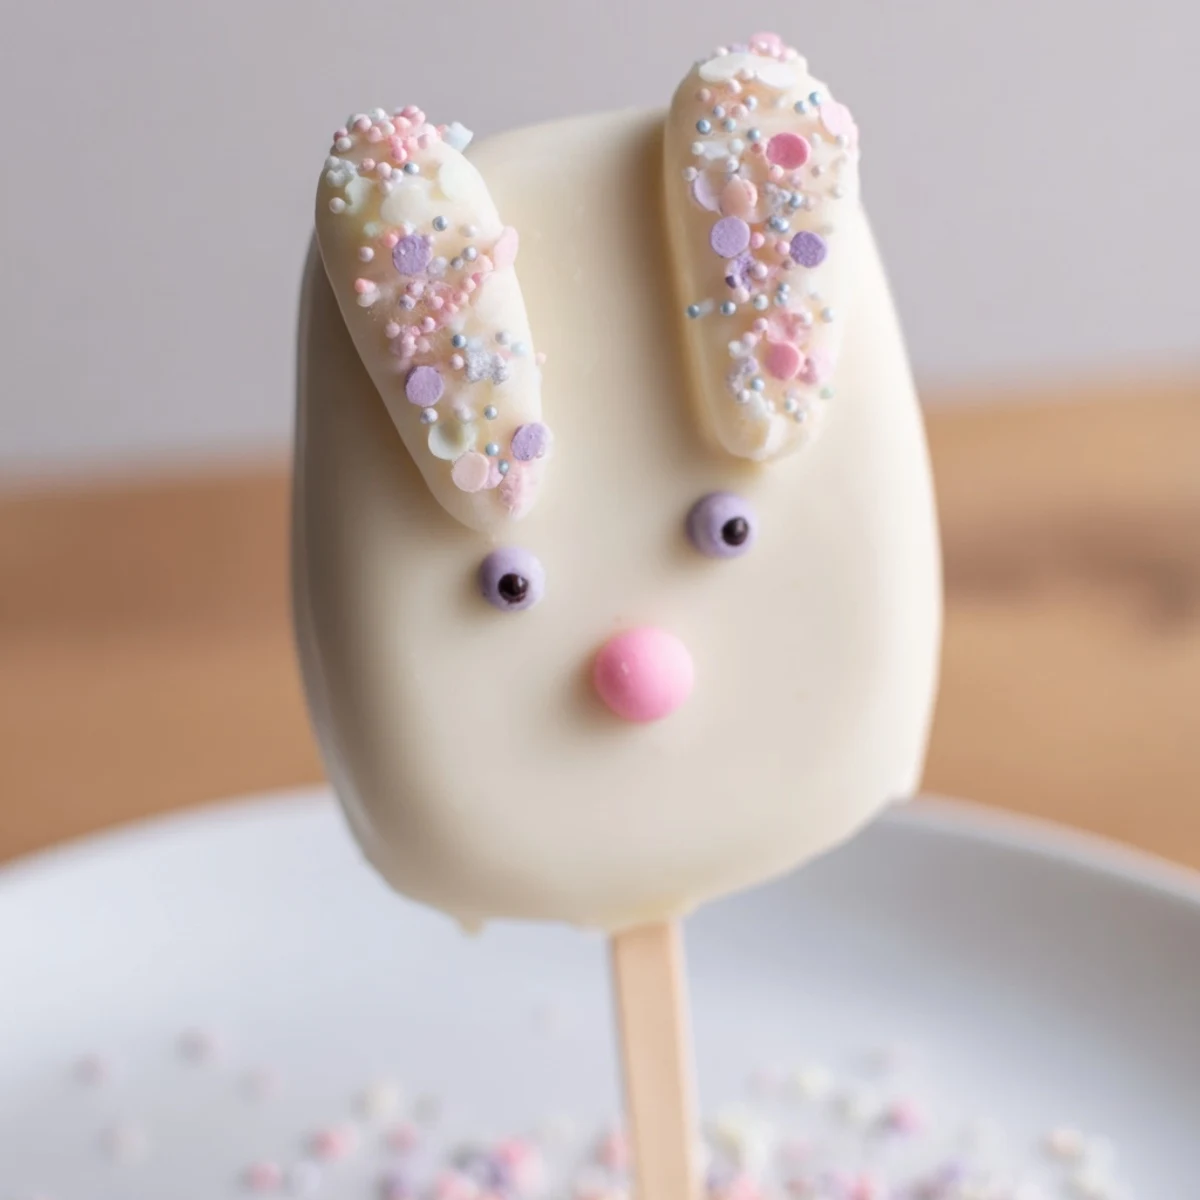
Beyond the traditional bunny face, try making carrot shapes with orange-tinted white chocolate and green fondant tops, or stick to simple pastel swirls and sprinkles for an elegant look. The key is having all your decorations ready before you start dipping, since the chocolate sets quickly.
Storage Tips
These treats actually taste better after a day in the refrigerator, as the flavors have time to meld together. Store them in an airtight container with parchment paper between layers to prevent sticking.
- Bring them to room temperature for about ten minutes before serving for the best texture
- Avoid leaving them in a warm room, as the white chocolate coating will start to soften
- They stay fresh in the refrigerator for up to three days, though they rarely last that long
 Pin to board
 This Easter, make some memories in the kitchen alongside these adorable treats. They might just become the tradition your family talks about for years to come.
Recipe FAQs
- → How far in advance can I make these bunny cakesicles?
-
You can prepare these up to 3 days ahead when stored properly in an airtight container in the refrigerator. The cake mixture stays fresh, and the white chocolate coating maintains its glossy appearance. For best results, add delicate decorations like fondant ears or candy features closer to serving time to prevent any softening or color bleeding from humidity.
- → What other cake flavors work well for these Easter treats?
-
Vanilla provides a classic canvas, but chocolate, lemon, red velvet, or strawberry cake crumbs create delicious variations. Chocolate pairs beautifully with white chocolate coating, while lemon offers refreshing brightness. Simply ensure your cake crumbs are finely crumbled and moist enough to hold the shape when mixed with the cream cheese binder.
- → Can I freeze these cakesicles for later use?
-
Yes, freeze undecorated cakesicles for up to one month. Wrap each individually in plastic wrap, then place in a freezer-safe container. Thaw overnight in the refrigerator before decorating and serving. Avoid freezing already decorated treats as the moisture can affect the appearance of sprinkles and candy features.
- → What's the best way to melt white chocolate for coating?
-
Melt white chocolate in 30-second intervals at 50% power, stirring thoroughly between each burst. White chocolate seizes easily, so gentle heating prevents clumping. If your mixture becomes too thick, add a teaspoon of vegetable oil to smooth it out. The perfect dipping consistency coats the back of a spoon while still dripping off slowly.
- → How do I prevent the sticks from falling out?
-
Chill your shaped cake mixture for at least 20 minutes before inserting sticks—cold mixture holds better. Insert the stick about halfway through, then gently twist to secure the cake around it. After dipping, let the cakesicles set upright in a glass or Styrofoam block rather than lying flat, which helps the coating firm evenly around the stick.
- → What decorations work best for bunny faces?
-
Fondant cutouts create clean bunny ears and noses, while candy eyes add instant personality. Pink sprinkles or nonpareils make adorable noses, and edible food markers let you draw whiskers and mouths directly onto the set chocolate. For simple versions, a pinch of pink sanding sugar creates cute blush spots on the cheeks.
