 Pin to board
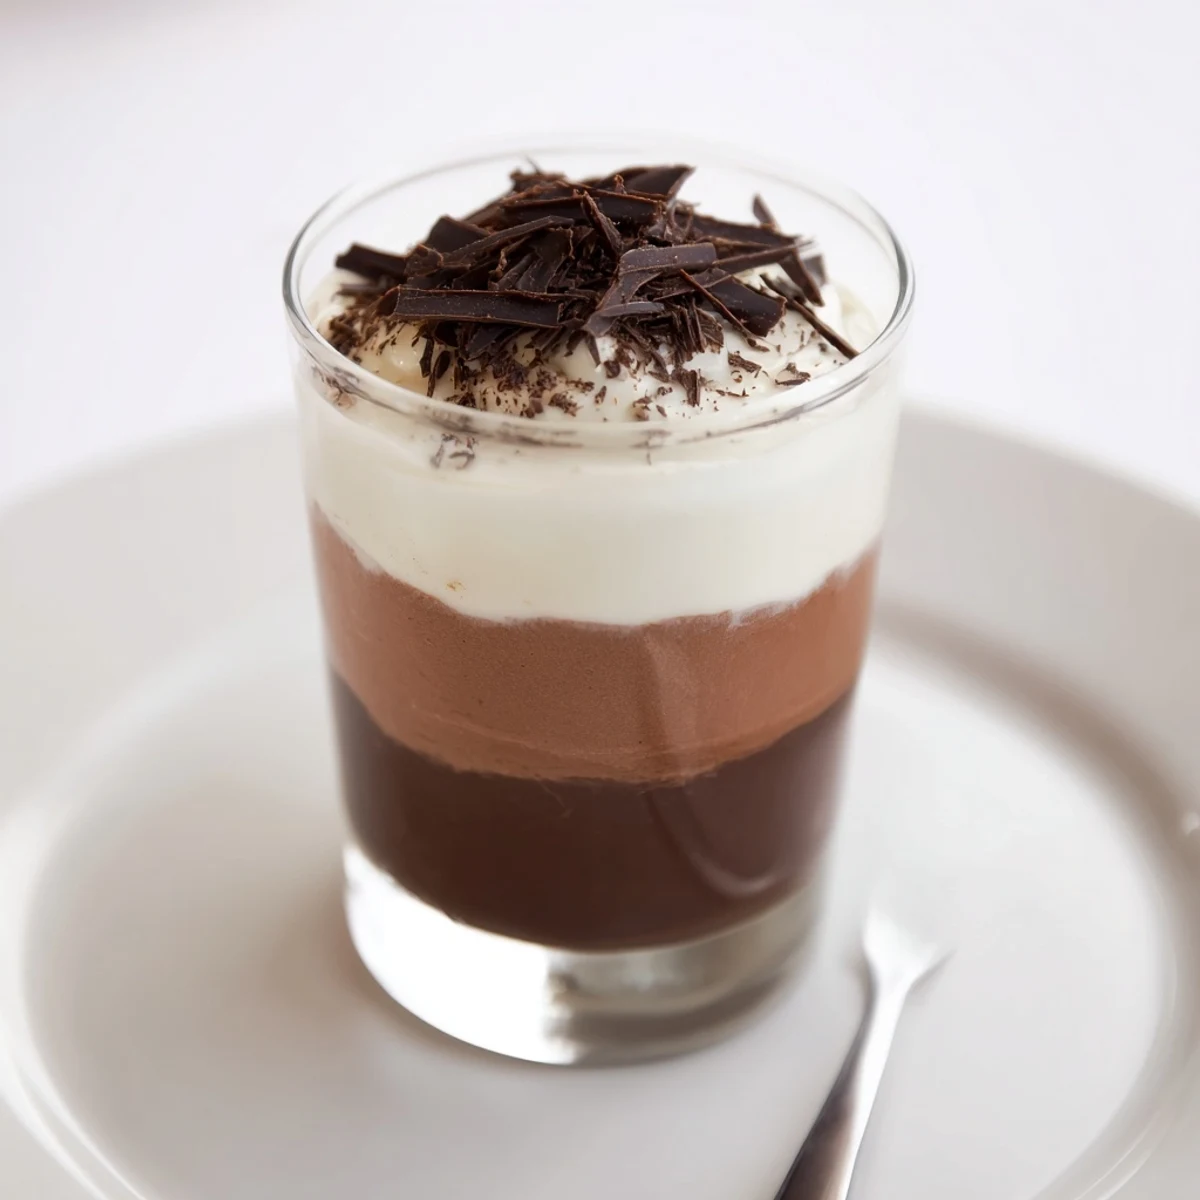
 Layer dark, milk and white chocolate mousses in small cups for an elegant, individual dessert. Melt each chocolate, fold into whisked egg yolks and gently incorporate softly whipped cream to keep airiness. Chill between layers to prevent blending, then set all cups at least 1 hour. Finish with shaved chocolate or cocoa. Optionally add a splash of coffee liqueur to the dark layer for depth.
The sound of spoons tapping on glass always seems to signal something special in the kitchen. That was the soundtrack when I first played around with triple chocolate mousse, layering dark, milk, and white chocolate in little cups—half out of excitement, half from impatience. Each melt, whisk, and fold filled the air with a swirl of cocoa aromas and anticipation. I still catch myself smiling, remembering how even my most skeptical friend scraped their cup clean.
One rainy Saturday, my cousin and I decided to see if we could make something as impressive as the photos in those glossy food magazines. We ended up with slightly wonky layers, melted chocolate fingerprints, and enough laughter to rival the sugar buzz. Serving those slightly lopsided mousse cups after dinner, I realized good company beats perfection every time.
Ingredients
- Dark chocolate (100 g, minimum 60% cocoa): Go for higher quality chocolate—a mistake you only make once if you use cheap chocolate that tastes waxy.
- Milk chocolate (100 g): This is the smooth, sweet heart of the trio—choose a creamy bar that melts evenly.
- White chocolate (100 g): White chocolate tends to scorch easily, so patience while melting makes a huge difference.
- Large egg yolks (3): Using fresh, room temperature eggs yields the best structure and silkiness for each layer.
- Sugar (4 ½ tbsp): I find adding sugar gradually lets you taste and adjust for each mousse, especially with different chocolates.
- Heavy cream (300 ml, cold): Cold cream whips faster and keeps the mousse light, so chill it well before you start.
- Shaved chocolate or cocoa powder (for garnish): Optional, but the crowning touch if you want that wow factor on the table.
Instructions
- Melt and cool the chocolate:
- Start with dark chocolate: melt it gently over a bain-marie or in short microwave bursts—if it smells toasty, pull it off heat immediately.
- Whisking magic:
- For each layer, whisk an egg yolk with sugar until it’s pale and slightly thick—you’ll see ribbons form when you lift the whisk.
- Combine and fold:
- Carefully blend melted chocolate into the yolk mixture so nothing seizes, then whip the cold cream until soft peaks and fold it in gently to keep airiness.
- Layer the cups:
- Spoon or pipe the dark mousse into six small glasses; pop them in the fridge to set while you repeat with the milk and white chocolate.
- Chill and finish:
- Let all the layers set in the refrigerator for at least an hour—garnish with shaved chocolate or cocoa powder before serving, if you like a flourish.
 Pin to board
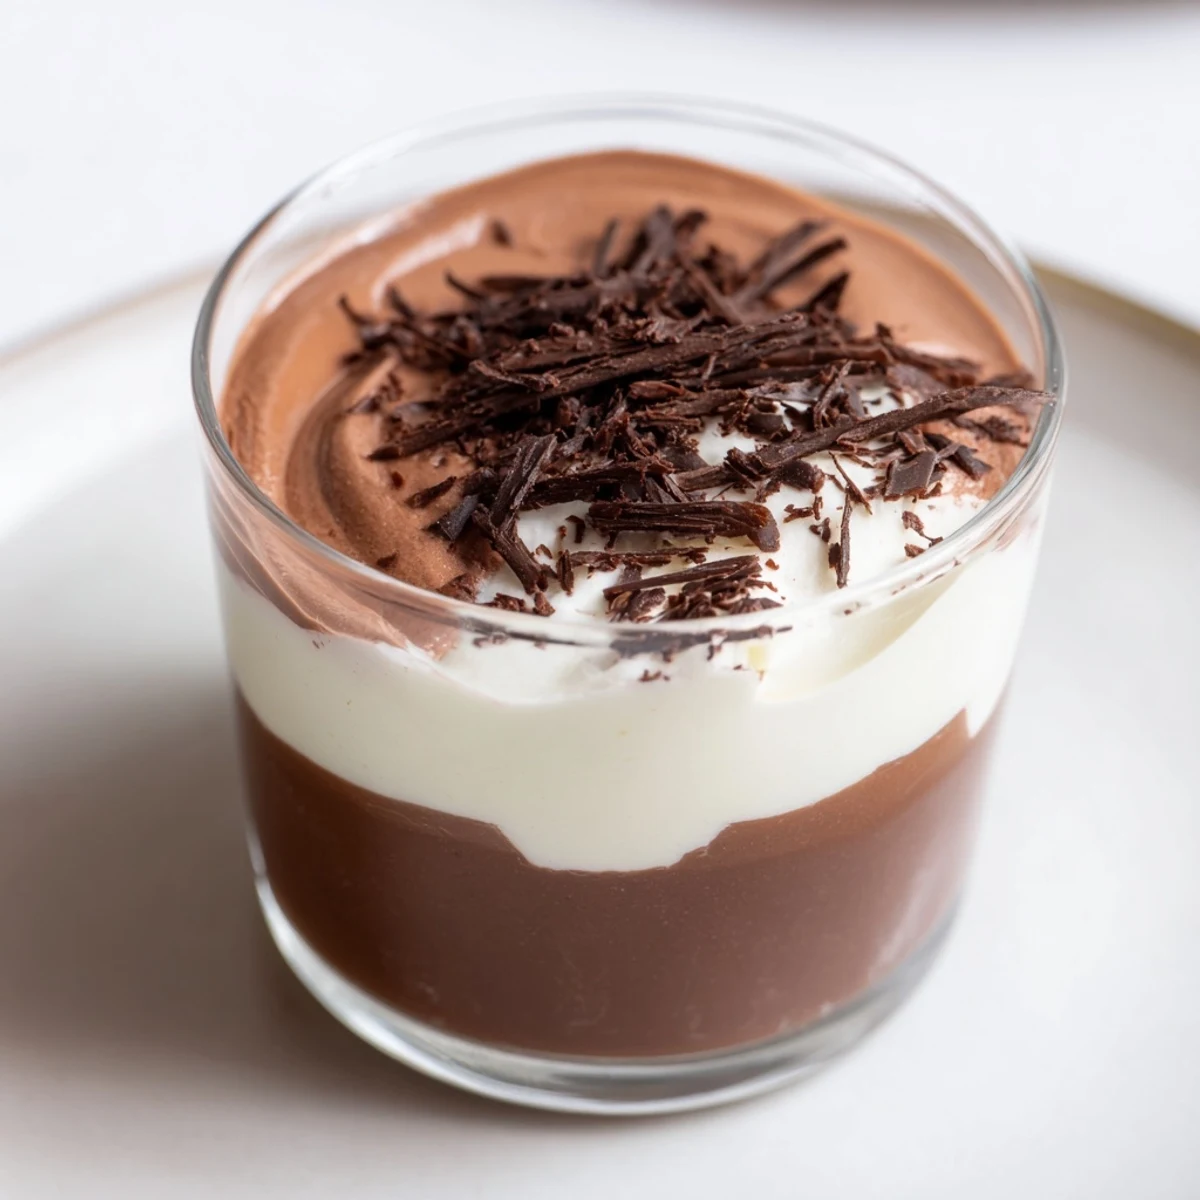
 The first time someone closed their eyes and sighed after the first bite, I realized these cups turn even an ordinary Tuesday into a tiny celebration. It’s a dessert that seems to pause time for a moment—everyone lingering at the table a little bit longer.
How to Avoid Sinking Layers
After a few messy versions, I learned not to rush—make sure each layer is just set before adding the next to keep those distinct stripes. A steady hand, a gentle touch with the spatula, and an extra minute of patience are all you really need.
Selecting the Right Chocolate
I used to think any old chocolate bar would do, but after switching to one with a higher cocoa content and less sugar, the flavor and texture improved dramatically. The mousse becomes more decadent and the layers truly shine.
Common Pitfalls (and Simple Fixes)
Sometimes I forget to properly chill my bowls and cream, and as a result, the mousse refuses to whip up properly—now I stash everything in the fridge beforehand, just in case.
- If you see chocolate streaks, keep folding—gently—but don’t overmix.
- When piping the mousses, use a big spoon or piping bag to reduce air bubbles in your cups.
- Finally, let each layer finish setting before adding the next for clean lines and pretty presentation.
 Pin to board
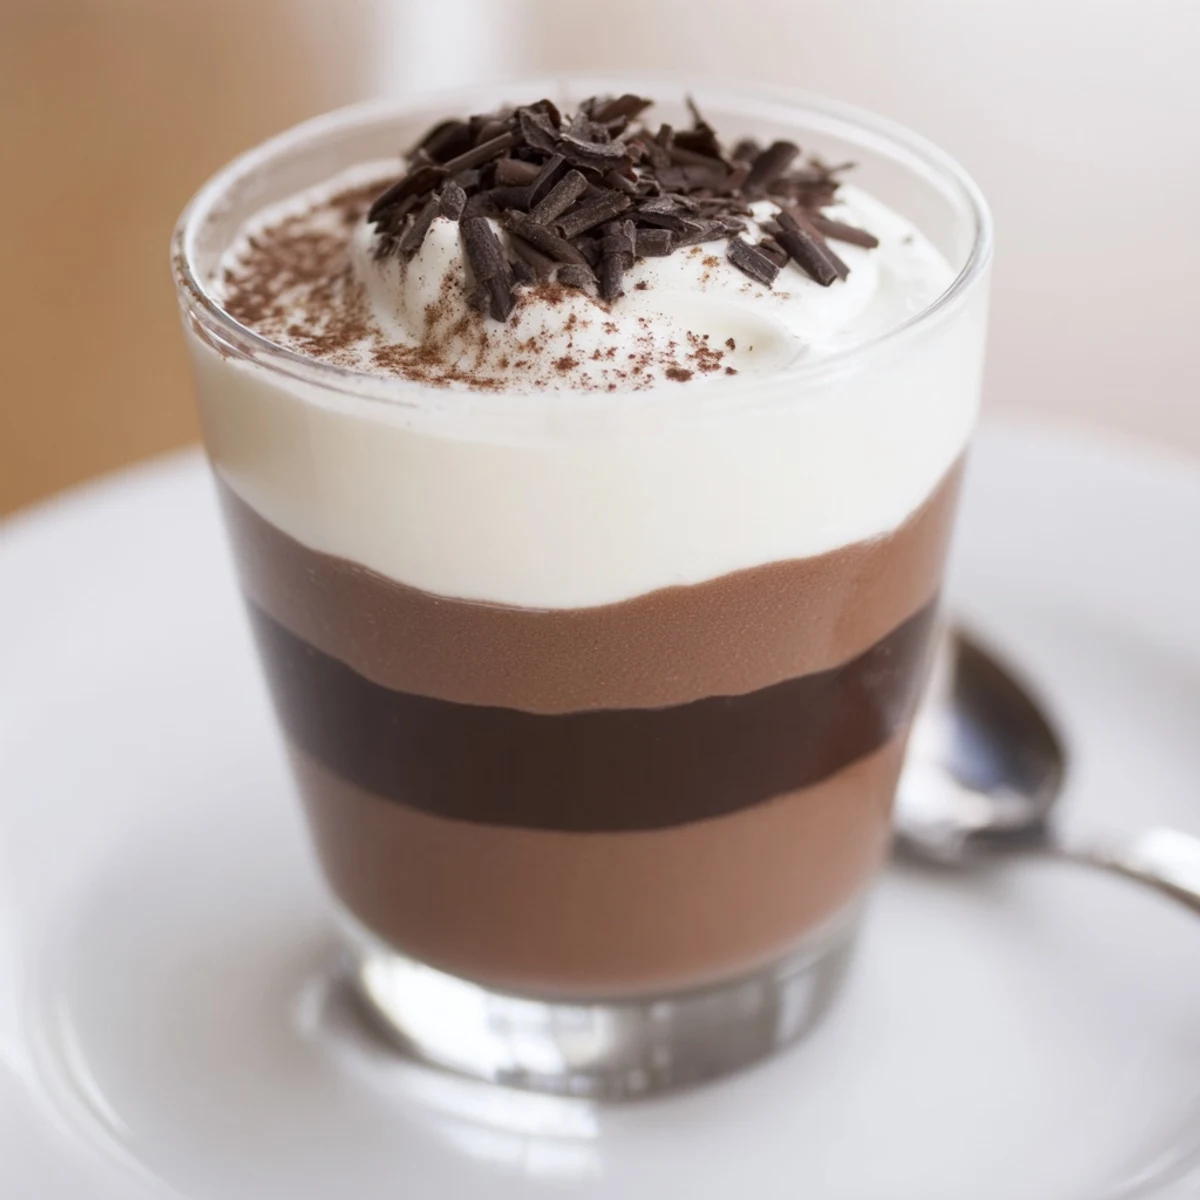
 No matter how your layers turn out, these mousse cups are all about delight—so enjoy every creamy spoonful, messy or perfect. Sometimes the best thing on the table is just a little bit shared.
Recipe FAQs
- → Can I prepare the layers ahead of time?
-
Yes. Assemble all layers and chill the cups covered for up to 24 hours. For best texture, add shaved chocolate or cocoa powder just before serving to avoid moisture build-up.
- → How do I keep the mousse light and airy?
-
Whip the cream to soft peaks and fold gently into the chocolate-egg mixture using a spatula with wide strokes. Avoid overmixing to retain air and a silky texture.
- → Are there safe egg alternatives?
-
If you prefer to avoid raw yolks, use a cooked custard base or pasteurised egg yolks; tempering yolks over warm chocolate also helps ensure safety while maintaining richness.
- → Why chill between layers?
-
Chilling each layer briefly firms it enough to support the next layer and prevents colors and textures from blending, resulting in distinct, neat strata in each cup.
- → Can I add liqueur or flavours?
-
Yes. A splash of coffee liqueur or a little orange zest in the dark or milk layer enhances complexity. Add sparingly to preserve set and texture.
- → Is freezing a good option to speed setting?
-
Freezing for 25–30 minutes between layers can speed setting, but avoid long freezes to prevent ice crystals; fully chill in the refrigerator before serving for best mouthfeel.
