 Pin to board
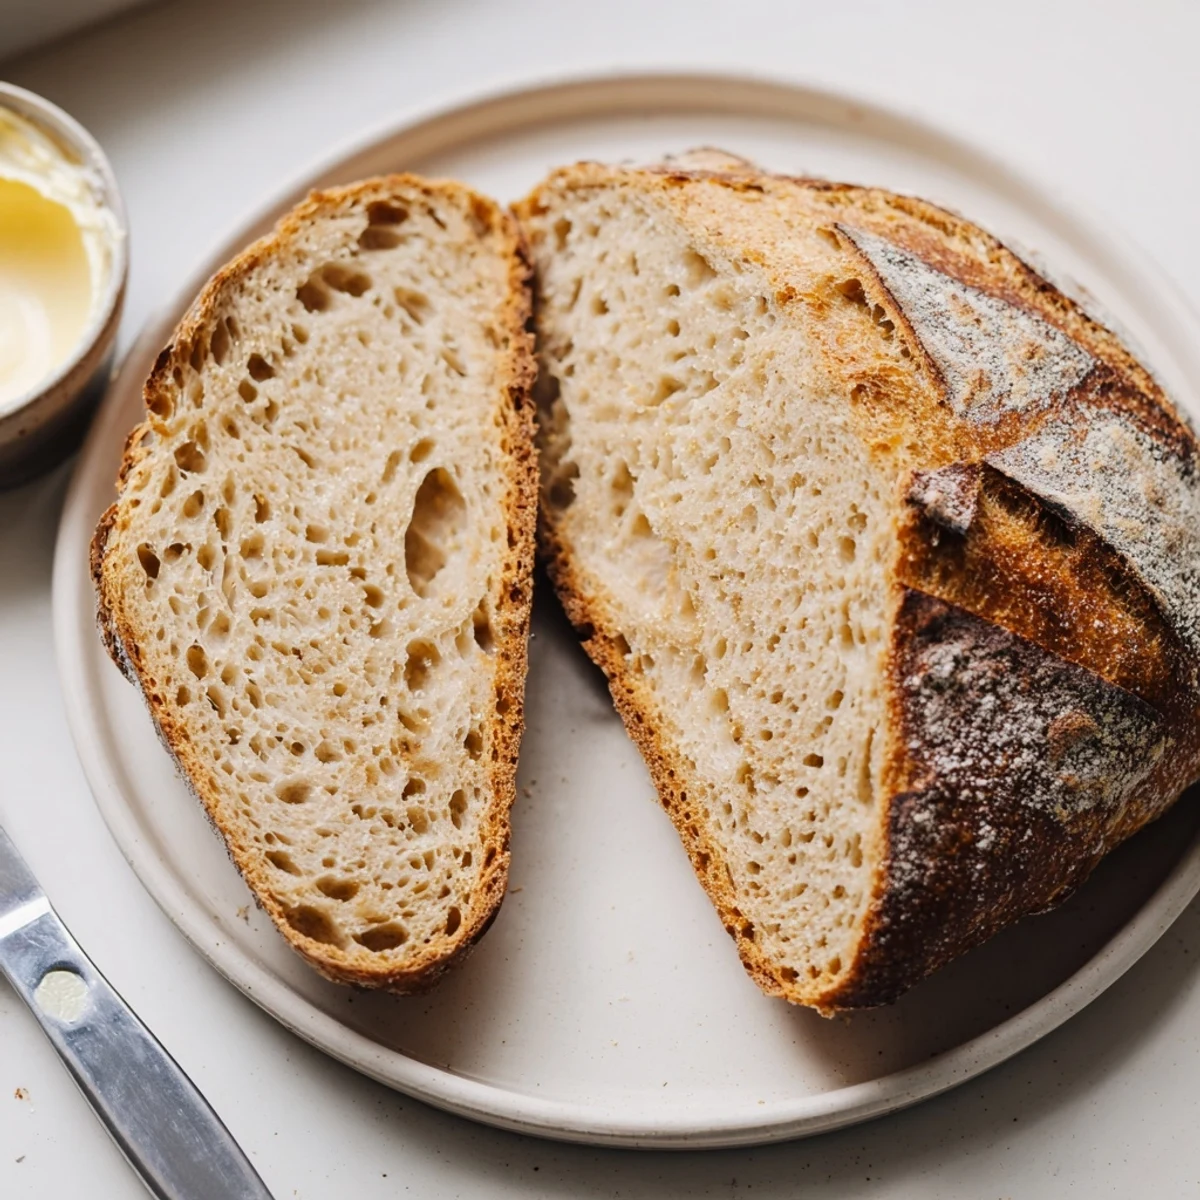
 Craft an authentic crusty loaf with a chewy interior and distinctive tangy taste through wild yeast fermentation. This traditional method requires patience, yielding a beautifully browned artisan creation with perfect oven spring and complex flavor development.
My first attempt at sourdough ended up as a dense brick that I kept on my counter for weeks, strangely proud of my failure. There's something magical about transforming just flour and water into a living, breathing thing that fills your kitchen with the most incredible tangy aroma. Now I can't imagine a weekend without the rhythm of feeding my starter and watching bubbles form. The moment you pull that steaming, crackling loaf from the oven makes every hour of waiting absolutely worth it.
Last winter, during that particularly long stretch of gray weekends, I started baking sourdough every Sunday. My neighbor began texting me at noon: 'Is it bread day yet?' Soon we were trading slices through the mail slot, me still in my pajamas, flour dusted across my forehead. Something about sharing a warm loaf makes the world feel gentler.
Ingredients
- Active sourdough starter: This wild yeast culture is everything—it should be fed 8–12 hours before baking and bubbling with activity to give your bread proper rise and that signature tang
- Bread flour: Higher protein content than all-purpose creates the strong gluten network needed for that satisfying chew and structure
- Whole wheat flour: A small addition brings depth of flavor and extra character without weighing down the crumb
- Room temperature water: Using water around 70°F helps fermentation proceed at the right pace—too cold slows everything down
- Sea salt: Enhances flavor and controls fermentation speed; coarse sea salt dissolves beautifully as you mix
Instructions
- Create the autolyse:
- Combine your flours and water in a large bowl, mixing just until no dry bits remain. This resting period allows enzymes to begin breaking down starches, making the dough easier to work with later.
- Incorporate starter and salt:
- Add your bubbly starter and sea salt to the bowl. Use your hands to pinch and squeeze everything together until fully integrated—the dough will feel shaggy at first but will smooth out.
- Bulk fermentation:
- Let your dough rest covered at room temperature for 4–5 hours. Every 30–45 minutes, grab one edge of the dough and pull it up and over toward the center, repeating this stretch and fold four times around the bowl to build strength.
- Pre-shape the dough:
- Turn the dough onto a lightly floured surface and gently fold its edges toward the center to create a round. Cover and let it rest for 20 minutes while the gluten relaxes.
- Final shaping:
- Shape the dough into a tight round by pulling the surface tension taut across the top. Place it seam side up in a well-floured proofing basket, letting the folds support the structure.
- Final proof:
- Cover the basket and let it rise at room temperature for 2–3 hours until it has grown by about half. For deeper flavor, refrigerate overnight and bake in the morning.
- Preheat your oven:
- Place a Dutch oven with its lid inside and preheat to 480°F for at least 30 minutes. This intense heat and enclosed space creates the steam necessary for an exceptional crust.
- Score and bake:
- Gently invert your dough onto parchment paper and use a sharp blade to cut a decorative pattern on top—this helps the bread expand predictably. Transfer to the preheated pot, cover, and bake for 20 minutes before removing the lid.
- Finish baking:
- Reduce temperature to 430°F and continue baking uncovered for 25 minutes until the crust is deep golden brown and the loaf sounds hollow when tapped on the bottom.
- Cool completely:
- Remove from the pot and let the bread cool on a wire rack for at least an hour. Slicing while warm releases too much steam and ruins the crumb structure you've worked so hard to create.
 Pin to board
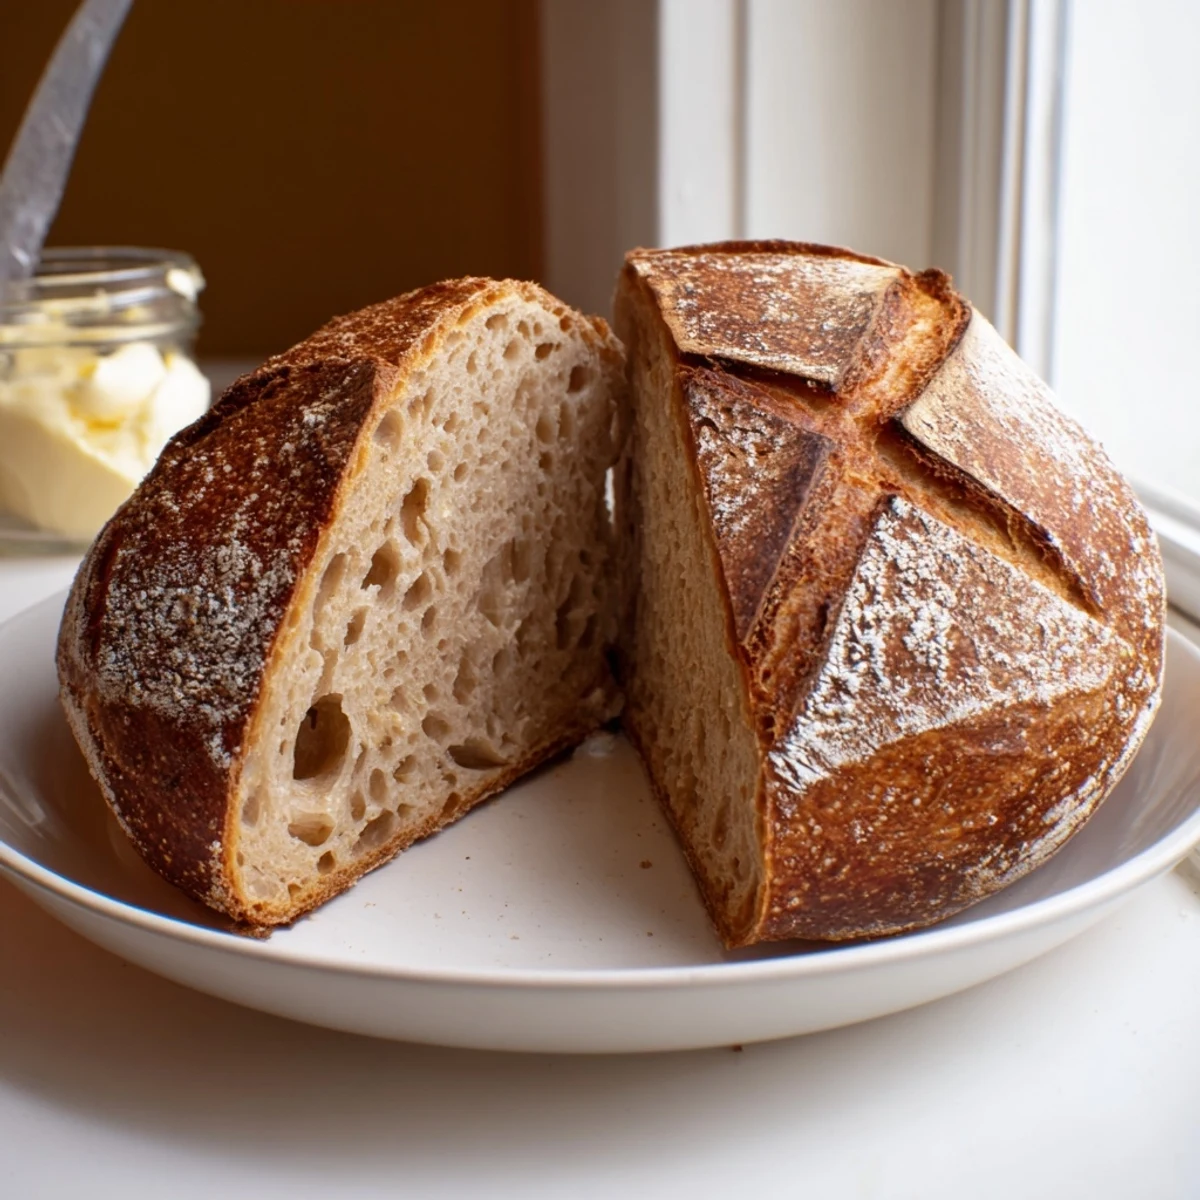
 My daughter now asks if we can have 'the good bread' with dinner every night. Watching her slather a slice with butter and take that first crackling bite—well, that's better than any bakery review I could ever receive.
Feeding Your Starter
Think of your starter like a low-maintenance pet that needs regular meals to stay happy and active. Feed it equal parts flour and water by weight, discarding some before each feeding to keep it manageable. I keep mine on the counter when I bake weekly and move it to the fridge, feeding it weekly, during baking breaks.
Understanding Fermentation
Temperature dramatically affects how quickly your dough develops flavor and structure. In winter, I let my dough ferment in the warmest spot in the kitchen, often near the oven with the light on. During summer, the process speeds up dramatically—your dough might finish bulk fermentation in just 3 hours when it's 75°F or warmer.
Storing and Using Your Loaf
A properly cooled sourdough loaf keeps remarkably well. Store it cut side down on a cutting board for 1–2 days, then move to a paper bag to maintain crust while preventing moisture buildup. Day-old sourdough makes exceptional toast—its structure stands up beautifully to toppings, and the flavors concentrate as it ages.
- Revive a day-old crust by sprinkling it with water and warming it at 350°F for 10 minutes
- Stale sourdough transforms into croutons or breadcrumbs with just a quick trip to the oven
- Slice older loaves before freezing to toast individual pieces straight from the freezer
 Pin to board
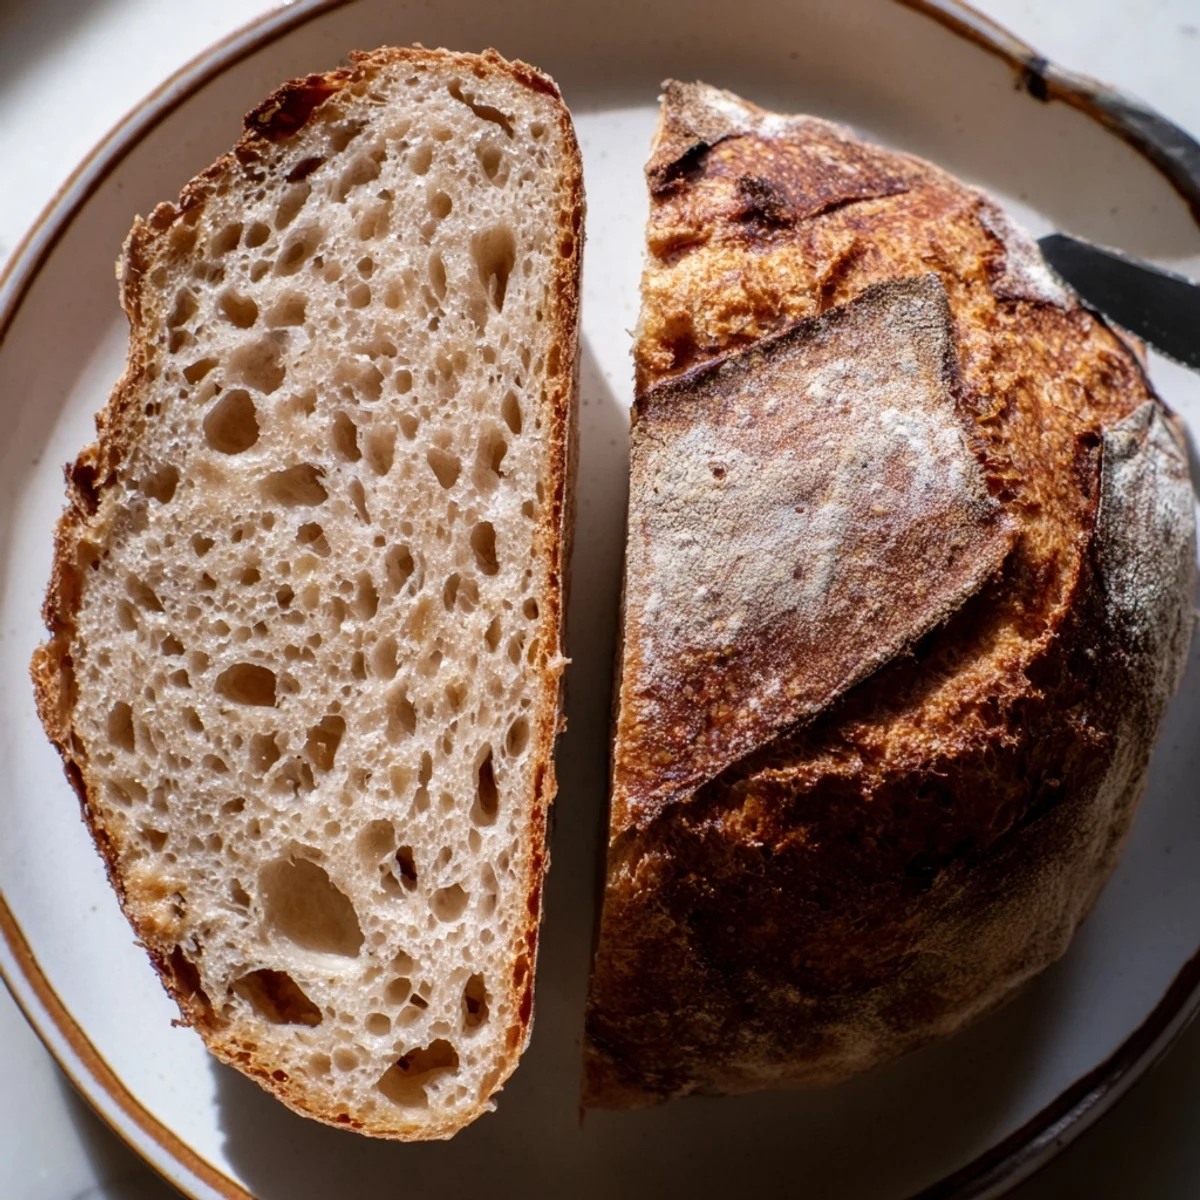
 There's something profoundly satisfying about creating bread from nothing but flour, water, and time. May your kitchen always smell like warm bread and possibility.
Recipe FAQs
- → What makes the flavor tangy?
-
The characteristic tangy taste develops through wild yeast fermentation during the long rising process, which creates beneficial lactic acid bacteria.
- → Why is cold-proofing recommended?
-
Overnight refrigeration slows fermentation, allowing subtle flavors to develop while creating a more complex taste profile and easier handling.
- → Can I substitute the flours?
-
You can replace the whole wheat portion with rye flour for deeper flavor, though maintain some bread flour for proper structure and gluten development.
- → Why use a Dutch oven?
-
The heavy pot with lid creates steam, essential for developing a crispy crust and excellent oven rise, mimicking professional deck ovens.
- → How do I know when it's done?
-
The loaf should sound hollow when tapped on the bottom, have a deep golden-brown crust, and register about 200°F internally.
- → Can I freeze this?
-
Wrap cooled loaves tightly in plastic and freeze for up to three months. Thaw at room temperature and refresh in a warm oven.
