
 Pin to board
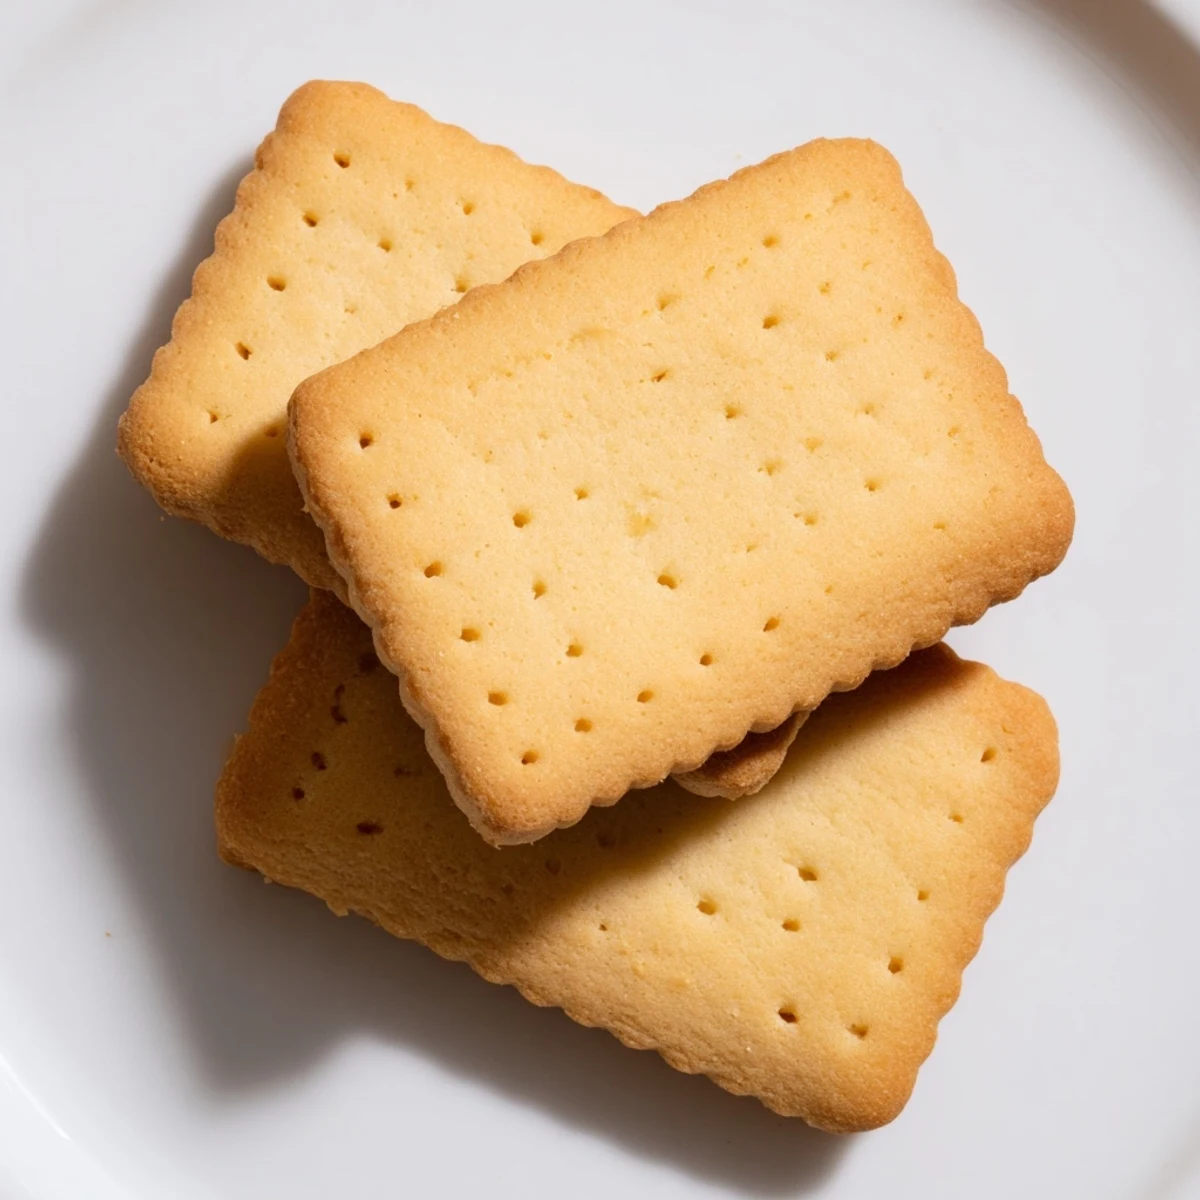
 Le petit beurre est un grand classique de la biscuiterie française, reconnaissable à sa forme rectangulaire aux bords dentelés et à ses trous décoratifs. Doré et craquant, il se déguste à tout moment de la journée.
Cette version maison, préparée avec du beurre doux, du lait entier et de la farine, offre une texture croustillante et un goût délicatement beurré. La pâte, facile à travailler, se façonne à l'emporte-pièce pour un résultat fidèle à la tradition.
Parfaits pour le goûter des enfants ou pour accompagner une tasse de thé ou de café, ces biscuits se conservent près d'une semaine dans une boîte hermétique.
The butter was browning before I even realized what was happening, and that tiny accident taught me everything I know about making petit beurre at home. French butter biscuits sound fancy, but they are really just patience and a hot oven transformed into something golden and dunkable. My kitchen smelled like a Parisian bakery for hours after that first batch, and I have never bought store bought since.
I made a double batch one rainy Sunday and left them cooling on the rack while I ran to the store. When I came back my roommate had eaten twelve of them standing at the counter, still in his raincoat. He just shrugged and said they were too warm to resist.
Ingredients
- 100 g unsalted butter: The soul of this biscuit, use good quality European butter if you can find it for a richer flavor.
- 100 g granulated sugar: Regular white sugar keeps the texture crisp and the color pale golden.
- 60 ml whole milk: Whole milk matters here, it binds the dough without making it heavy.
- 1 pinch of salt: Just a pinch lifts all the flavors and balances the sweetness perfectly.
- 250 g all purpose flour: Measured by weight for accuracy, spooning into a cup can lead to dense biscuits.
- 5 g baking powder: A small amount gives just enough lift without turning them into soft cookies.
Instructions
- Melt and combine the wet ingredients:
- In a saucepan over low heat, melt the butter with the milk, sugar, and salt, stirring gently until the butter is completely liquid and the mixture is smooth. Let it cool until it feels warm to the touch but not hot, which prevents the flour from cooking prematurely.
- Build the dry base:
- In a large bowl, whisk together the flour and baking powder until evenly distributed. This small step ensures your biscuits rise evenly without bitter pockets of leavening.
- Bring the dough together:
- Pour the warm butter mixture into the flour and stir with a wooden spoon until a shaggy dough forms, then switch to your hands and knead gently until smooth. The warmth of your hands actually helps bring everything together beautifully.
- Rest the dough:
- Shape the dough into a flat disc, wrap it tightly in plastic wrap, and refrigerate for 30 minutes. This resting time firms the butter and makes rolling out infinitely easier.
- Preheat and roll:
- Heat your oven to 180 degrees Celsius conventional setting, then roll the chilled dough on a floured surface to about 5 millimeters thick. You want it thin enough to snap but thick enough to have a satisfying bite.
- Cut and dock:
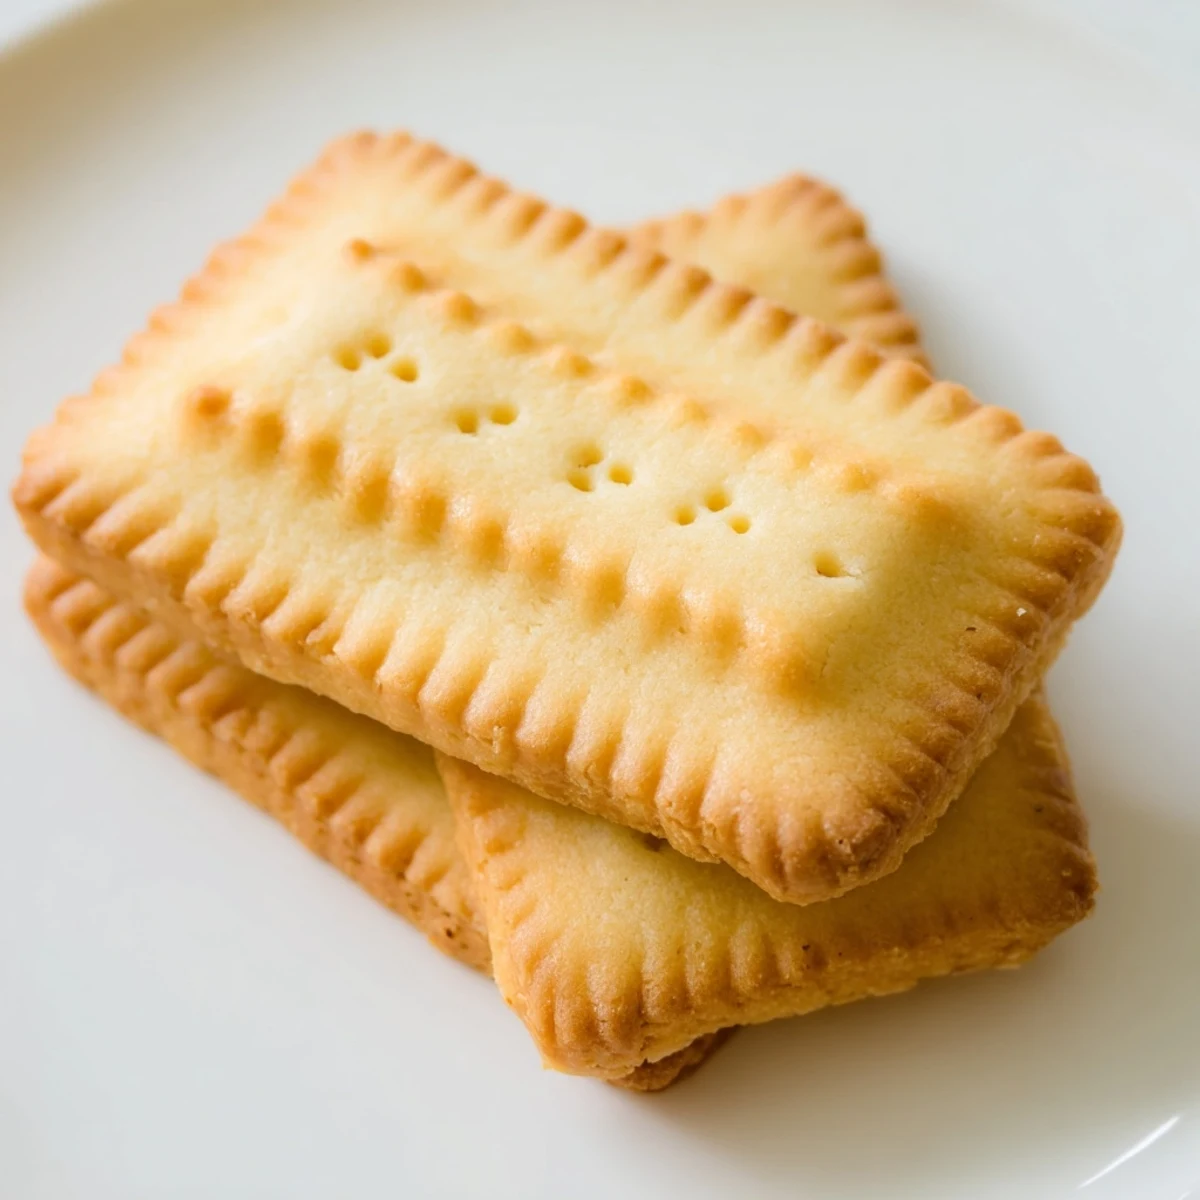
- Use a petit beurre cutter or any cookie cutter you like, then place each biscuit on a parchment lined baking sheet. Poke each one a few times with a fork for that classic look and to help them bake evenly.
- Bake until golden:
- Slide the tray into the oven for 12 minutes, watching for golden edges and a set center. They will firm up as they cool, so do not overbake thinking they seem too soft.
- Cool completely:
- Transfer the biscuits to a wire rack and let them cool entirely before storing or eating. This is the hardest part because your kitchen will smell incredible.
 Pin to board
 I packed a tin of these for a long train ride to visit my mother, and by the time I arrived the tin was nearly empty because I kept sharing them with strangers in my compartment. One woman told me they reminded her of the biscuits her grandmother made in Lyon every Christmas. That conversation alone was worth every minute of rolling and cutting.
Storing Your Biscuits
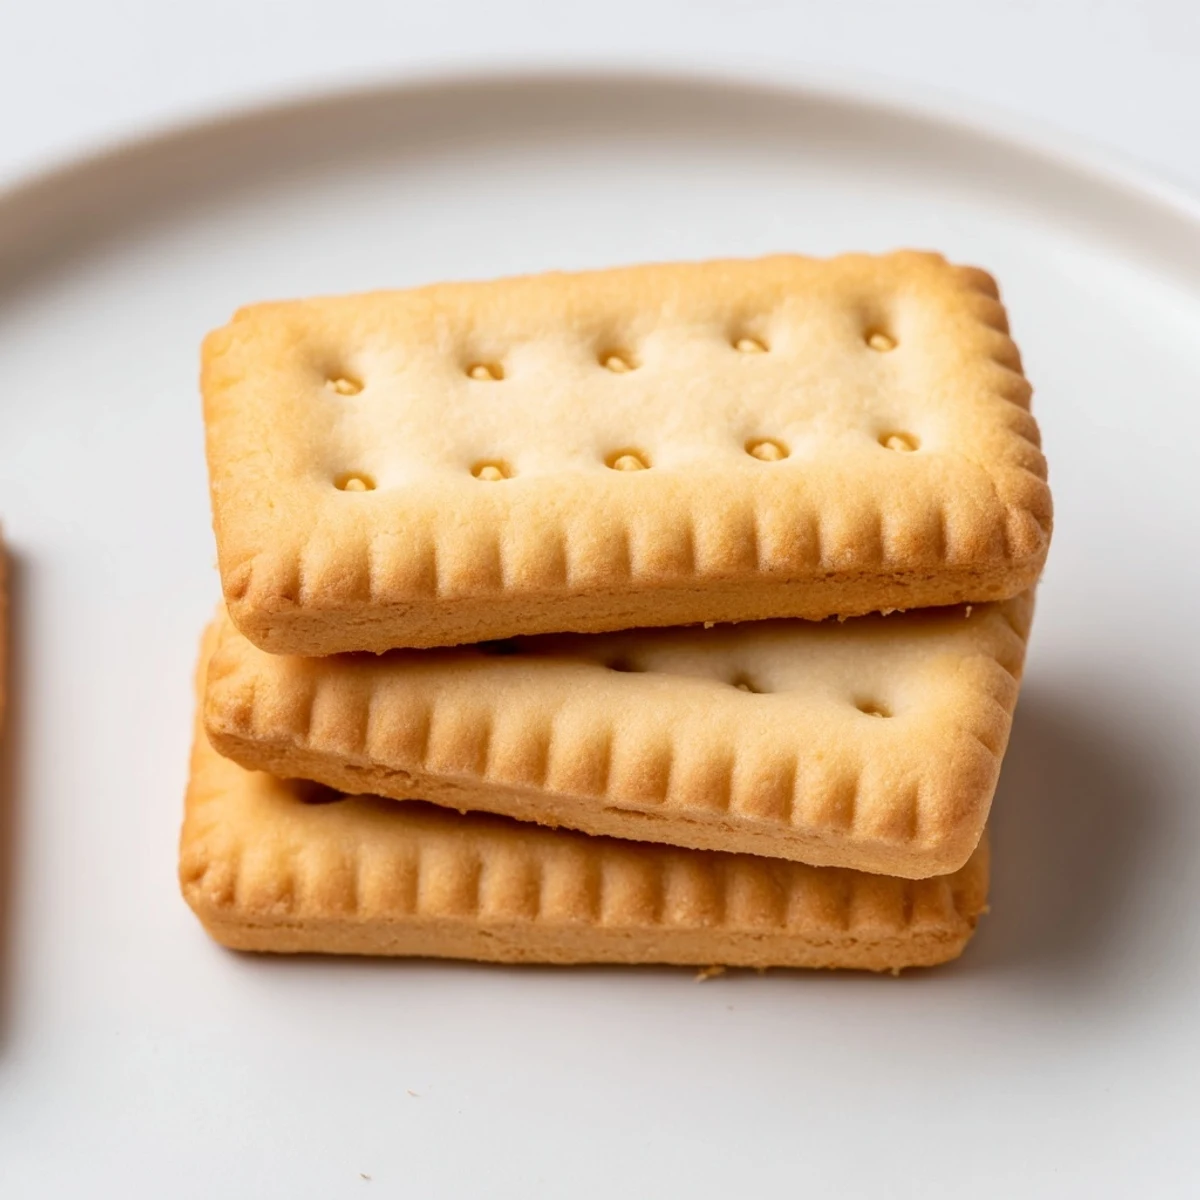
An airtight tin keeps these crisp for up to a week, though they rarely last that long in my kitchen. Layer them between sheets of parchment paper if you are stacking them to prevent any sticking. A cookie tin with a tight lid actually works better than plastic containers, which can trap humidity and soften the edges over time.
Fun Variations to Try
Adding a teaspoon of vanilla extract or the zest of half a lemon to the warm butter mixture transforms these into something unexpectedly special without much extra effort. My favorite variation is dipping half of each cooled biscuit into melted dark chocolate and letting them set on parchment. The combination of snap and chocolate is dangerous enough that you should probably hide them from yourself.
Getting the Texture Right
Rolling the dough to an even thickness is the real secret to biscuits that bake uniformly and have that satisfying snap when you break them in half. I learned this after a batch where some were thin as paper and others thick as crackers, and the thin ones burned before the thick ones were done. Take your time with the rolling pin and rotate the dough frequently.
- If your kitchen is very warm, pop the cut biscuits back in the fridge for five minutes before baking.
- A light dusting of flour on your rolling pin prevents sticking without adding too much extra flour to the dough.
- Trust the 12 minute timer and the color of the edges more than how the center looks.
 Pin to board
 There is something deeply satisfying about a biscuit this simple, just butter and sugar and patience, turned into something that makes people close their eyes when they take a bite. Keep a batch in your tin and you will always have a reason to put the kettle on.
Recipe FAQs
- → Pourquoi piquer les biscuits à la fourchette ?
-
Le piquage à la fourchette n'est pas que décoratif. Il permet à la vapeur de s'échapper pendant la cuisson, ce qui évite que les biscuits ne gonflent et garantit une texture plate et uniforme, parfaitement croustillante.
- → Peut-on congserver ces petits beurre ?
-
Oui, vous pouvez congeler ces biscuits. Placez-les dans un sac de congélation bien fermé, en séparant les couches avec du papier cuisson. Ils se conservent jusqu'à 3 mois au congélateur. Laissez-les décongeler à température ambiante avant de les déguster.
- → Comment obtenir des bords bien dentelés sans emporte-pièce spécial ?
-
Sans emporte-pièce spécifique petit beurre, vous pouvez utiliser un emporte-pièce rectangulaire classique ou découper des rectangles au couteau. Pour les bords dentelés, vous pouvez utiliser une roulette cannelée ou simplement faire de petites encoches régulières avec la pointe d'un couteau.
- → Pourquoi faut-il laisser reposer la pâte au réfrigérateur ?
-
Le repos au frais pendant 30 minutes permet au beurre de se solidifier à nouveau, ce qui rend la pâte plus facile à étaler et à découper. Il permet également au gluten de se détendre, évitant ainsi que les biscuits ne se rétractent à la cuisson.
- → Peut-on remplacer le lait entier par un lait végétal ?
-
Oui, vous pouvez utiliser du lait végétal comme le lait d'avoine ou d'amande pour une version sans lactose. Le résultat sera légèrement différent en texture et en goût, mais les biscuits resteront délicieux. Ajustez éventuellement la quantité de farine si la pâte est trop collante.
- → Comment éviter que les biscuits ne soient trop durs ?
-
La clé réside dans le temps de cuisson. Surveillez-les attentivement et sortez-les du four dès que les bords commencent à dorer. Ils paraîtront encore un peu mous à la sortie du four mais durciront en refroidissant sur la grille. Un cuisson trop longue les rendra effectivement trop durs.