 Pin to board
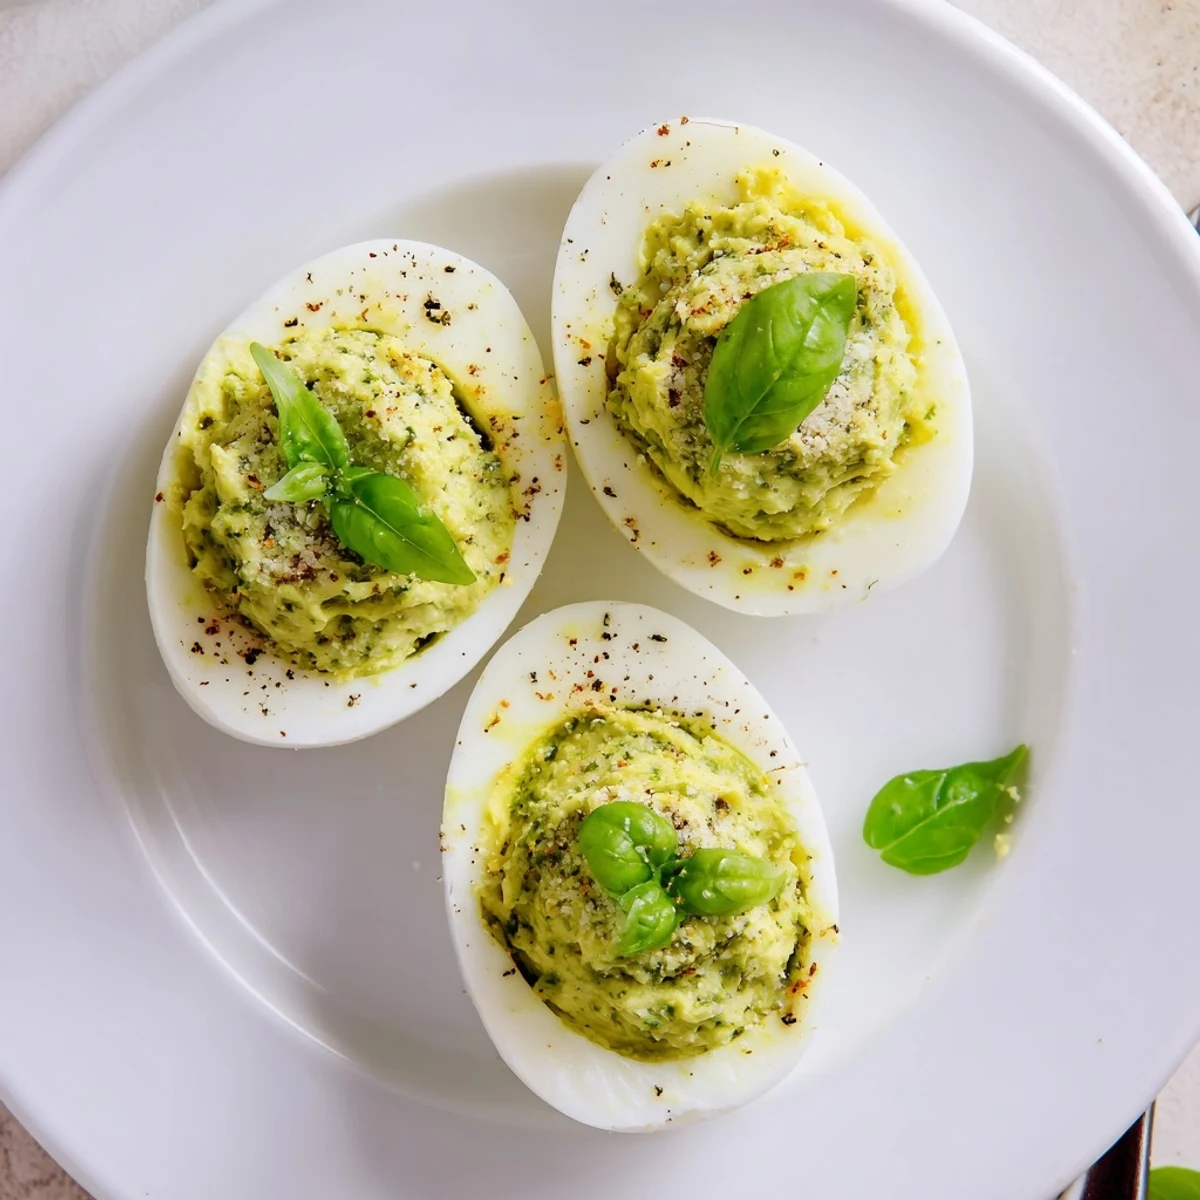
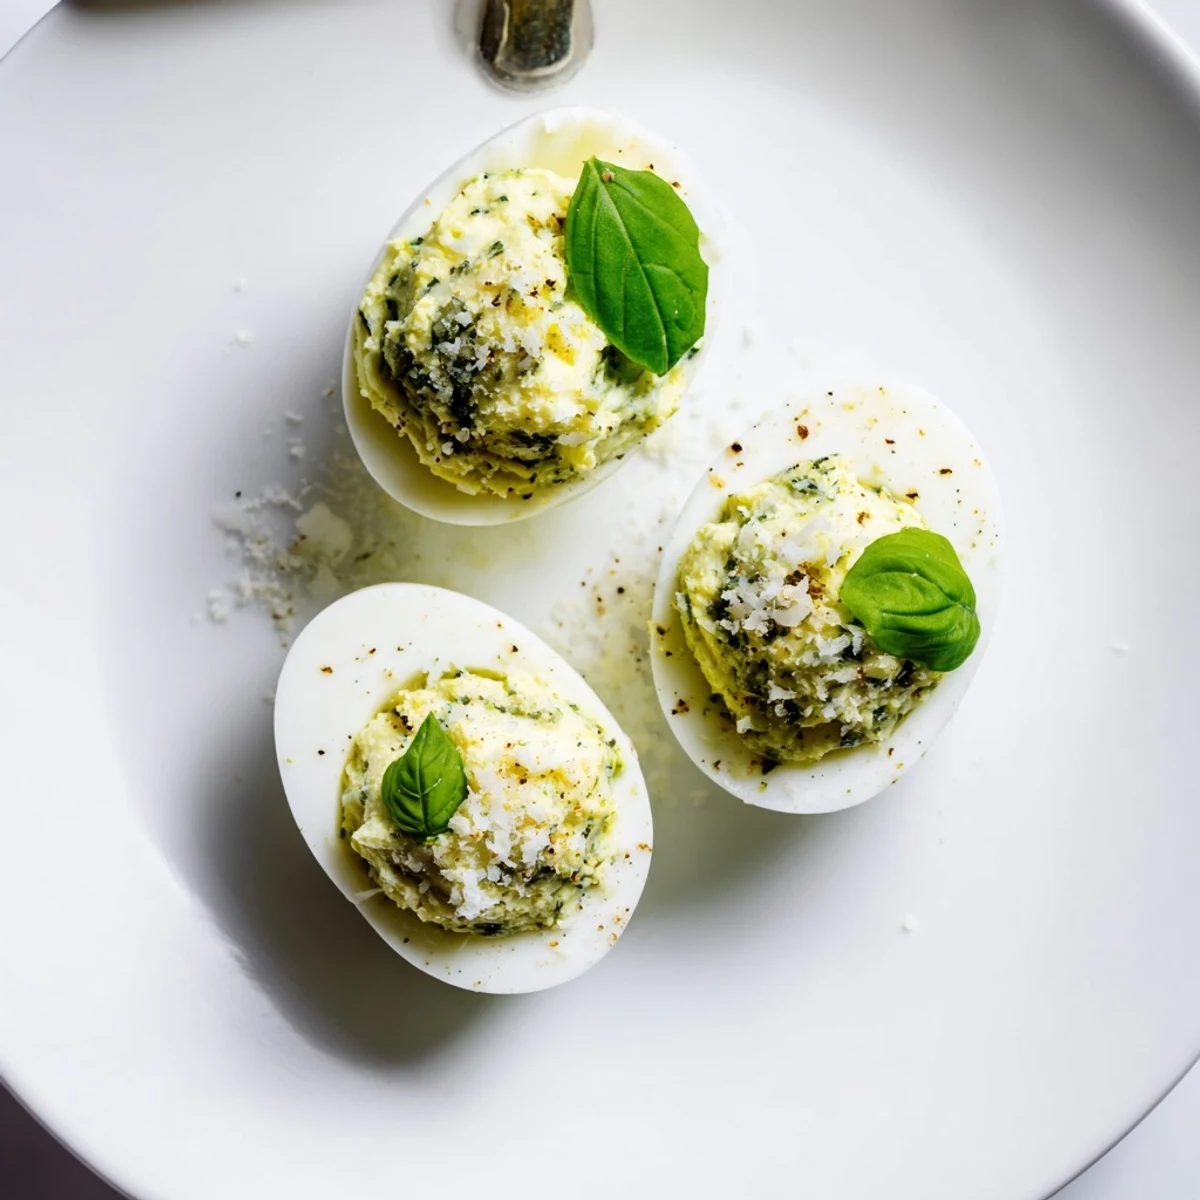
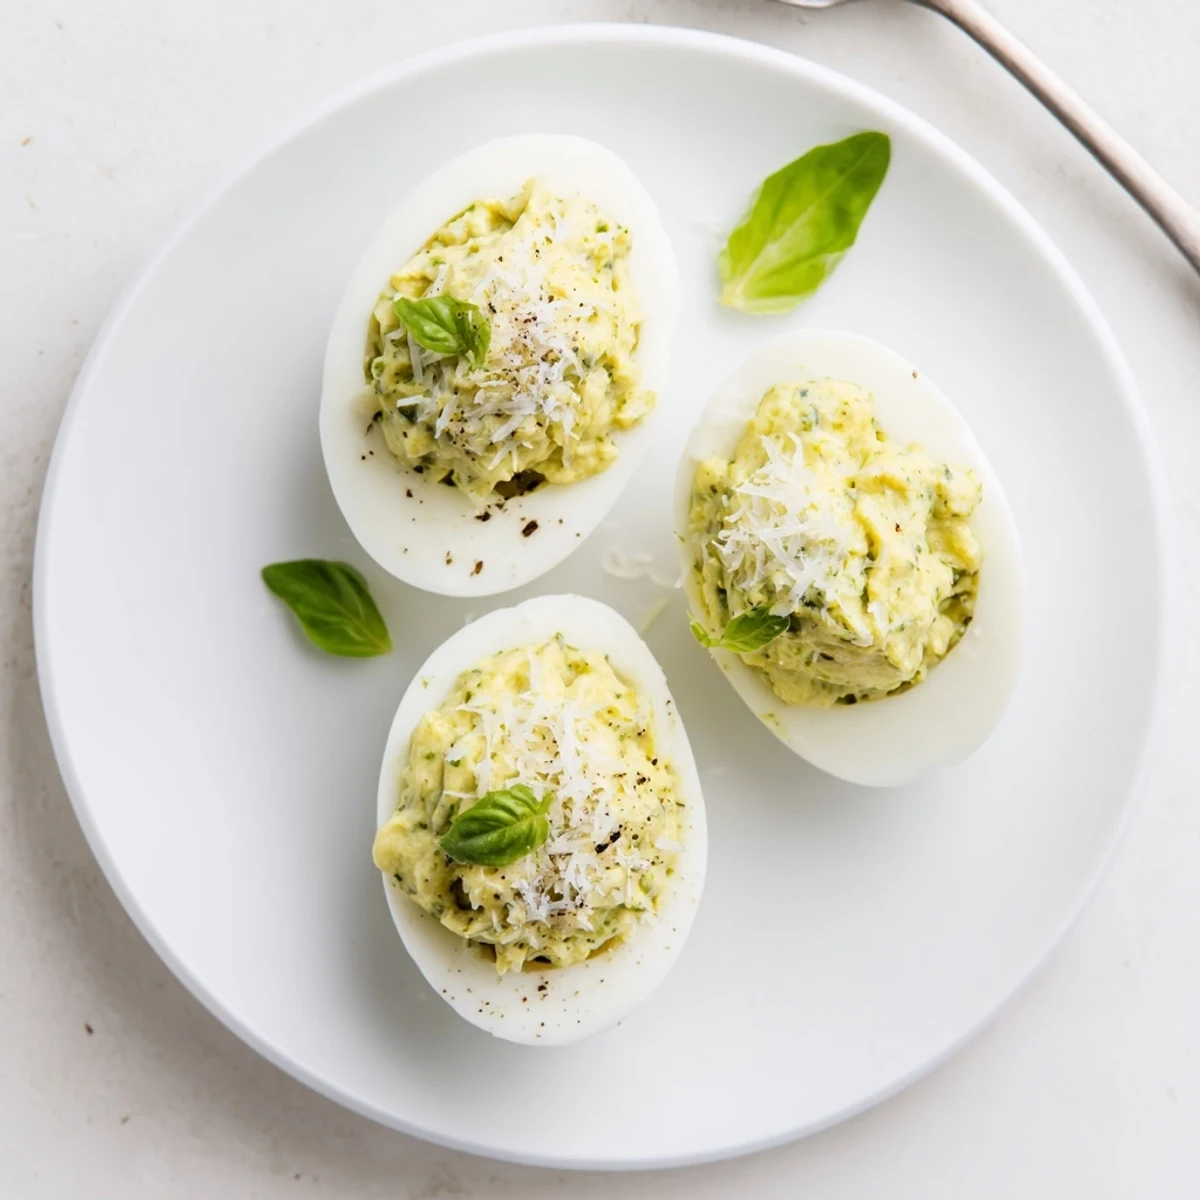
 Hard-cook eggs, cool and halve; mash yolks with basil pesto, mayonnaise, grated Parmesan, lemon juice and black pepper until smooth. Spoon or pipe the mixture back into whites, sprinkle extra Parmesan and cracked pepper, and garnish with basil. Total time about 27 minutes; chill before serving if desired. Use a saucepan, mixing bowl and piping bag for easiest assembly.
The first time I made pesto parmesan deviled eggs was on an impulse, inspired by a spare jar of pesto and a handful of eggs that begged to be used up before our weekend picnic. The air in my tiny kitchen was alive with the aromatic snap of basil and the salty perfume of Parmesan as I mixed the filling. I couldn't help but smile at the way the green flecks dotted the creamy yolks, transforming a familiar classic into something unexpectedly elegant. There's a playful joy in making these, almost as if the recipe dares you to break from the ordinary.
I made these for a spring brunch with my sister once, and we ended up eating half the tray at the kitchen counter before guests arrived. We compared which halves looked prettiest, laughing about the occasionally lopsided piping jobs and who would get the best basil leaf garnish. Sometimes the best dishes are the ones you almost finish before they ever reach your guests.
Ingredients
- Eggs: Start with large eggs for plump, sturdy whites and creamy yolks—older eggs are actually easier to peel.
- Basil pesto: Store-bought or homemade both work, but homemade pesto really bursts with fresh flavor (watch for nuts if allergies are a concern).
- Mayonnaise: The base for classic creaminess; Greek yogurt also works if you want a tangier, lighter filling.
- Parmesan cheese: Use freshly grated for the richest taste and a melt-in-your-mouth texture in the filling and garnish.
- Lemon juice: Adds a bright, zesty lift that cuts through the richness—don’t skip it.
- Black pepper: Just a dash gives subtle heat and depth—freshly cracked is best.
- Salt: Go easy at first; Parmesan and pesto are naturally salty, so taste as you go.
- Fresh basil leaves: Optional, but they add a pop of green and an irresistible aroma when serving.
Instructions
- Hard boil the eggs:
- Gently nestle the eggs in a saucepan, cover them with cold water, and bring them up to a soft boil. Once the water boils, cover the pot, turn off the heat, and let them sit for 10 to 12 minutes—no peeking, or the whites may toughen.
- Chill and peel:
- Place the eggs in ice water right away for five minutes; this makes peeling a breeze and keeps the whites tender. Crack the shells and peel carefully, enjoying the satisfying pop as the shell slips away cleanly.
- Prepare the eggs:
- Slice each egg in half lengthwise—use a damp knife for clean cuts—and gently scoop each yolk into a bowl, lining up the whites on a platter like little boats.
- Make the filling:
- Mash the yolks until smooth, then stir in the pesto, mayonnaise, Parmesan, lemon juice, pepper, and a pinch of salt. Mix just until creamy and everything is gorgeously green-flecked.
- Fill and garnish:
- Spoon or pipe the filling generously into each empty egg white, letting a little of the filling mound up. Sprinkle with more Parmesan and black pepper, then top with fresh basil if you want a burst of color.
- Chill and serve:
- Refrigerate the eggs if you’re not eating right away—the flavors meld beautifully as they chill. Serve on a platter and watch them disappear fast.
 Pin to board
 These eggs made a surprise hit at my neighbor’s birthday picnic—the platter was empty before I even finished my glass of wine, and someone asked for the ‘secret ingredient’ after just one bite. Sometimes, a simple recipe like this feels like an effortless way to bring people together, one zesty bite at a time.
What to Serve With These Deviled Eggs
I’ve learned these eggs are happiest nestled next to crisp crudités, briny olives, and maybe a bowl of potato chips—it doesn’t have to be fussy. They also make a cheerful addition to brunch boards, marrying well with both sparkling wine and lemonade.
Handling the Details: Little Mistakes and Fixes
I once went a little heavy with store-bought pesto and the filling ended up looser than usual—a quick fix was an extra spoonful of Parmesan. If the yolks feel dry, a touch more mayo (or yogurt) softens everything again, so don’t panic if things aren’t perfect the first time.
Troubleshooting and Last Touches
Occasionally, piping bags get clogged with cheese, so I just switch to a simple spoon and swirl the tops. A squeeze of lemon over the platter before serving perks everything up. Deviled eggs are meant to be quick and a little messy, so don’t stress the details.
- If the eggs topple, trim a thin slice from the bottom to steady them.
- Chill your filling before piping for sharper designs.
- Always taste and adjust salt at the very end.
 Pin to board
 Here’s to recipes that surprise you—this one always seems to get everyone asking for a refill. May your platter be the first empty at every gathering.
Recipe FAQs
- → How long should I cook the eggs for firm yolks?
-
Place eggs in cold water, bring to a gentle boil, then cover and remove from heat; let sit 10–12 minutes for fully set yolks. Immediately transfer to ice water to stop cooking and simplify peeling.
- → Can I make these if someone has a nut allergy?
-
Yes. Use a nut-free pesto or make a basil paste with olive oil, Parmesan, garlic, and sunflower seeds or omit nuts entirely. Always check store-bought pesto labels for traces of nuts.
- → What can I use instead of mayonnaise?
-
Greek yogurt is a bright, lighter swap that adds creaminess and tang. For a richer texture keep some mayonnaise or use a blend of Greek yogurt and a little olive oil.
- → Can the filling be prepared ahead of time?
-
Yes. Mix the yolk filling up to a day ahead and refrigerate in an airtight container. Fill the whites shortly before serving for best texture, or pipe and cover gently for transport.
- → How long do filled deviled eggs keep in the fridge?
-
Filled halves will keep 1–2 days refrigerated. Keep them chilled on ice when serving outdoors and discard if left at room temperature for more than two hours.
- → Should I spoon or pipe the filling?
-
Piping gives a neat, decorative finish and is quick for large batches; a spoon works fine for a more rustic look. Use a small star tip or cut the corner of a piping bag for control.
