 Pin to board
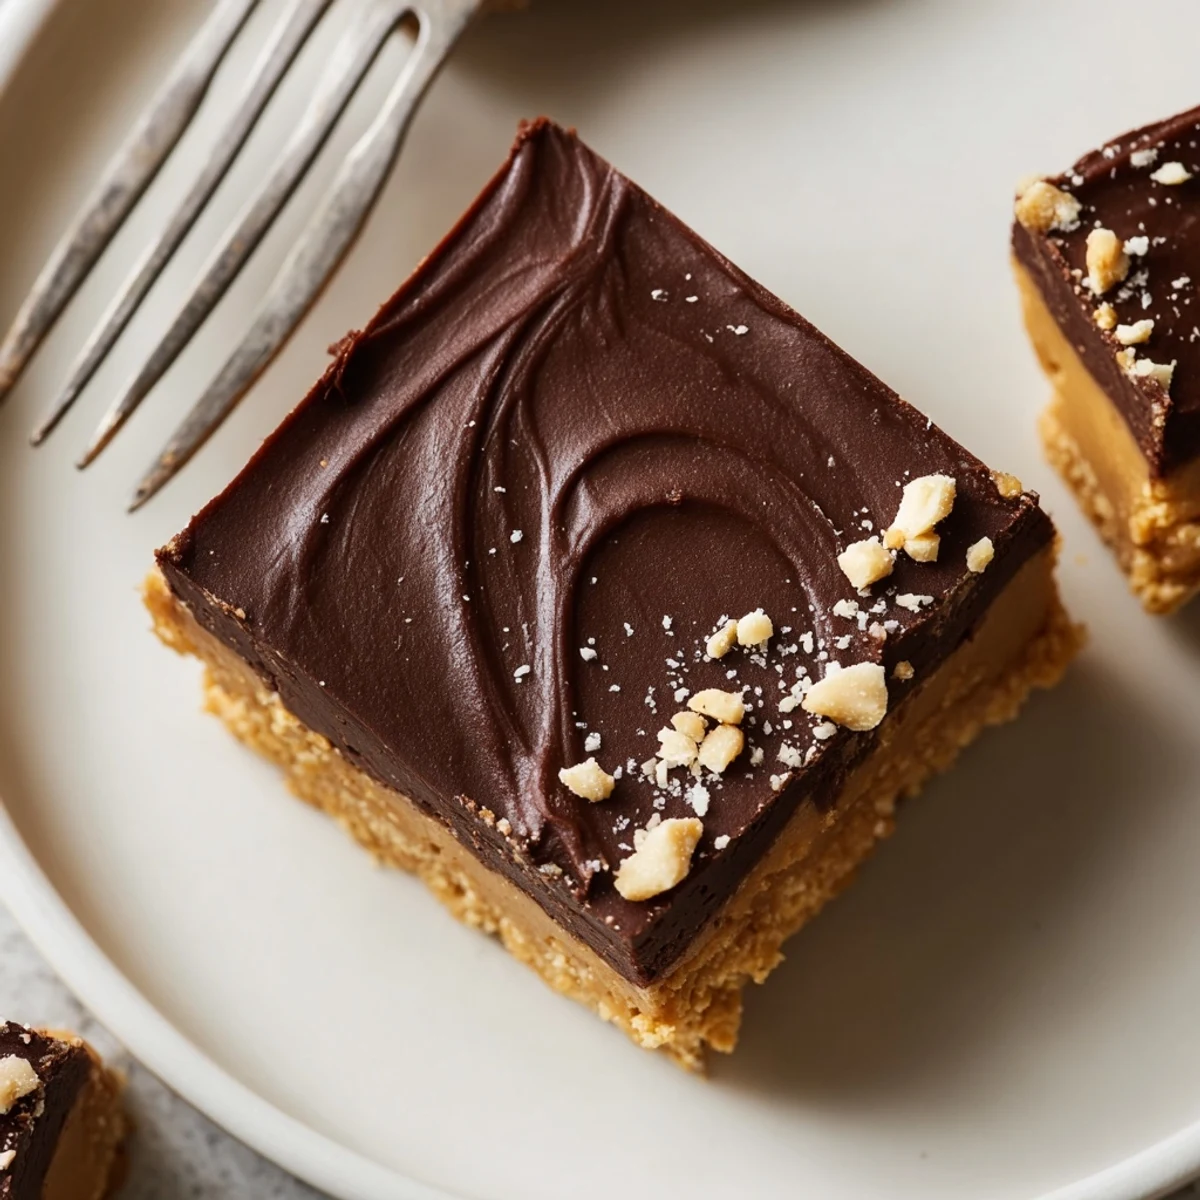
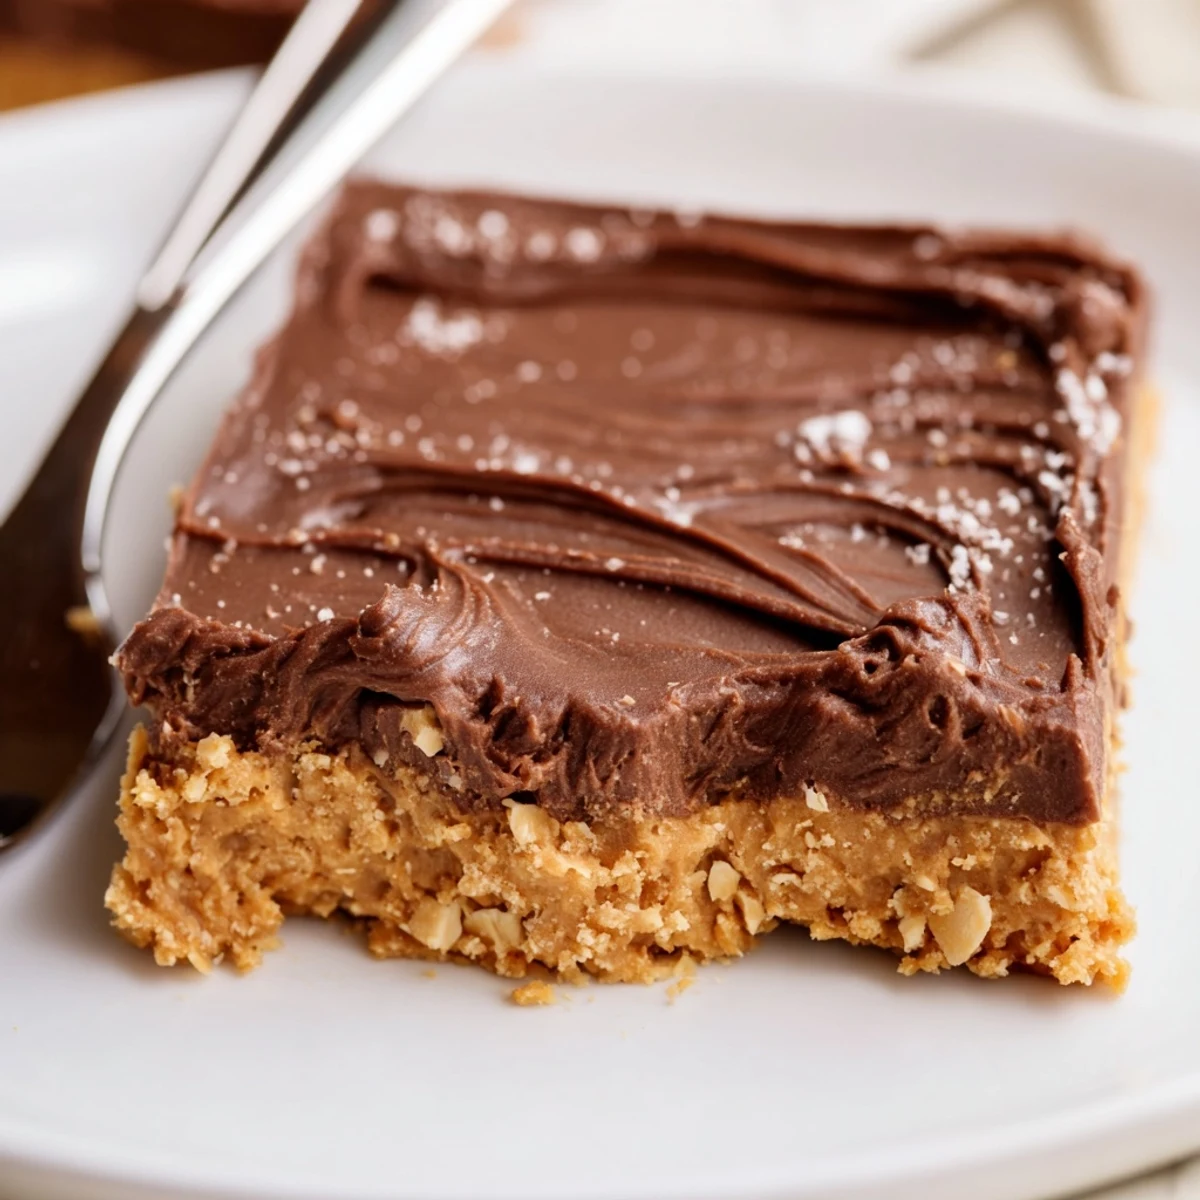
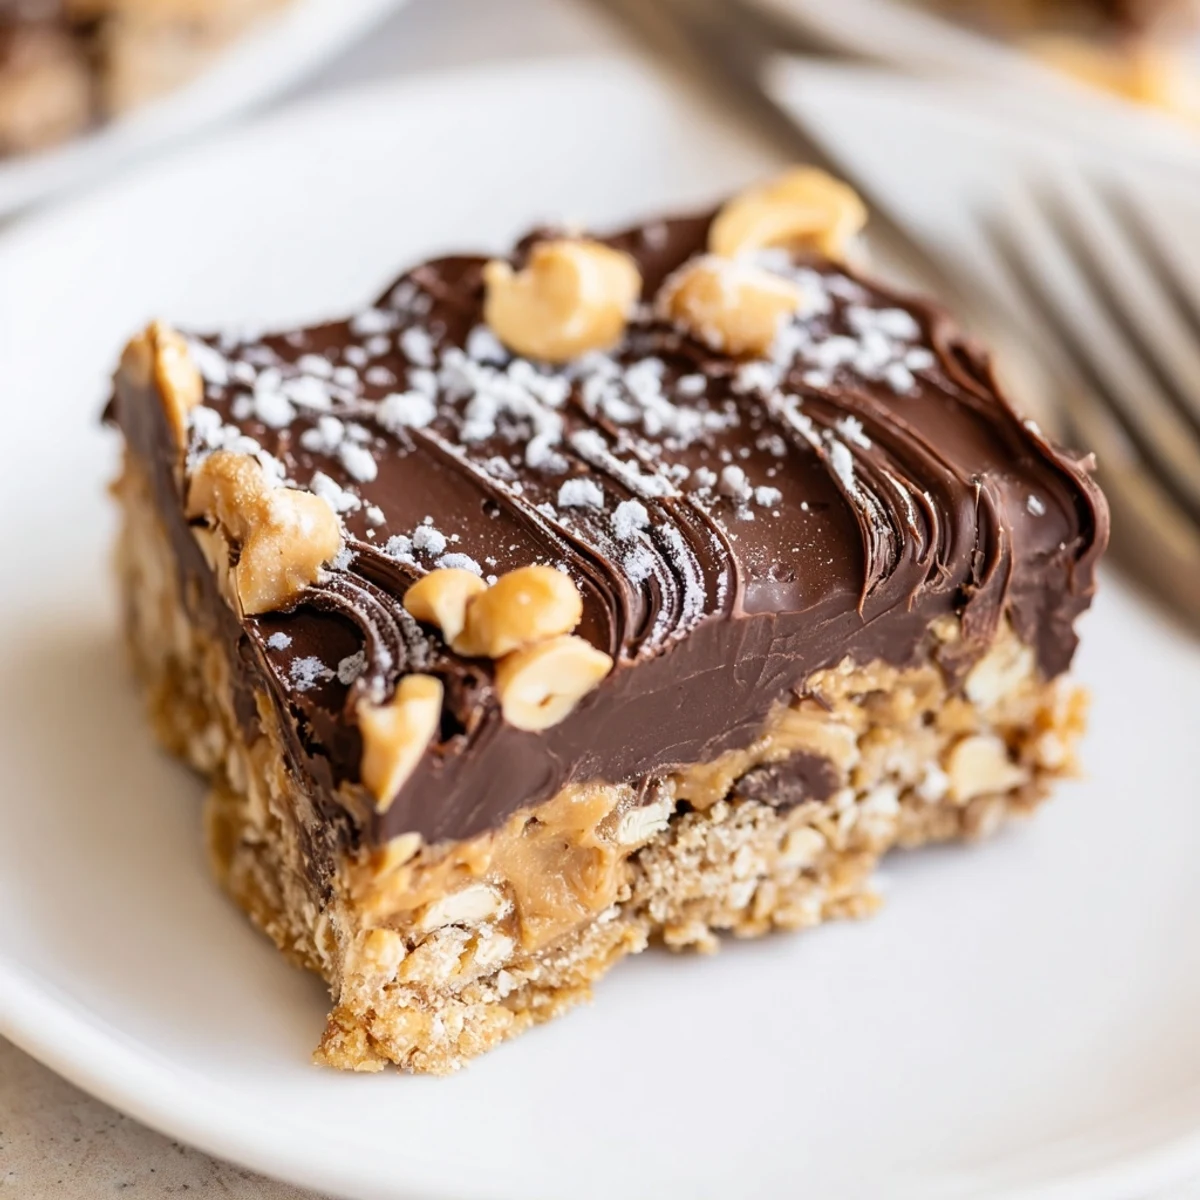
 These no-bake peanut butter bars begin with a buttery base of creamy peanut butter, melted butter, graham cracker crumbs and powdered sugar pressed into a pan. A melted semi-sweet chocolate and peanut butter topping is poured over, then chilled until firm and cut into 16 bars. For texture, fold in chopped roasted peanuts; store chilled for up to a week or freeze for longer.
The summer I turned twenty three my apartment kitchen had no air conditioning and exactly one mixing bowl that had survived college. That tiny kitchen saw more peanut butter bars than any reasonable person should admit to making. They required no oven which meant no extra heat and honestly that was half the appeal. The other half was that I could eat one standing at the counter before they even finished setting.
I brought a pan of these to a potluck once and watched three people ask my friend Megan for the recipe before they even finished their first bar. Megan had no idea what they were talking about and just pointed at me across the room. That moment taught me that peanut butter bars are a conversation starter whether you want them to be or not.
Ingredients
- Creamy peanut butter (1 cup): Use the regular kind not the natural stuff that separates because the texture needs to be smooth and spreadable without any stirring effort.
- Unsalted butter melted (half cup): This binds everything together and adds richness so do not skip it or try to substitute with oil.
- Graham cracker crumbs (2 cups): These give the base its signature texture and slight sweetness and you can crush your own or buy them already crumbled.
- Powdered sugar (2 cups): This sweetens the base and helps it set firm enough to hold its shape when you cut into bars.
- Semi sweet chocolate chips (1 and a half cups): The topping needs chocolate that melts smoothly and semi sweet balances the sweetness of the base perfectly.
- Creamy peanut butter for topping (quarter cup): Adding peanut butter to the melted chocolate keeps it from cracking when you cut the bars and adds a fudgy quality.
Instructions
- Prep your pan:
- Line a 9 by 13 inch baking dish with parchment paper leaving some overhang on the sides so you can lift the whole thing out later.
- Mix the base:
- Stir the peanut butter and melted butter together in a large bowl until completely smooth and glossy.
- Add the dry ingredients:
- Pour in the graham cracker crumbs and powdered sugar then mix until everything is evenly combined and no dry spots remain.
- Press it in:
- Transfer the mixture to your prepared dish and press it down firmly using your hands or a spatula until the surface is flat and even.
- Melt the topping:
- Combine the chocolate chips and peanut butter in a microwave safe bowl and heat in 30 second bursts stirring between each until silky smooth.
- Spread and chill:
- Pour the chocolate mixture over the base and spread it into an even layer then refrigerate for at least 2 hours until completely set.
- Cut and serve:
- Grab the parchment overhang to lift the whole slab out of the pan and cut it into 16 bars with a sharp knife.
 Pin to board
 There is something deeply satisfying about lifting the entire block of bars out of the pan in one clean piece. It feels like you accomplished something even though the hardest thing you did was wait.
Storing Your Bars
These bars keep beautifully in the refrigerator for up to a week if they last that long in your house. You can also freeze them layered between sheets of parchment for up to three months and they thaw in about thirty minutes at room temperature.
Making Them Your Own
Fold half a cup of chopped roasted peanuts into the base if you want some crunch and texture contrast. You can also swap the graham crackers for digestive biscuits which gives a slightly more caramel flavor that works wonderfully with peanut butter.
A Few Last Thoughts
These bars are simple but that simplicity is exactly what makes them reliable for bake sales picnics late night cravings and everything in between. Keep a few basics stocked in your pantry and you are never more than fifteen minutes of effort away from dessert.
- Always check chocolate chip labels if soy is a concern for anyone you are serving.
- A plastic knife works surprisingly well for clean cuts through the chocolate layer.
- Remember that these are best served chilled because the base softens at room temperature.
 Pin to board
 Some recipes earn a permanent spot in your rotation not because they are fancy but because they always work and always disappear. These peanut butter bars are exactly that kind of recipe.
Recipe FAQs
- → Can I use crunchy peanut butter instead of creamy?
-
Yes. Crunchy peanut butter adds pleasant texture to the base. If you prefer a smoother finish under the chocolate, use creamy for the topping and mix crunchy only into the base.
- → What’s the best way to melt the chocolate without seizing?
-
Use short microwave bursts (20–30 seconds), stirring between intervals until smooth, or melt over a gentle double boiler. Avoid adding water and stir constantly to prevent seizing.
- → How long should the bars chill before slicing?
-
Chill at least 2 hours, or until the chocolate topping is fully set and the base is firm. For cleaner slices, chill longer or briefly freeze before cutting.
- → Can I make these ahead and how should I store them?
-
Make ahead and keep refrigerated for up to one week in an airtight container. For longer storage, freeze layers separated by parchment for up to three months; thaw in the fridge before serving.
- → What can I substitute for graham cracker crumbs?
-
Digestive biscuits are a direct substitute. Finely crushed pretzels, shortbread, or gluten-free crackers also work—adjust sweetness if using sweeter biscuits.
- → How do I get neat, even bars when cutting?
-
Chill thoroughly until very firm, warm a sharp knife under hot water and wipe dry between cuts, or score with a knife then refrigerate again before full slicing.
