 Pin to board
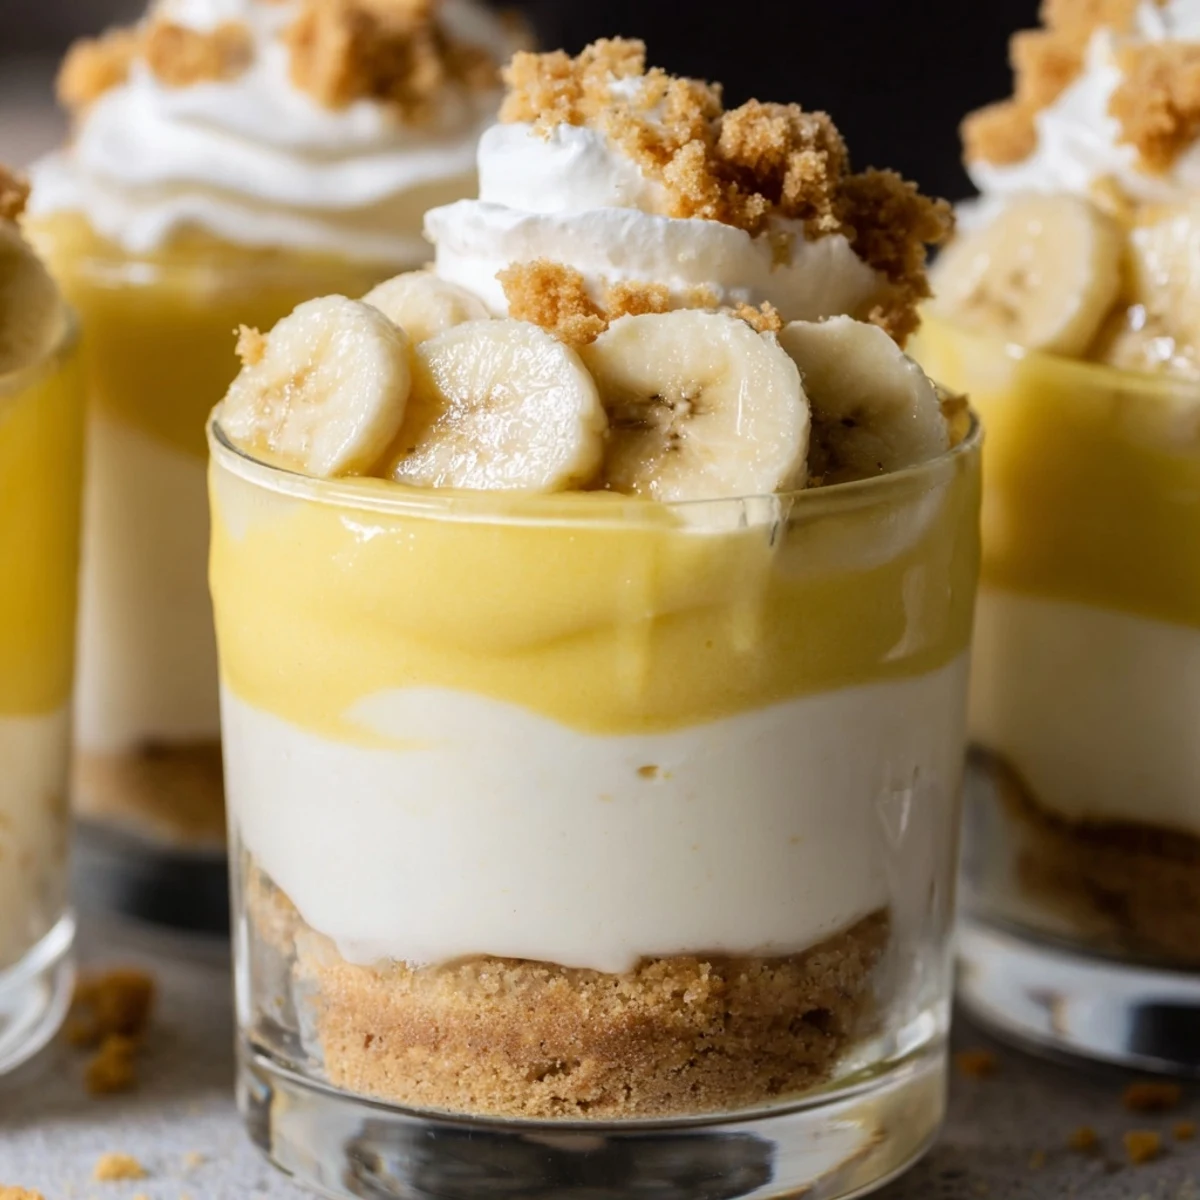
 Create stunning individual desserts featuring alternating layers of velvety cheesecake filling and classic banana pudding, all nestled upon a buttery vanilla wafer crust. These no-bake cups come together in just 20 minutes of active preparation, requiring only simple chilling time to set perfectly.
The combination of whipped cream cheese filling and instant banana pudding creates an incredibly smooth texture that pairs beautifully with fresh banana slices and the satisfying crunch of vanilla wafers. Perfect for entertaining, meal prep, or satisfying sudden sweet cravings, these portable portions offer all the indulgence of traditional banana pudding with the added richness of cheesecake.
The first time I made these little cups, it was for a summer potluck where I completely forgot to turn on my oven until an hour before guests arrived. These saved the day. Now they are my go-to when I want something that looks fancy but requires zero baking and minimal stress.
My daughter helped me layer these for her birthday party last year. She took such pride in carefully arranging the banana slices on top, and honestly, they looked better than anything I could have done alone. The kids went absolutely wild for them.
Ingredients
- 1 cup vanilla wafer cookies, crushed: These classic Nilla wafers bring nostalgic flavor and that perfect sandy crunch. Pulse them in a food processor or place in a sealed bag and crush with a rolling pin.
- 2 tbsp unsalted butter, melted: Just enough fat to bind the crumbs together into a cohesive crust that holds its shape beautifully.
- 8 oz (225 g) cream cheese, softened: Let this sit out for a full hour. Room temperature cream cheese blends into silky smooth perfection without any stubborn lumps.
- 1/3 cup granulated sugar: Just enough sweetness to balance the tanginess of the cream cheese without making it cloying.
- 1 tsp pure vanilla extract: Do not skip this. Pure vanilla makes all the difference between good cheesecake and great cheesecake.
- 1 cup heavy whipping cream, cold: Heavy cream transforms the dense cream cheese into something impossibly light and airy. The colder the better for achieving those stiff peaks.
- 1 (3.4 oz/96 g) package instant banana pudding mix: This creates that authentic banana pudding flavor we all know and love. Whisk it thoroughly to prevent any dry pockets.
- 1 1/4 cups cold whole milk: Cold milk helps the pudding set up properly. Whole milk gives the richest result.
- 2 ripe bananas, sliced: Look for bananas with plenty of brown spots. They are sweeter and have that intense banana flavor that makes the dessert sing.
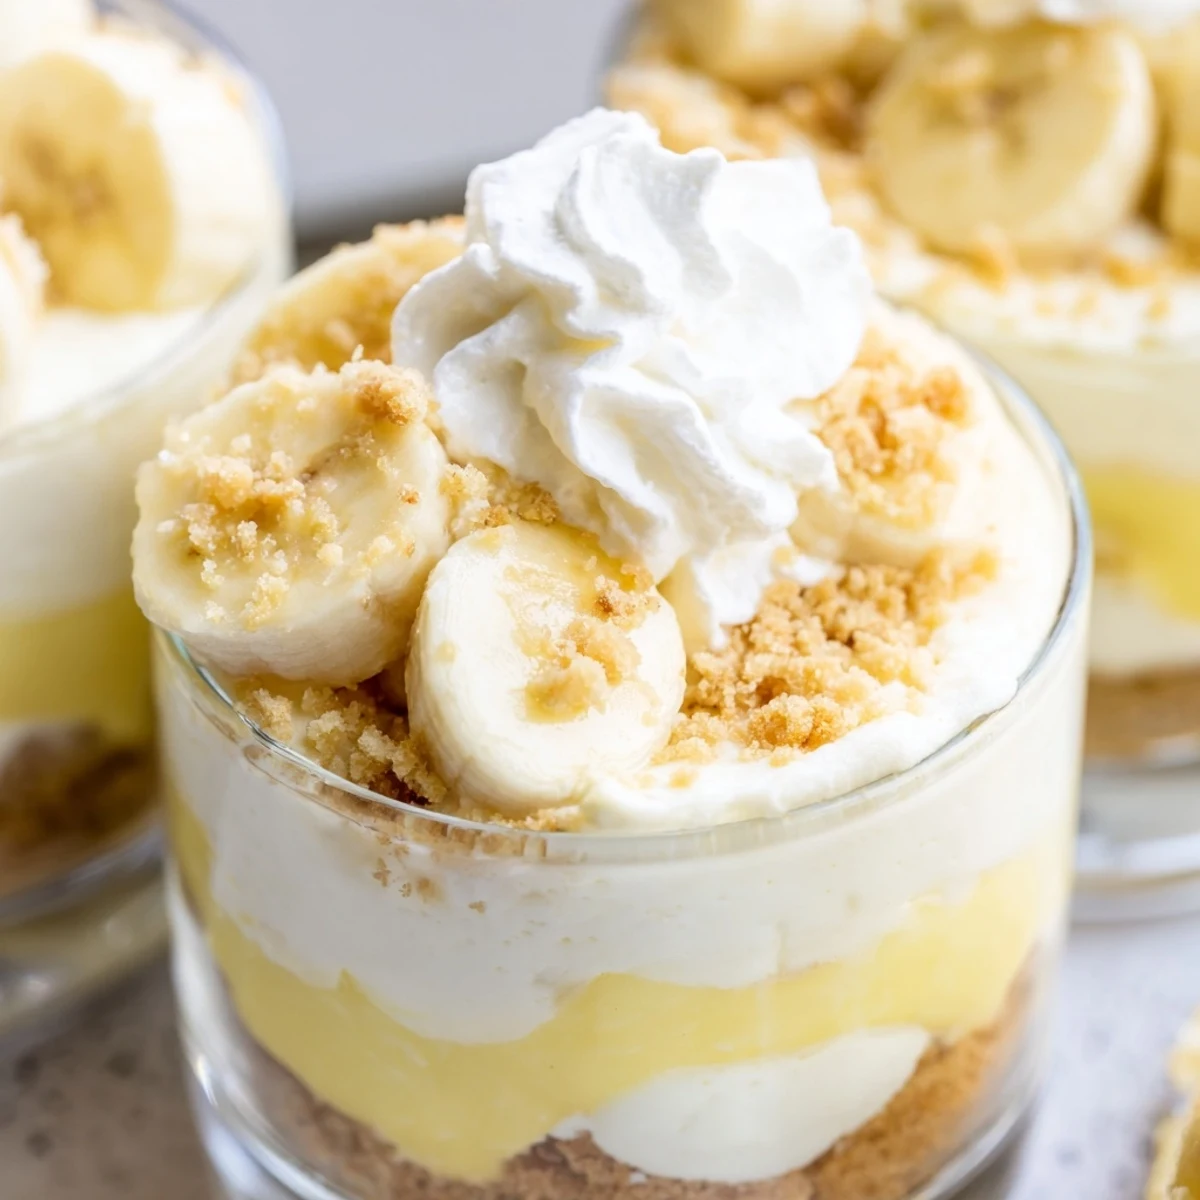
- Additional vanilla wafer crumbs, fresh banana slices, whipped cream: These toppings are not just pretty. They add texture contrast and tell people exactly what delicious flavors await inside.
Instructions
- Prepare the crust foundation:
- In a small bowl, combine crushed vanilla wafers and melted butter. Mix until evenly moistened and the texture resembles wet sand. Spoon about 2 tablespoons into the bottom of each serving cup and press lightly with the back of a spoon to form the crust.
- Make the cheesecake base:
- In a medium bowl, beat cream cheese, sugar, and vanilla extract with a hand mixer until smooth and creamy. Scrape down the sides of the bowl to ensure everything is fully incorporated.
- Whip the cream:
- In a separate chilled bowl, whip the cold heavy cream until stiff peaks form. The cream should hold its shape when you lift the beaters. Gently fold the whipped cream into the cream cheese mixture until fully combined.
- Prepare the pudding layer:
- In another bowl, whisk together the banana pudding mix and cold milk for 2 minutes until thickened. The pudding should be smooth and creamy with no lumps.
- Start layering:
- Layer cheesecake filling over the crust in each cup, using about half the mixture. Add a layer of sliced bananas over the cheesecake filling.
- Add the pudding:
- Spoon banana pudding over the banana layer, dividing evenly among cups. Top with remaining cheesecake mixture.
- Finish and chill:
- Sprinkle each cup with additional wafer crumbs, more banana slices, and a dollop of whipped cream if desired. Cover and refrigerate the cups for at least 2 hours before serving.
 Pin to board
 These have become my signature contribution to every family gathering now. My aunt actually asked for the recipe last Thanksgiving, which is basically the highest compliment possible in our family.
Making These Ahead
You can assemble everything except the fresh banana slices and whipped cream up to 24 hours in advance. Store them covered in the refrigerator with plastic wrap touching the surface to prevent a skin from forming on the pudding.
Getting the Layers Right
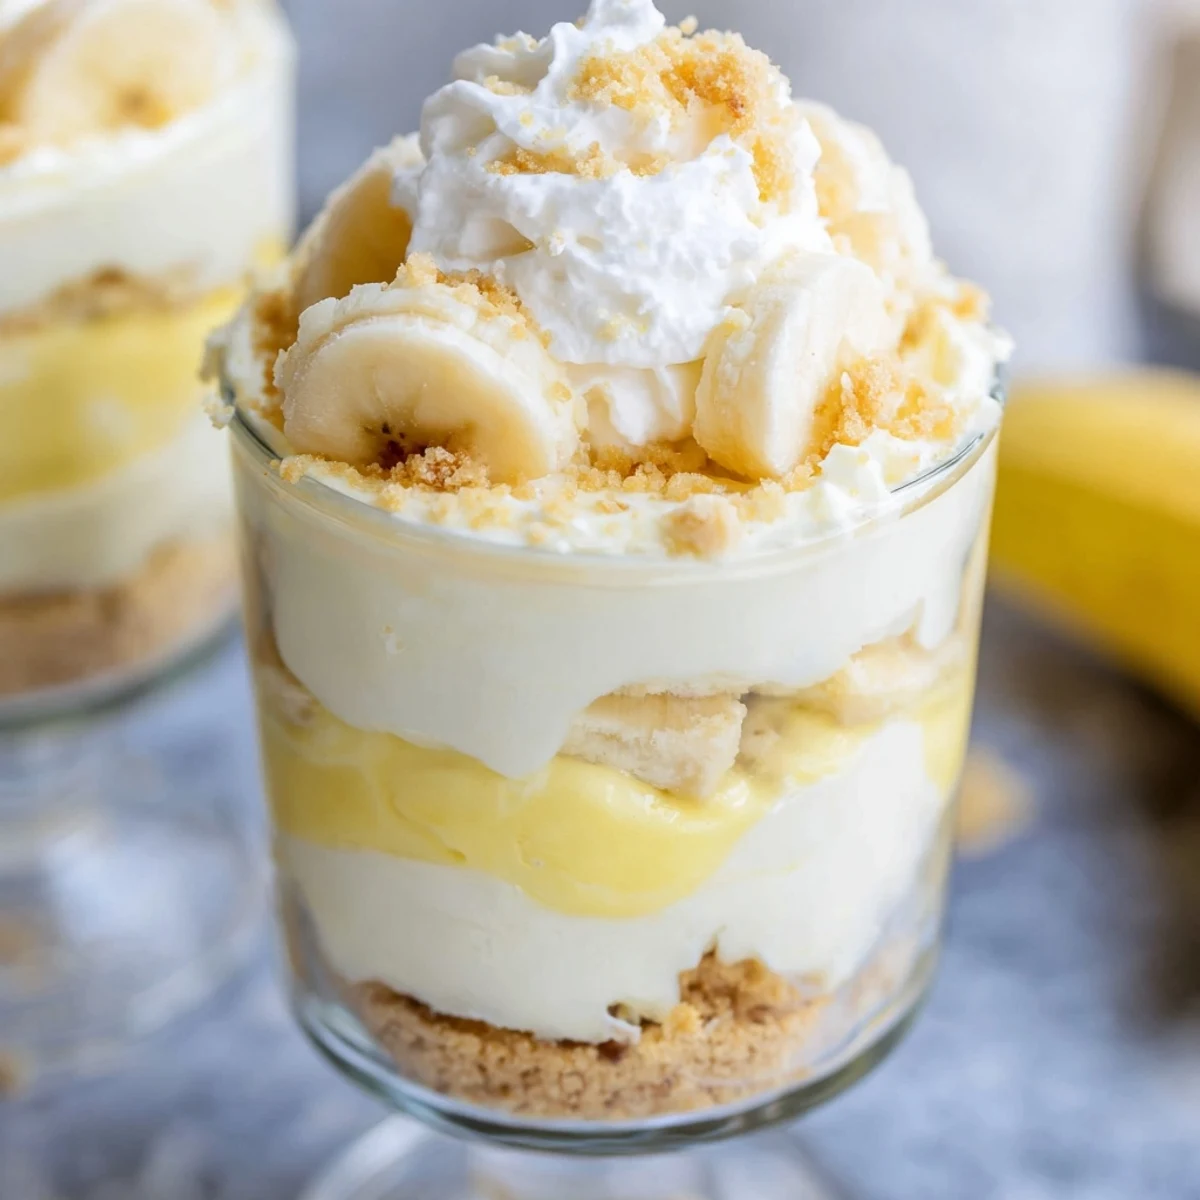
The key to distinct, beautiful layers is working slowly and gently. Use the back of a spoon to carefully spread each layer without disturbing what is beneath it. Take your time here because the presentation is half the joy of this dessert.
Serving Suggestions
These are perfect for dinner parties because each person gets their own adorable portion. Clear glass cups show off the beautiful layers and make the dessert feel extra special.
- Try adding a sprinkle of cinnamon to the crust for warmth
- Crushed graham crackers work if you cannot find vanilla wafers
- Mini chocolate chips between layers add a fun surprise
 Pin to board
 These little cups bring so much joy for such minimal effort. Sometimes the simplest desserts are the ones people remember most.
Recipe FAQs
- → Can I make these cups ahead of time?
-
Yes, prepare these cups up to 24 hours in advance. Store them covered in the refrigerator and add fresh banana slices and wafer crumbs just before serving to maintain optimal texture and prevent browning.
- → What type of cups work best for this dessert?
-
Clear glass cups, mason jars, or dessert glasses work beautifully as they showcase the attractive layers. Any 6-8 ounce vessel will work perfectly for creating individual portions.
- → How do I prevent bananas from turning brown?
-
Toss sliced bananas lightly in lemon juice before layering, or add them immediately before serving. You can also arrange them just beneath the whipped cream topping to minimize exposure to air.
- → Can I use homemade pudding instead of instant?
-
Absolutely, prepare homemade vanilla or banana pudding from scratch, allow it to cool completely, and layer as directed. The texture may be slightly denser but equally delicious.
- → What's the best way to crush vanilla wafers?
-
Place wafers in a sealed plastic bag and crush with a rolling pin, or pulse quickly in a food processor. Aim for fine crumbs similar to graham cracker crust texture.
- → Can I freeze these cheesecake cups?
-
Freezing isn't recommended as the texture of the pudding layer and fresh bananas will compromise after thawing. These are best enjoyed fresh from the refrigerator within 2-3 days.
