
 Pin to board
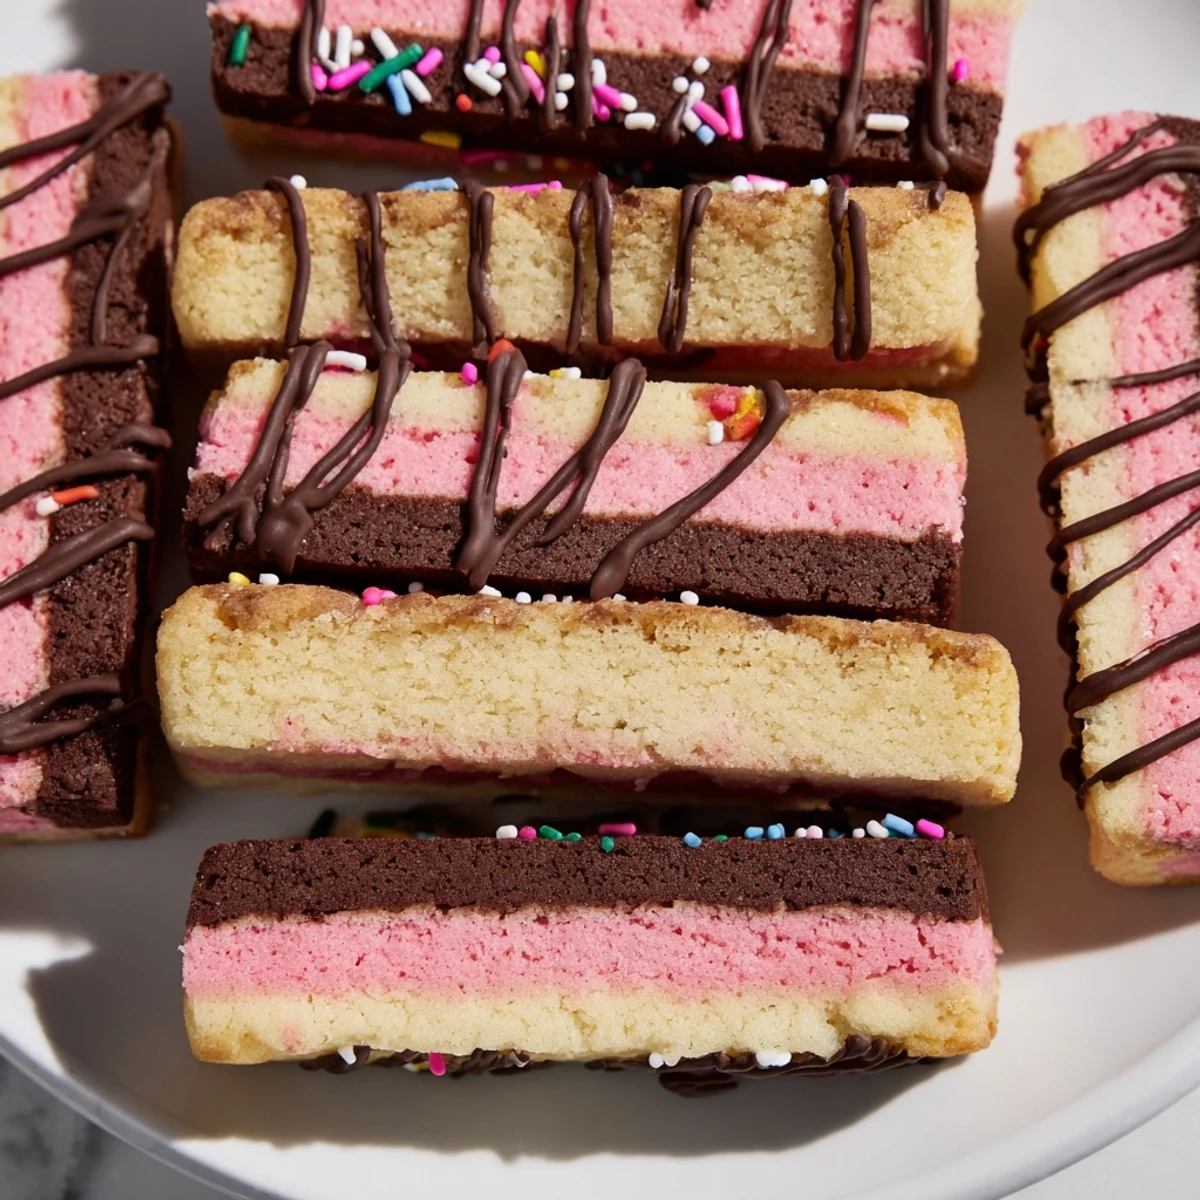
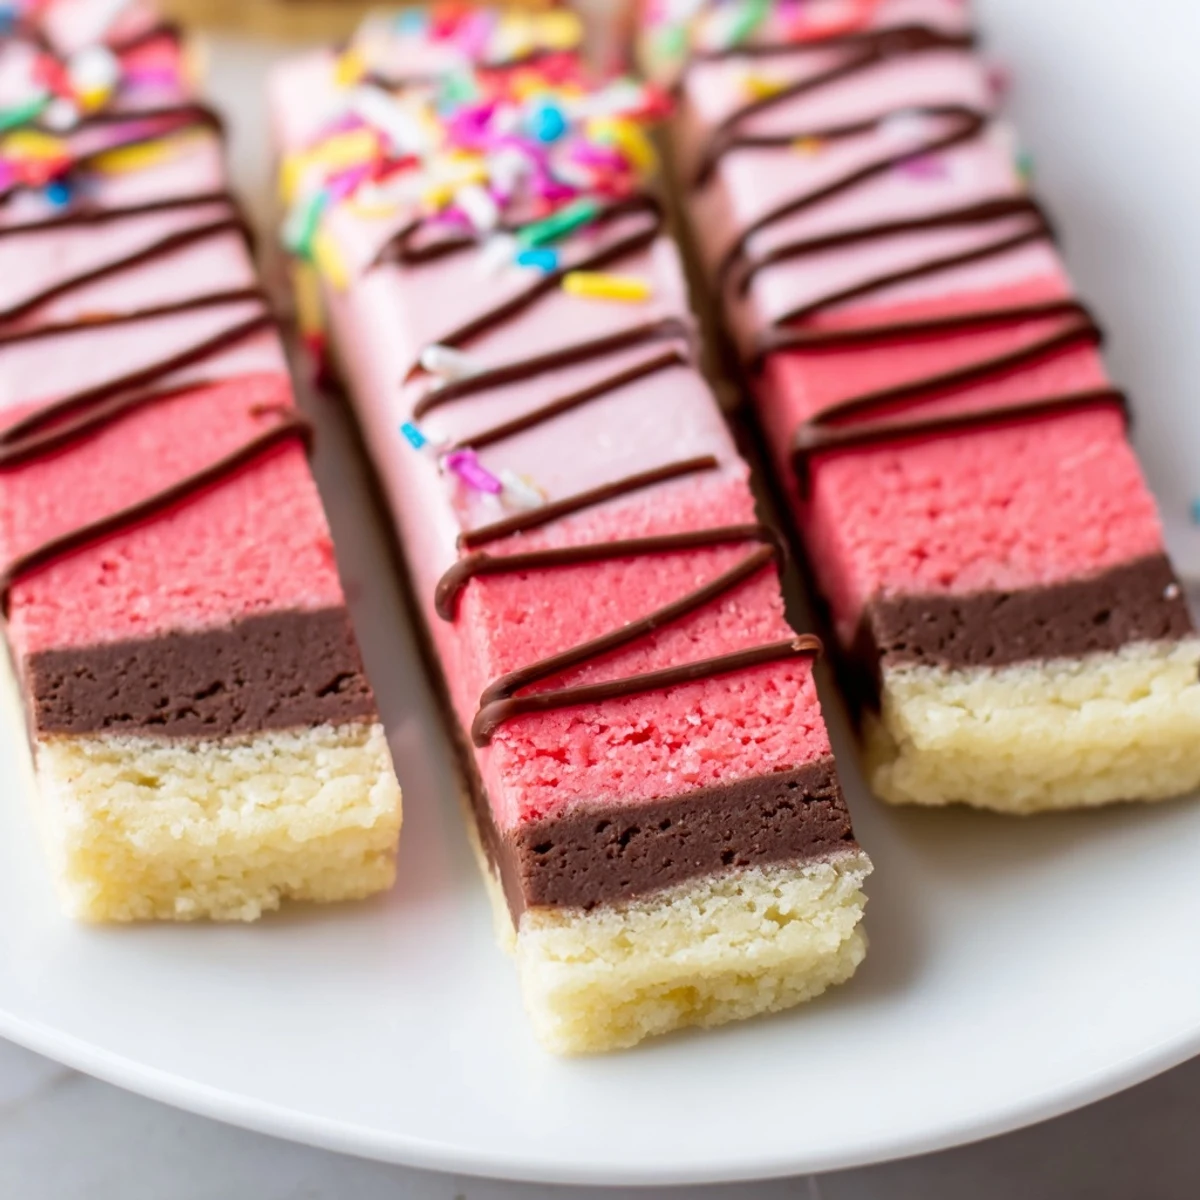
 Neapolitan cookies bring the beloved ice cream parlor classic into baked form with three distinct flavor layers pressed into one pan. Each batch features a rich chocolate dough, a smooth vanilla layer, and a fruity strawberry tier colored in cheerful pink.
The dough comes together in one bowl before being divided and flavored separately. After assembling the layers, a short bake yields a soft, bar-style treat that slices neatly into squares. A drizzle of melted chocolate and a scattering of sprinkles add an optional finishing touch.
Medium in difficulty and yielding three dozen cookies, these bars are a fitting addition to holiday cookie trays, bake sales, or afternoon tea spreads. They store well for up to five days in an airtight container.
My kitchen smelled like a birthday party the afternoon I pulled these tri colored bars from the oven, chocolate mingling with strawberry and vanilla in a way that made everyone hover around the cooling rack. I had been trying to recreate the Neapolitan ice cream my grandmother always kept in her freezer, the one in the cardboard box with the plastic pull tab. These cookies capture that playful spirit in bar form, layered and vivid and impossible to resist.
I brought a tray of these to a potluck last spring and watched a quiet table turn into a scene of happy arguing over who got the last corner piece. The corner pieces, with their extra drizzle of chocolate, are worth fighting for.
Ingredients
- Unsalted butter (225 g): Softened butter creams more smoothly and traps air better, giving the layers a tender crumb that holds together without being dense.
- Granulated sugar (300 g): Standard white sugar works best here because it dissolves evenly into the butter during creaming.
- Large eggs (2): Room temperature eggs incorporate faster and help bind the three flavored doughs with the same structure.
- Vanilla extract (1 tsp): Use pure extract if you can because the vanilla layer depends on it as its sole flavoring.
- All purpose flour (340 g): Measuring by weight saves you from dry crumbly dough that cracks when you try to press it into the pan.
- Baking powder (1/2 tsp): Just a small amount gives the bars a slight lift without puffing them out of their neat layers.
- Fine salt (1/2 tsp): Salt sharpens all three flavors equally, which matters when chocolate and strawberry are competing for attention.
- Unsweetened cocoa powder (2 tbsp): Dutch processed gives a deeper color and mellower taste, but natural cocoa works fine too.
- Strawberry extract (1/2 tsp): A little goes a long way and pairs with the food coloring to sell the illusion of real strawberry.
- Pink or red food coloring: Gel coloring is stronger and wont thin your dough the way liquid drops can.
- Semisweet chocolate (100 g, optional): Melted for drizzling on top, adding a finishing touch that makes them look bakery worthy.
- Sprinkles or chopped nuts (optional): Pressed into the drizzle before it sets for crunch and visual charm.
Instructions
- Prep the pan and oven:
- Heat your oven to 175 degrees C (350 degrees F) and line the baking pan with parchment, letting the paper hang over two sides like handles. This trick saves you later when you need to lift the whole slab out in one piece.
- Cream butter and sugar:
- Beat the softened butter and sugar together until the mixture turns pale and looks almost whipped, scraping the bowl once or twice so nothing hides at the bottom.
- Add eggs and vanilla:
- Drop in one egg at a time, beating fully between each so the batter stays smooth rather than curdling, then pour in the vanilla.
- Incorporate the dry ingredients:
- Whisk flour, baking powder, and salt in a separate bowl, then add this gradually to the butter mixture on low speed until a soft dough just comes together.
- Divide and flavor the dough:
- Split the dough into three equal portions, roughly by weight for accuracy. Knead cocoa into one portion, strawberry extract and coloring into the second, and leave the third plain.
- Build the layers:
- Press the chocolate dough into the bottom of the pan first, smoothing it flat with an offset spatula. Add the vanilla layer on top, then the strawberry, smoothing each one gently so the colors stay distinct.
- Bake and cool:
- Slide the pan into the oven for 12 to 15 minutes, just until the top is set and no longer looks wet. Cool completely in the pan on a wire rack before lifting, slicing, or drizzling.
- Finish and slice:
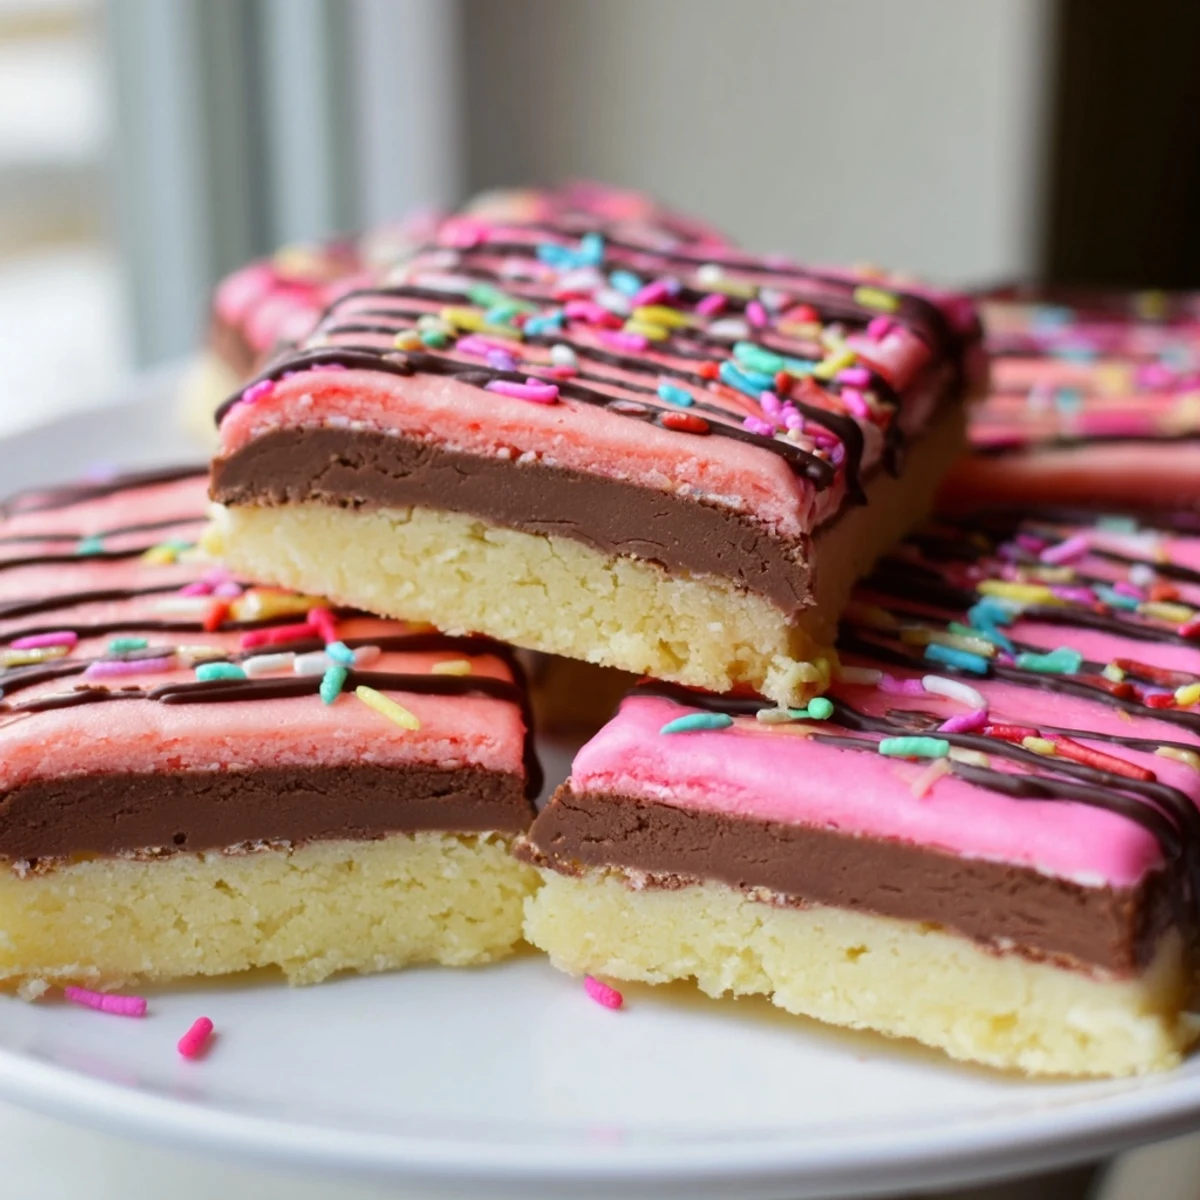
- Lift the slab out using the parchment overhang, cut into bars or squares with a sharp knife, and add the optional chocolate drizzle and sprinkles while the chocolate is still warm.
 Pin to board
 One rainy Saturday I left a plate of these on the counter and returned to find my roommate had arranged them by color and was eating them in strict rotation, chocolate then vanilla then strawberry. Some foods just bring out the playful side in people.
Storage That Actually Works
Keep the cut bars in a single layer in an airtight container at room temperature and they will stay soft for up to five days. If you stack them, place a sheet of parchment between layers so the chocolate drizzle does not smear onto the strawberry layer below.
Playing With Colors and Flavors
You can swap the strawberry for lemon extract and yellow coloring, or use matcha powder instead of cocoa for a green layer that tastes earthy and faintly sweet. The technique stays the same no matter what flavors you choose, which makes this recipe a reliable template for any holiday or theme.
Getting Clean Even Slices
A sharp knife wiped clean between cuts makes all the difference, especially if you added the chocolate drizzle. Chill the whole slab for twenty minutes before cutting and the layers will hold their edges beautifully.
- Use a serrated knife if the chocolate topping has hardened for fewer jagged edges.
- Straight down cuts work better than sawing motions, which can drag the layers.
- Let the bars sit at room temperature for ten minutes after chilling so they are not too firm to bite.
 Pin to board
 These bars are proof that a little extra effort in the kitchen can turn simple ingredients into something that makes people smile before they even take a bite. Share them generously and watch the table light up.
Recipe FAQs
- → Can I freeze Neapolitan cookie dough before baking?
-
Yes, the assembled layered dough can be wrapped tightly in plastic wrap and frozen for up to one month. Thaw it overnight in the refrigerator before slicing and baking as directed.
- → Why did my layers blend together during baking?
-
Overbaking or pressing the layers too firmly can cause them to merge. Bake just until the top layer is set—12 to 15 minutes—and avoid pressing down hard when smoothing each layer.
- → Can I use natural food coloring instead of gel?
-
Absolutely. Beetroot powder or freeze-dried strawberry powder works well for the pink layer. Keep in mind that natural colorings may produce a more muted hue compared to gel-based options.
- → How do I get clean, even squares when cutting?
-
Allow the baked slab to cool completely in the pan, then refrigerate for 30 minutes before slicing. Use a sharp knife wiped clean between cuts for the neatest results.
- → What can I substitute for strawberry extract?
-
Vanilla extract combined with a tablespoon of strawberry jam or freeze-dried strawberry powder can provide similar flavor. Adjust the food coloring accordingly to maintain the signature pink shade.
- → Are Neapolitan cookies suitable for making ahead?
-
They are ideal for advance preparation. Once baked and cut, store them in an airtight container at room temperature for up to five days. The flavors tend to meld and improve after the first day.