 Pin to board
 These mini cheesecakes feature a buttery graham cracker crust filled with a rich, creamy cream cheese mixture. Baked in a muffin tin, each portion is perfectly individual and ideal for gatherings.
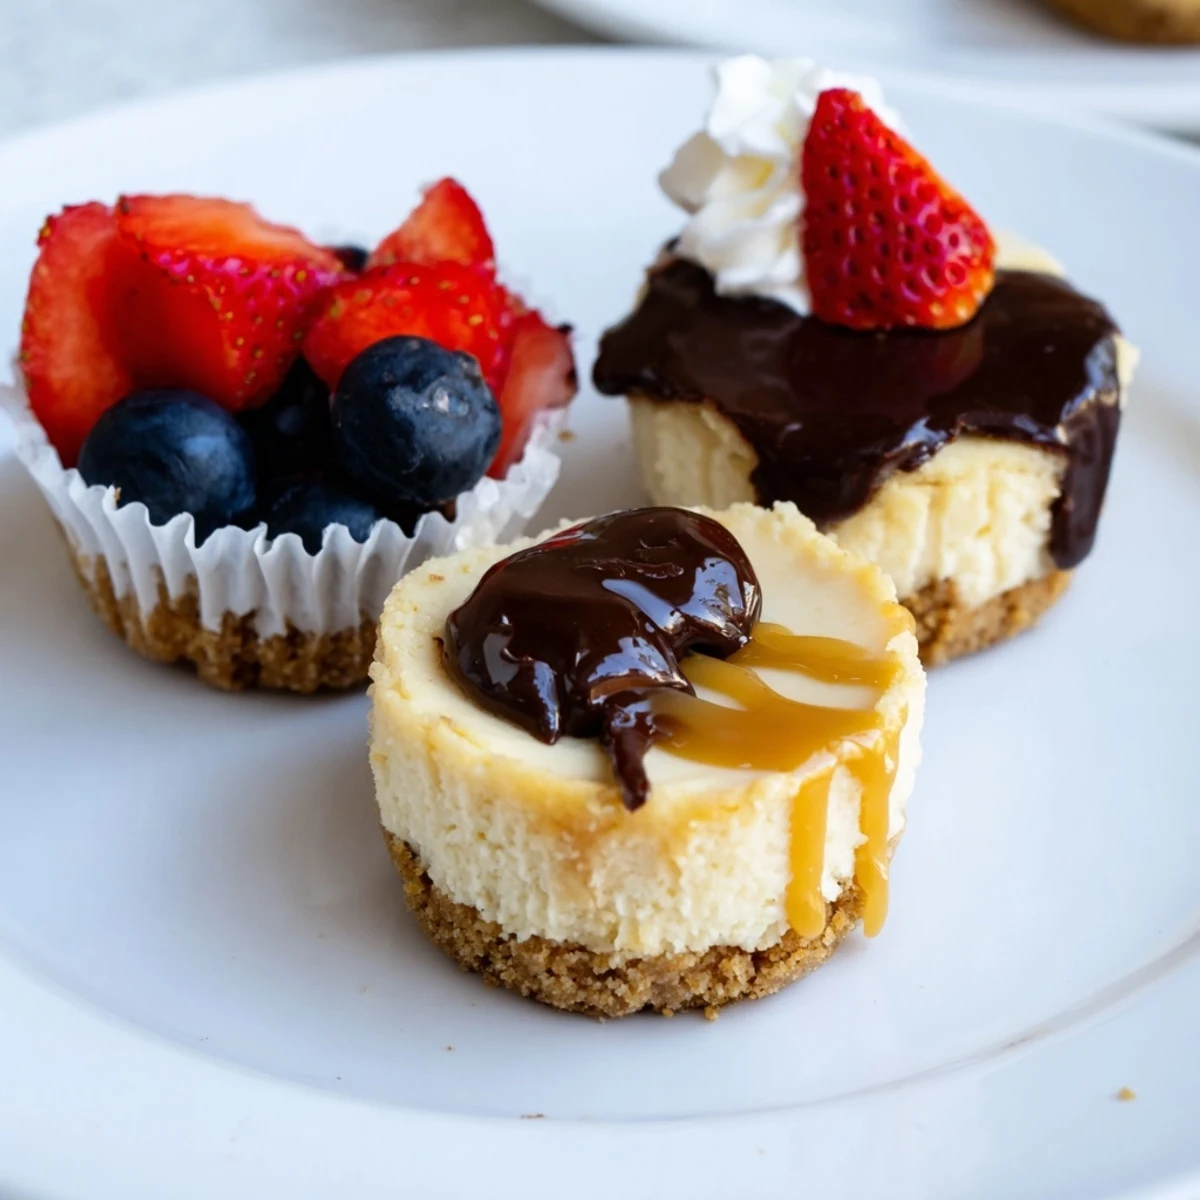
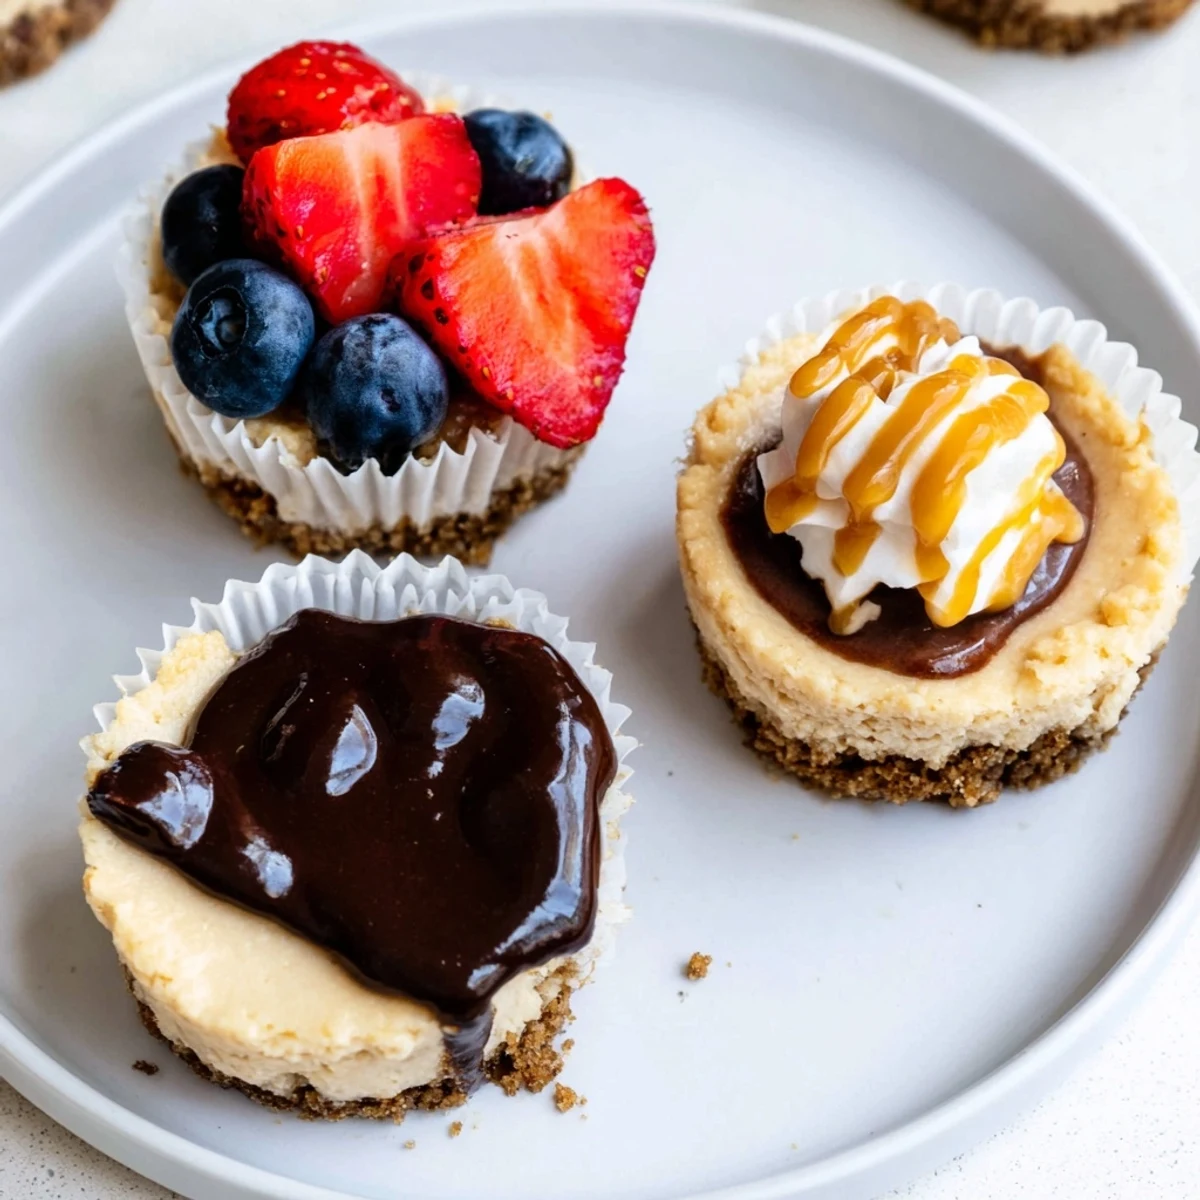
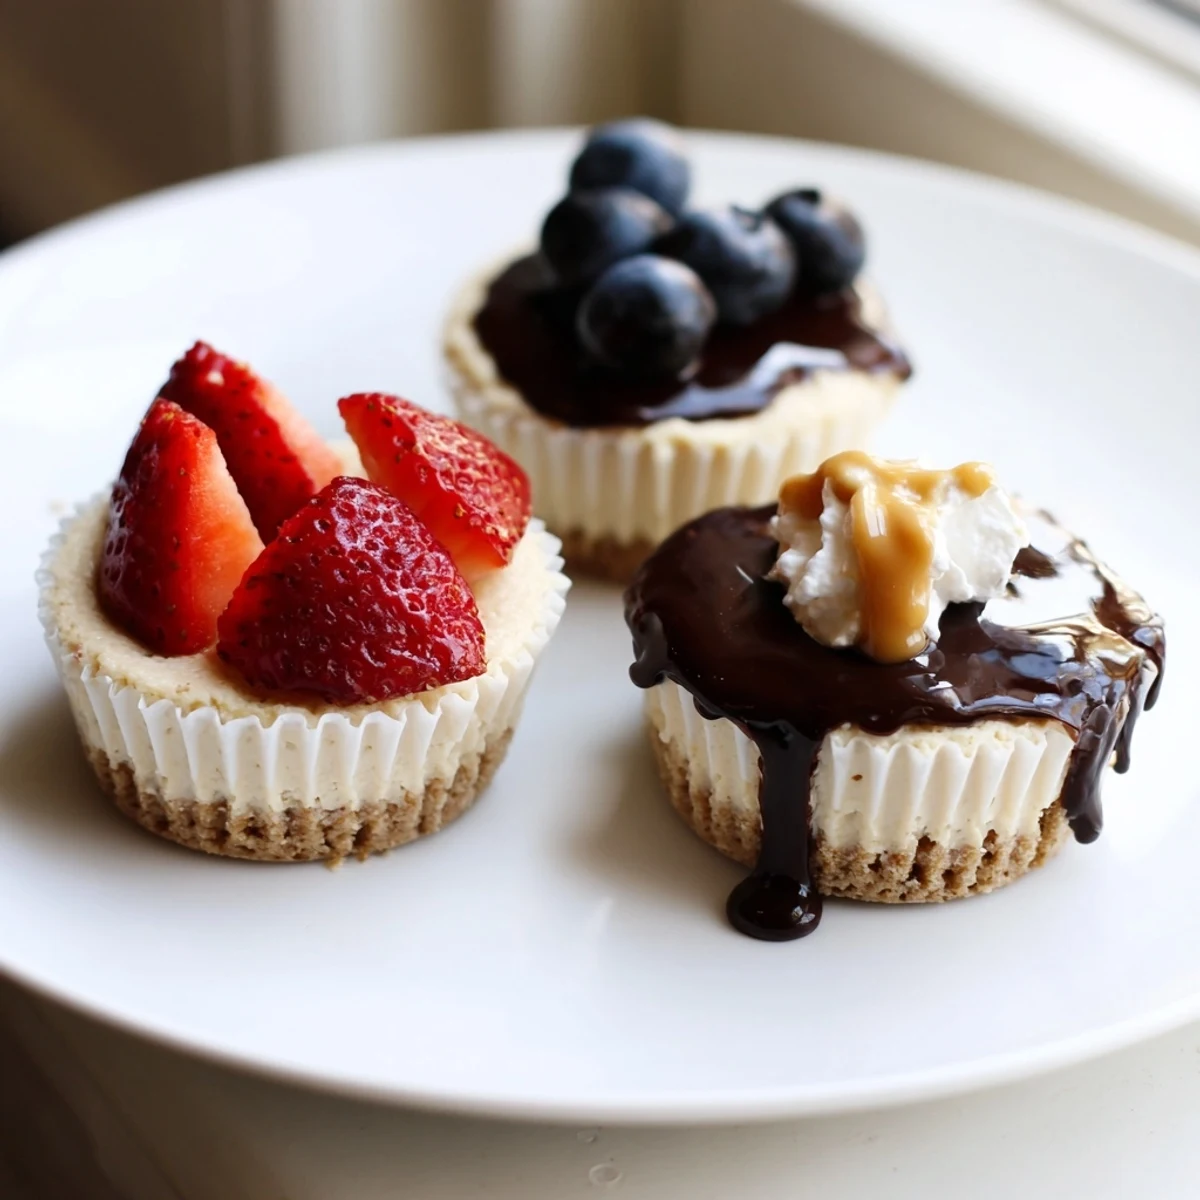
Customize each one with fresh berries, chocolate ganache, caramel drizzle, or whipped cream. Ready in under an hour including chilling time, they're as simple as they are impressive.
The summer my neighbor brought over a crate of perfectly ripe strawberries, I stood in my kitchen wondering what to do with them before they softened past their prime. That afternoon birthed my obsession with mini cheesecakes, each one a tiny canvas waiting for whatever topping inspiration struck. There is something deeply satisfying about individual desserts, no slicing, no serving anxiety, just perfectly portioned bites of creamy joy waiting in paper liners.
I made three dozen of these for a friends potluck last autumn and watched grown adults quietly argue over who got the last caramel drizzled one. My friend Rachel now texts me monthly asking when I am making them again, and I pretend it is a hassle while secretly grinning.
Ingredients
- Graham cracker crumbs (120 g or 1 cup): The foundation of every great cheesecake starts here, and I learned the hard way that fresh crumbs from actual crackers crush far better than store bought pre ground ones.
- Unsalted butter, melted (60 g or 4 tbsp): This binds the crust together, and using unsalted lets you control the final flavor without any salty surprises.
- Sugar (2 tbsp for crust): Just enough sweetness to round out the buttery graham flavor without making the base cloying.
- Cream cheese, softened (340 g or 12 oz): The star of the filling, and please let it sit on the counter until truly soft because cold cream cheese will leave you with lumpy batter no matter how hard you beat it.
- Granulated sugar (100 g or half cup): Balances the tang of the cream cheese and sour cream beautifully.
- Large egg (1): Gives the filling its silky set, and I always crack it into a separate bowl first to avoid any shell mishaps.
- Vanilla extract (1 tsp): Use the real stuff if you can, because that warm floral note makes a difference you can actually taste.
- Sour cream (2 tbsp): This is my secret weapon for a filling that tastes rich but still has a slight tang that keeps you coming back for another bite.
- Toppings of your choice: Fresh berries, chocolate ganache, caramel sauce, whipped cream, crushed cookies, or nuts all work wonderfully here.
Instructions
- Prep your battlefield:
- Preheat the oven to 160 degrees Celsius (325 degrees Fahrenheit) and line a standard muffin tin with 12 paper liners, pressing each one flat so your cheesecakes look neat and uniform.
- Build the crust foundation:
- In a medium bowl, stir together the graham cracker crumbs, melted butter, and sugar until the mixture looks like damp sand that holds its shape when you squeeze a pinch.
- Press and pack:
- Spoon about one tablespoon of the crumb mixture into each liner and press it down firmly with the back of a spoon or the flat bottom of a small glass, creating an even compact base.
- Whip the filling smooth:
- In a large bowl, beat the softened cream cheese with an electric mixer until completely smooth and creamy, scraping down the sides once or twice to catch any stubborn clumps.
- Sweeten and blend:
- Add the sugar and beat until fully incorporated, then mix in the egg, vanilla extract, and sour cream just until blended, being careful not to overwork the batter or you will incorporate too much air.
- Fill the cups:
- Spoon or pipe the cheesecake mixture evenly into the prepared crusts, filling each liner about three quarters full and tapping the pan gently on the counter to release any trapped bubbles.
- Bake with restraint:
- Bake for 18 to 20 minutes until the centers are almost set but still have the slightest jiggle, because carryover heat will finish the job and overbaking leads to cracks.
- Cool and chill patiently:
- Let the cheesecakes rest in the pan for 10 minutes, then transfer them to a wire rack to cool completely before refrigerating for at least one hour so the filling sets into that perfect creamy texture.
- Crown your creations:
- Before serving, top each mini cheesecake with whatever your heart desires, whether that is a glossy pool of chocolate ganache or a tangle of fresh berries.
 Pin to board
 One rainy Saturday I set up a toppings bar on my kitchen counter and let my nieces decorate their own mini cheesecakes, and the concentrated silence of two children completely absorbed in their work was the sweetest thing all day.
Mixing Up the Crust
Graham crackers are classic for a reason, but swapping them out can completely transform these little treats. Crushed Oreos make a dramatically dark chocolate crust that pairs incredibly well with a berry topping. Digestive biscuits add a wholesome nutty note, and gingersnaps bring a warm spice that feels especially right around the holidays.
Playing with Flavors
The base filling is a blank canvas that welcomes all kinds of additions. A teaspoon of lemon zest brightens everything and makes the cheesecake taste lighter. Mini chocolate chips folded into the batter create little pockets of melty richness. A half teaspoon of espresso powder adds depth without making it taste like coffee, which surprises people every time.
Serving and Pairing Ideas
These mini cheesecakes are a natural centerpiece for any gathering because they look impressive without requiring any decorating skills. A glass of Moscato dAsti alongside them turns a simple dessert into a proper occasion, and a strong cup of coffee is just as lovely for a quieter afternoon treat. However you serve them, they taste best within two days of making them.
- Arrange assorted toppings in small bowls so everyone can customize their own.
- Keep leftover cheesecakes in an airtight container in the fridge for up to four days.
- Always add juicy toppings like berries right before serving so the crust stays crisp.
 Pin to board
 Every time I pull these from the fridge, perfectly chilled and waiting under their little crowns of fruit or chocolate, I remember why I fell in love with baking in the first place. Tiny cakes, big happiness, and always enough to share.
Recipe FAQs
- → Can I make mini cheesecakes without a muffin tin?
-
Yes, you can use a standard cheesecake pan and simply reduce the baking time. Alternatively, silicone molds or ramekins work well for individual portions. Adjust the baking time accordingly and keep an eye on the centers.
- → How long do mini cheesecakes last in the fridge?
-
Stored in an airtight container, they stay fresh for up to 4 days in the refrigerator. For the best texture and flavor, enjoy them within the first 2 days. Add toppings just before serving to keep the crust crisp.
- → Can I freeze mini cheesecakes?
-
Absolutely. Freeze them without toppings on a parchment-lined tray until solid, then transfer to a freezer-safe container. They keep well for up to 2 months. Thaw overnight in the refrigerator before adding your favorite toppings.
- → Why did my mini cheesecakes crack on top?
-
Cracking usually happens from overbaking or sudden temperature changes. Bake until the centers are just barely set—they'll firm up as they cool. Avoid opening the oven door during baking, and let them cool gradually in the pan before moving to a wire rack.
- → What toppings go best with mini cheesecakes?
-
Fresh berries like strawberries, blueberries, and raspberries are classic choices. Chocolate ganache, salted caramel, whipped cream, crushed cookies, and toasted nuts all pair beautifully. Mix and match for a colorful dessert spread that lets guests personalize their own.
- → Can I use a different crust for these mini cheesecakes?
-
Definitely. Crushed Oreos make a delicious chocolate crust, digestive biscuits offer a wholesome alternative, and gingersnaps add a warm spiced note. Use the same ratio of crumbs to melted butter for whichever base you choose.