 Pin to board
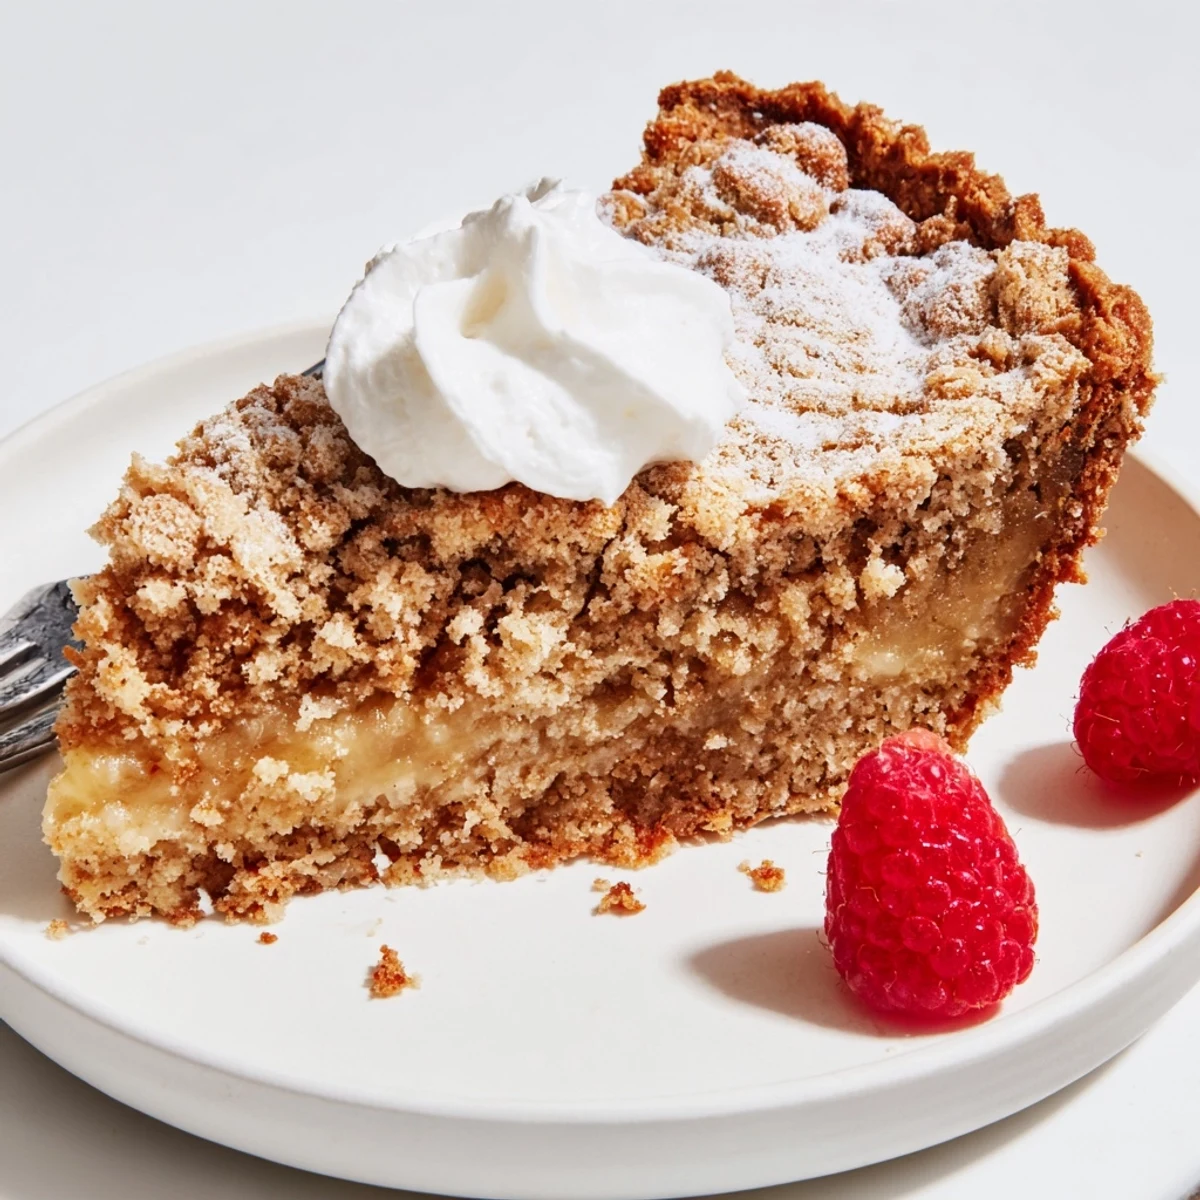
 This version layers a crunchy, chewy oat cookie crust with a molten, buttery custard-like filling enriched by brown sugar, dry milk powder and plenty of egg yolks. Gentle whisking and minimal air yield a glossy, dense center while a hint of salt balances the sweetness.
Bake until edges are set and the center still wobbles, cool fully, then refrigerate to firm for neat slices. Dust with powdered sugar and serve with whipped cream or berries for brightness.
The crackling sound of oat cookie baking on a sheet pan at 350 degrees is one of those small kitchen noises that signals something extraordinary is about to happen. I first encountered Milk Bar Crack Pie at a tiny birthday dinner in Brooklyn where a friend who never baked showed up with this wobbling golden disc she had somehow pulled off. One bite and I was chasing that gooey salty buttery high for months until I figured out how to recreate it at home.
I brought this pie to a potluck once and watched a quiet coworker named David go back for thirds without making eye contact with anyone. He later emailed me for the recipe at midnight and I knew then that this dessert has a strange power over otherwise composed people.
Ingredients
- Unsalted butter (softened and melted separately): You need both textures so do not try to shortcut this and the butter is the backbone of every single layer here.
- Light brown sugar and granulated sugar: The double sugar situation in both the crust and filling builds depth that a single sugar simply cannot achieve.
- Rolled oats: Use old fashioned rolled oats not quick oats because the texture and chew make the crust worth eating on its own.
- Dry milk powder: This is the secret ingredient that gives the filling its signature milky richness and you will find it in the baking aisle near the powdered drinks.
- Heavy cream: Adds a velvety quality to the filling that keeps it from turning into a basic custard.
- Large egg yolks: Eight yolks might feel excessive but they are what create that impossibly dense gooey center.
- Vanilla extract: Use the real stuff not imitation because this filling is so simple that every ingredient shows.
- All purpose flour: A small amount in both the cookie and the filling provides just enough structure without making anything cakey.
- Fine salt: Do not skip the salt in any layer because it is what makes this pie addictive rather than just sweet.
- Baking powder and baking soda: Just a pinch of each gives the oat cookie the slightest lift so it bakes into a golden slab instead of a brick.
Instructions
- Bake the oat cookie slab:
- Cream the softened butter with both sugars until the mixture looks pale and fluffy then beat in the whole egg. Fold in the oats flour baking powder baking soda and salt until everything is combined and spread it thin on a parchment lined sheet pan. Bake at 350 degrees for about 15 minutes until the edges turn a deep golden brown and your kitchen smells like a bakery.
- Turn the cookie into crust:
- Let the cookie cool completely then break it into chunks and pulse in a food processor until you have fine crumbs. Add melted butter brown sugar and salt and pulse again until the mixture clumps together when you squeeze it in your palm. Press it firmly into the bottom and up the sides of a 9 inch pie dish making sure there are no thin spots that will crack later.
- Build the filling:
- Whisk together both sugars the milk powder flour and salt in a large bowl until no lumps remain. Pour in the melted butter and stir until the mixture looks uniform and glossy then add the cream and vanilla and whisk again until everything is silky smooth.
- Fold in the yolks gently:
- Add all eight egg yolks and whisk just until they disappear into the batter. Stop as soon as you see uniform color because beating air into this filling will make it puff and collapse instead of staying dense and fudgy.
- Bake low and slow:
- Reduce the oven to 325 degrees and pour the filling into your prepared crust. Set the pie dish on a baking sheet to catch any buttery overflow and bake for 25 to 30 minutes until the edges are set but the center still has a visible jiggle when you shake the pan.
- Chill with patience:
- Cool the pie completely on a wire rack then slide it into the refrigerator for at least two hours or ideally overnight. A hot knife run under warm water and wiped dry will give you those clean bakery style slices. Dust generously with powdered sugar right before serving.
 Pin to board
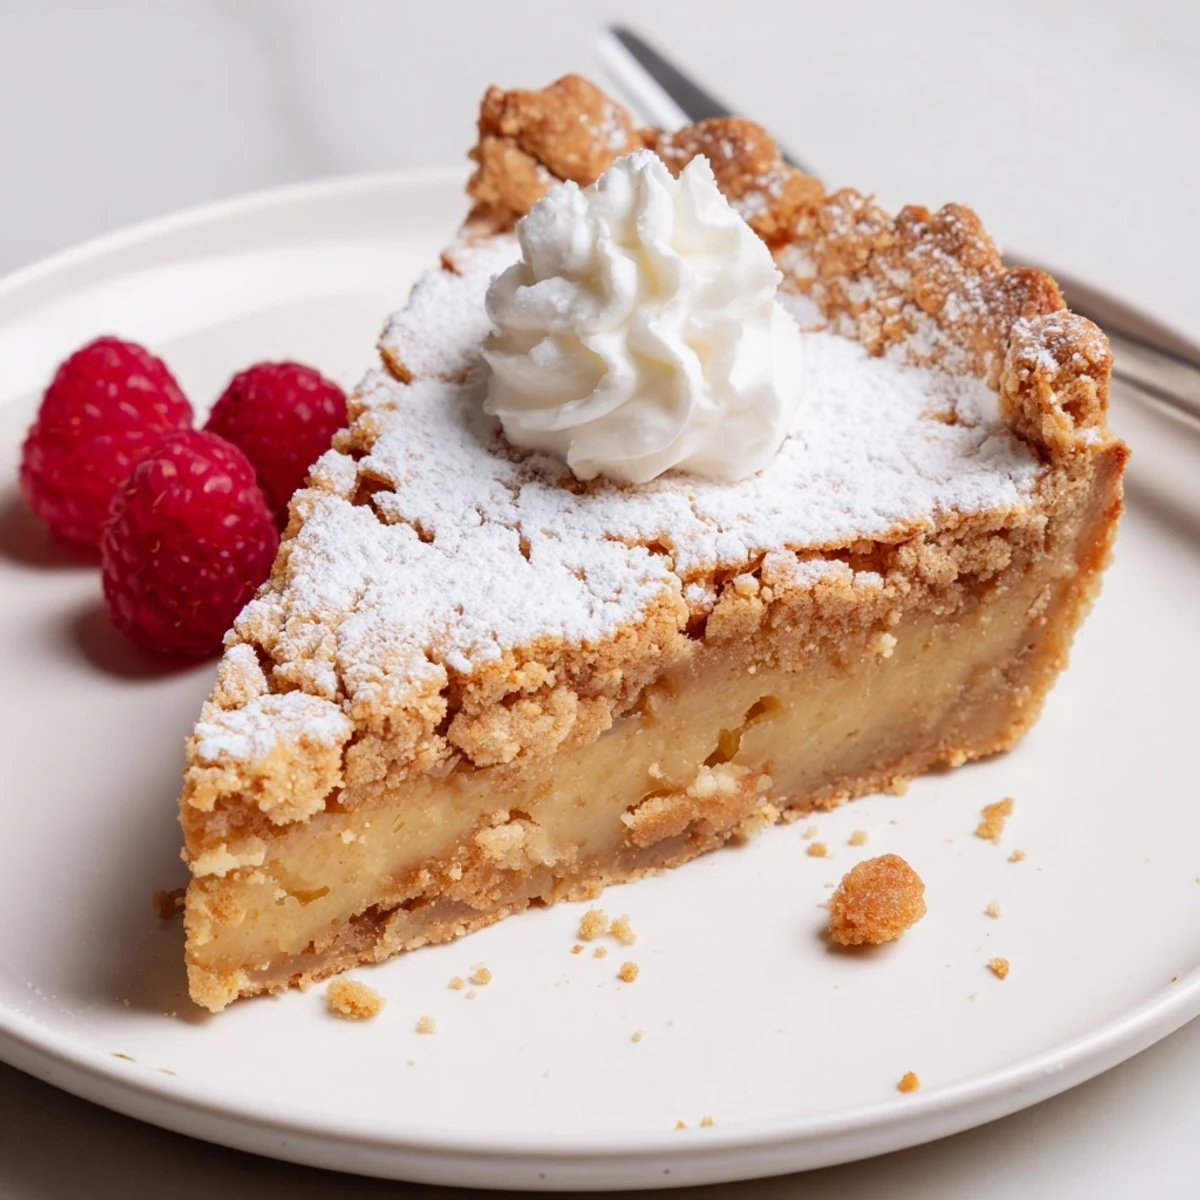
 There is something deeply satisfying about pulling a pie from the fridge the next morning and seeing that the wobbly center has transformed into a sliceable golden custard. It feels less like baking and more like a science experiment that actually worked.
What to Know About the Crust
The crust is technically a cookie that you bake first then smash into crumbs then reassemble with butter and sugar into something entirely new. I tried once to skip the separate cookie step and just mix crust ingredients raw and the result was a greasy crumbly mess that never held together. Baking the oat cookie first toasts the oats and caramelizes the butter and that flavor cannot be replicated with a shortcut. Trust the two step process because the extra twenty minutes are what separate a good pie from a great one.
Getting the Filling Texture Right
The filling should look slightly underbaked when you pull it from the oven and that jiggle in the center is your best friend. I learned through a very flat very sad pie that overbaking causes the filling to separate into a greasy layer on top and a rubbery layer below. The carryover heat from the hot crust will continue to gently cook the center as it cools on the rack. Think of it like a custard where restraint at the oven door is the entire game.
Serving and Storing Like a Pro
This pie actually improves after a night in the fridge as the filling sets into that dense chewy texture that made the original famous across New York. Cover it loosely with foil or plastic wrap after it has cooled completely to prevent it from absorbing refrigerator odors which is a lesson I learned after my pie tasted faintly of leftover curry.
- Serve slices chilled or at room temperature but never straight from the fridge ice cold.
- A warm dry knife dipped in hot water between each cut gives you the cleanest edges.
- Leftovers keep beautifully for up to four days covered in the refrigerator.
 Pin to board
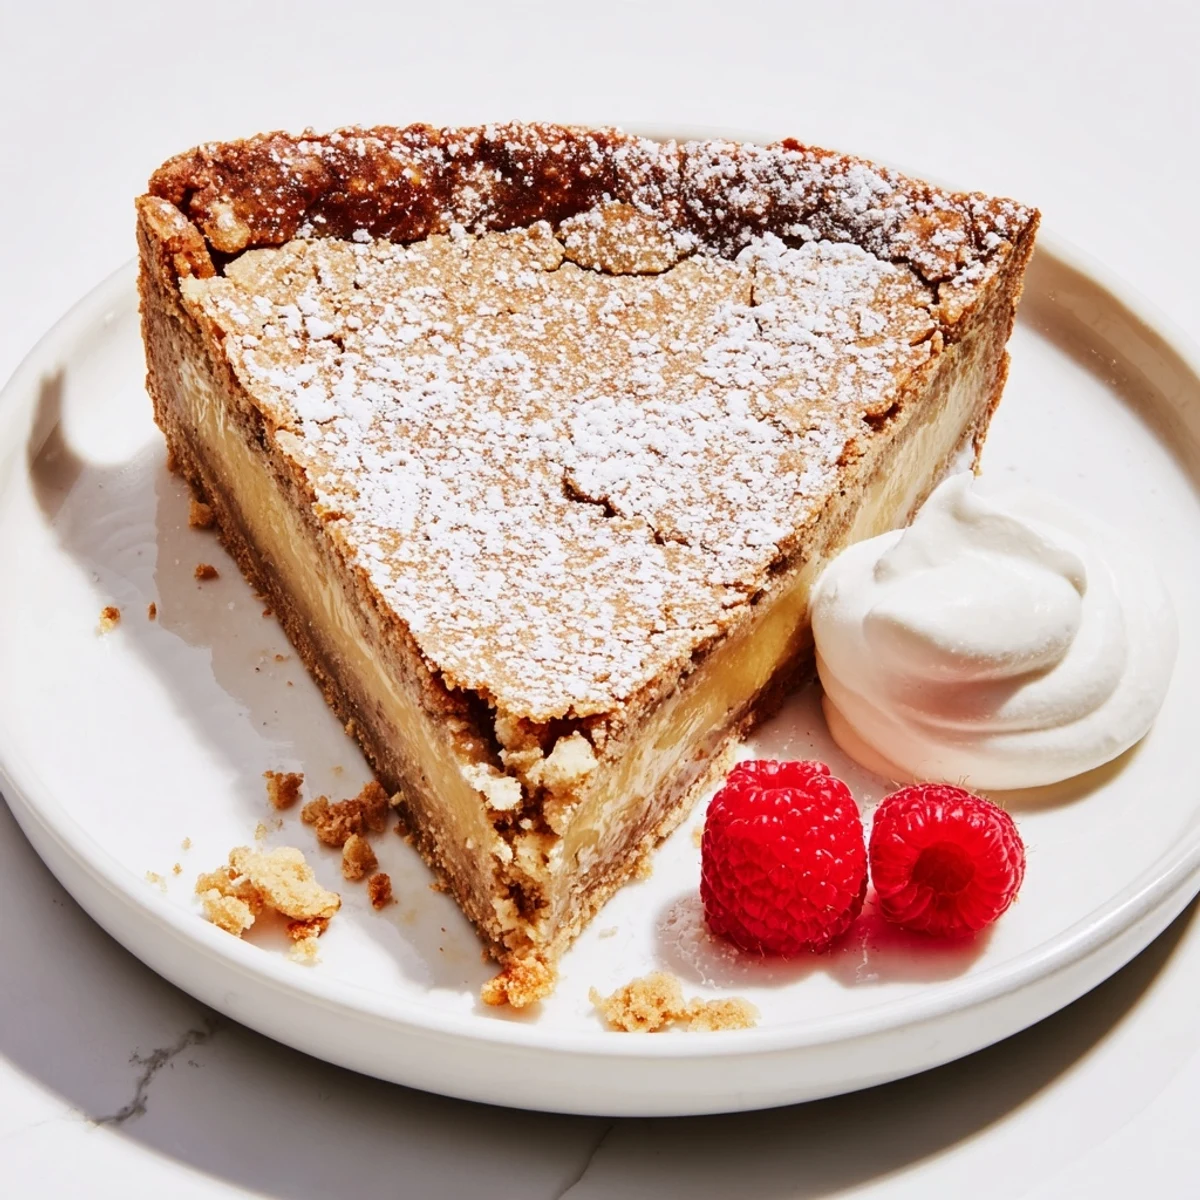
 Every time I make this pie for someone new I watch them take that first bite and go quiet for a moment and that silence is honestly the highest compliment a baker can receive.
Recipe FAQs
- → What creates the gooey center?
-
A high proportion of egg yolks, melted butter, sugars and a bit of dry milk powder combine to produce a rich, custard-like texture. Avoid over-whisking to minimize air and bake only until the center remains slightly wobbly.
- → How do I know when it's done baking?
-
Edges should be set and golden while the center still has a gentle wobble when you jostle the dish. The filling will firm as it cools and then in the refrigerator.
- → How can I get a sturdy crust that slices cleanly?
-
Press the oat cookie crumbs and melted butter firmly into the dish and pre-bake the thin oat layer for color. Chill thoroughly before slicing and use a hot, clean knife for smooth portions.
- → What are good substitutions for gluten-free needs?
-
Use certified gluten-free rolled oats and swap the all-purpose flour for a 1:1 gluten-free flour blend. Check oat processing labels to ensure no cross-contact.
- → How long should it chill before serving?
-
After cooling to room temperature, refrigerate for at least 2 hours and ideally overnight. Extended chilling helps the filling set and makes cleaner slices.
- → How should leftovers be stored and served?
-
Keep covered in the refrigerator for up to 4–5 days. Bring slices to just above fridge temperature for a silkier mouthfeel, or serve cold with whipped cream or fresh berries.
