 Pin to board
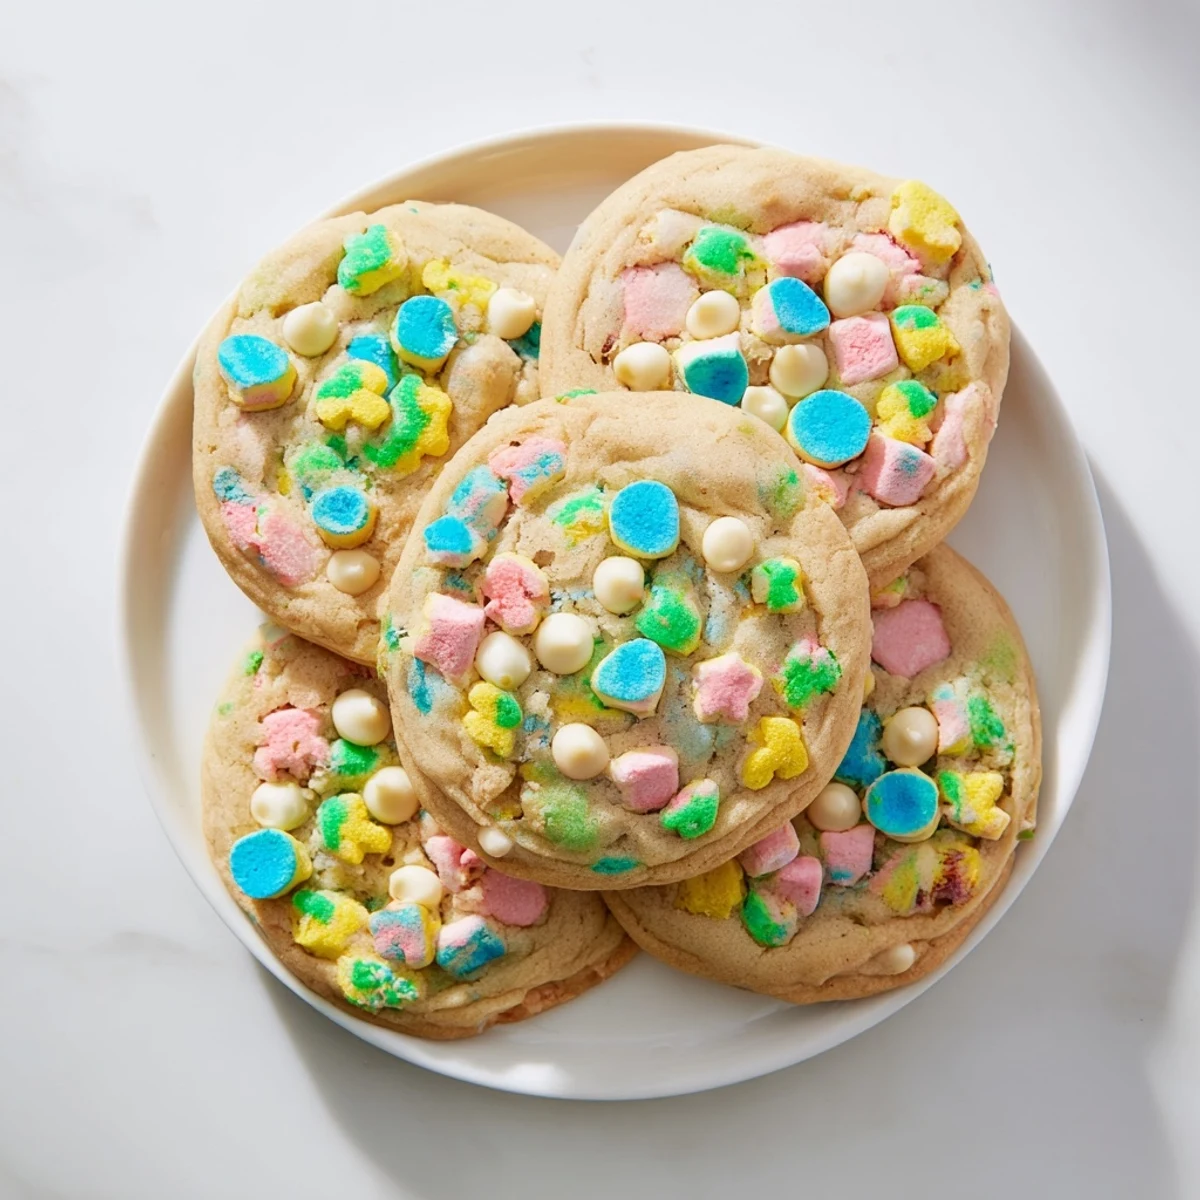
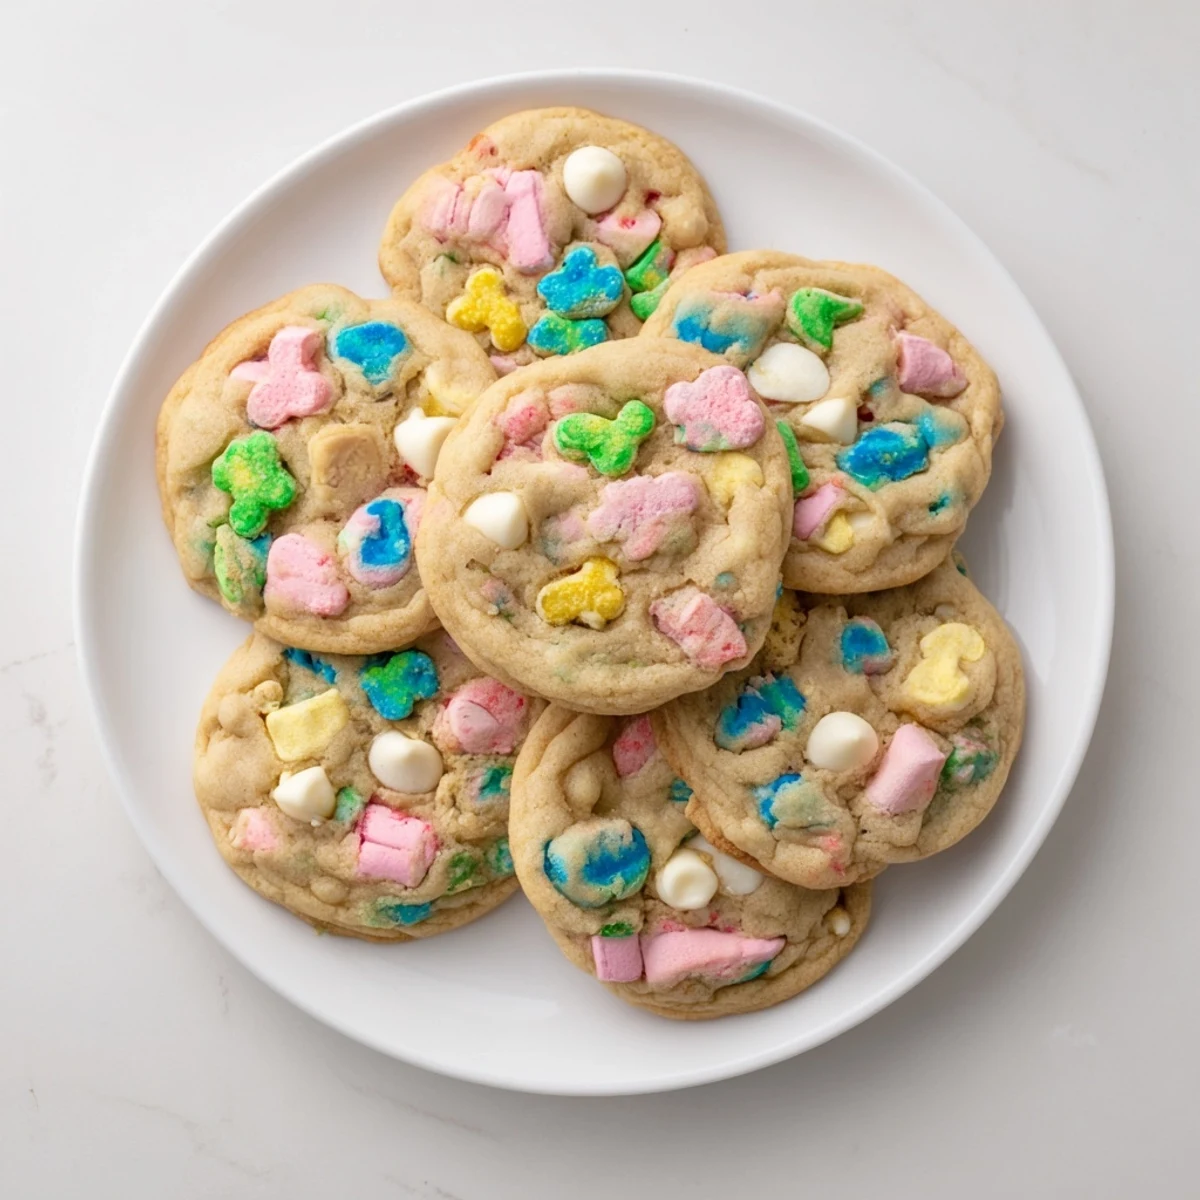
 Create magical treats combining soft, chewy cookie dough with vibrant Lucky Charms marshmallows. These whimsical delights feature golden edges and slightly underbaked centers, yielding 24 irresistible portions perfect for sharing.
The process involves mixing melted butter with brown and granulated sugars, then incorporating eggs and vanilla. Dry ingredients get folded in gently before adding the star ingredient—colorful marshmallow bits plus optional white chocolate chips.
Bake at 350°F for 9-11 minutes until edges set while centers remain soft. Pressing extra marshmallows atop each dough ball creates festive, eye-catching presentation.
My niece stood on a stepstool at the kitchen counter, tiny fingers carefully sorting through the cereal bowl and plucking out every single marshmallow shape. Those special moments where kitchen experiments turn into memories are exactly why baking feels like magic. We made these cookies on a rainy Tuesday afternoon, and the way her eyes lit up when she saw those colorful bits folded into cookie dough was absolutely priceless.
That first batch disappeared faster than I could get them onto the cooling rack, with my sister grabbing three before theyd even set. Now these are the cookies my family requests for every birthday, sleepover, and movie night. There is something so nostalgic about combining childhood cereal memories with homemade cookie warmth.
Ingredients
- 2 1/4 cups all-purpose flour: The foundation that gives structure without making cookies heavy or cakey
- 1/2 teaspoon baking soda: Helps create those delightfully puffy centers while edges stay crisp
- 1/2 teaspoon salt: Balances sweetness and intensifies the marshmallow vanilla flavor
- 3/4 cup unsalted butter, melted and cooled: Melted butter creates denser chewier cookies compared to creamed butter
- 3/4 cup packed light brown sugar: Adds moisture and deep caramel notes that complement the sweet marshmallows
- 1/2 cup granulated sugar: Creates crisp edges and helps cookies spread properly
- 1 large egg plus 1 egg yolk: The extra yolk adds richness and keeps centers wonderfully soft
- 2 teaspoons pure vanilla extract: Do not skimp here because vanilla bridges the gap between cereal sweetness and buttery dough
- 1 1/4 cups Lucky Charms marshmallows: The star of the show, carefully sorted from the cereal
- 3/4 cup white chocolate chips: Optional but they melt into creamy pools that pair perfectly with the marshmallows
Instructions
- Preheat your oven to 350°F and line baking sheets:
- Parchment paper prevents sticking and makes cleanup effortless while ensuring even baking
- Whisk together the dry ingredients:
- Combine flour baking soda and salt in a medium bowl, then set aside while you prepare the wet mixture
- Mix melted butter with both sugars:
- Stir until completely smooth, which takes about a minute of patient mixing
- Add the egg, egg yolk, and vanilla:
- Beat vigorously until the mixture turns glossy and looks like caramel sauce
- Gradually incorporate the flour mixture:
- Stir by hand just until no flour streaks remain because overmixing makes cookies tough
- Fold in white chocolate chips and most marshmallows:
- Save about 1/4 cup of the prettiest marshmallows for topping later
- Scoop onto prepared baking sheets:
- Use a tablespoon or small cookie scoop, leaving 2 inches between dough balls for spreading
- Press reserved marshmallows onto each dough ball:
- This creates that beautiful festive appearance and ensures colorful bits on every cookie surface
- Bake for 9 to 11 minutes:
- Remove when edges look set but centers still appear slightly underbaked for maximum chewiness
- Cool completely on baking sheets:
- Let them rest for 5 minutes before transferring to a wire rack, which helps them set properly
 Pin to board
 Last Christmas Eve I brought a platter to my neighbor's potluck, and her eight-year-old son declared these better than the cookies Santa would bring. The adults were just as enthusiastic, standing around the platter and reminiscing about their own childhood cereal favorites while sneaking seconds. Food connects us across generations in the most unexpected ways.
Making Them Your Own
I have discovered that swapping half the white chocolate chips for dark chocolate creates a sophisticated twist adults secretly love. The marshmallows remain playful while the darker chocolate adds depth and cuts through sweetness. My sister prefers adding sprinkles for an even more festive birthday cookie version.
Storage Secrets
These stay surprisingly soft for days when stored in an airtight container with a slice of bread. The bread acts as a moisture source, keeping cookies chewy rather than drying out. I have also frozen raw dough balls successfully, baking them straight from frozen with just an extra minute in the oven.
Serving Suggestions
Warm these for 15 seconds in the microwave before serving and watch the white chocolate chips turn into molten pools. They are incredible alongside vanilla ice cream, crumbled over cereal milk custard, or simply enjoyed with a cold glass of milk. The contrast between warm cookies and cold milk brings back all the best childhood memories.
- Serve them the same day for the softest texture
- Pair with vanilla bean ice cream for an over-the-top dessert
- Crumble over your morning oatmeal for a breakfast treat
 Pin to board
 These cookies have become my go-to for bringing joy to ordinary afternoons and special celebrations alike. May your kitchen be filled with laughter and the sweet smell of marshmallows toasting in the oven.
Recipe FAQs
- → How do I separate marshmallows from the cereal?
-
Pour Lucky Charms into a large shallow bowl. Gently shake side-to-side allowing heavier cereal pieces to settle while colorful marshmallows rise to the top. Carefully skim off marshmallows using a spoon or your fingers. You'll need about 1 1/4 cups marshmallows for this batch—roughly 2-3 standard boxes depending on marshmallow ratio.
- → Can I use the cereal pieces too?
-
Absolutely. While marshmallows provide primary appeal, adding 1/2 cup crushed cereal pieces creates extra crunch and intensifies that familiar breakfast flavor. Just crush them slightly before folding into dough to prevent overly hard textures in finished treats.
- → Why press marshmallows on top before baking?
-
Topping each dough ball with reserved marshmallows ensures vibrant visibility after baking. Marshmallows incorporated inside soften considerably during oven time, while those pressed atop retain shape and color better, creating that signature spotted appearance kids love.
- → What's the secret to soft centers?
-
Removing from oven while centers still look slightly underbaked guarantees softness. Carryover cooking continues during the 5-minute cooling period on baking sheets, setting structure without drying interiors. This technique produces that perfect soft-chewy texture every time.
- → Can I freeze the dough?
-
Yes. Scoop individual dough portions onto a parchment-lined baking sheet and freeze until solid, about 2 hours. Transfer frozen balls to an airtight container or freezer bag for up to 3 months. Bake frozen portions adding 1-2 minutes to baking time—no thawing needed.
- → How should I store these?
-
Keep completely cooled treats in an airtight container at room temperature. Place parchment paper between layers to prevent sticking. Best enjoyed within 4 days. For longer storage, freeze baked treats in freezer-safe bags for up to 2 months, thawing at room temperature before serving.
