 Pin to board
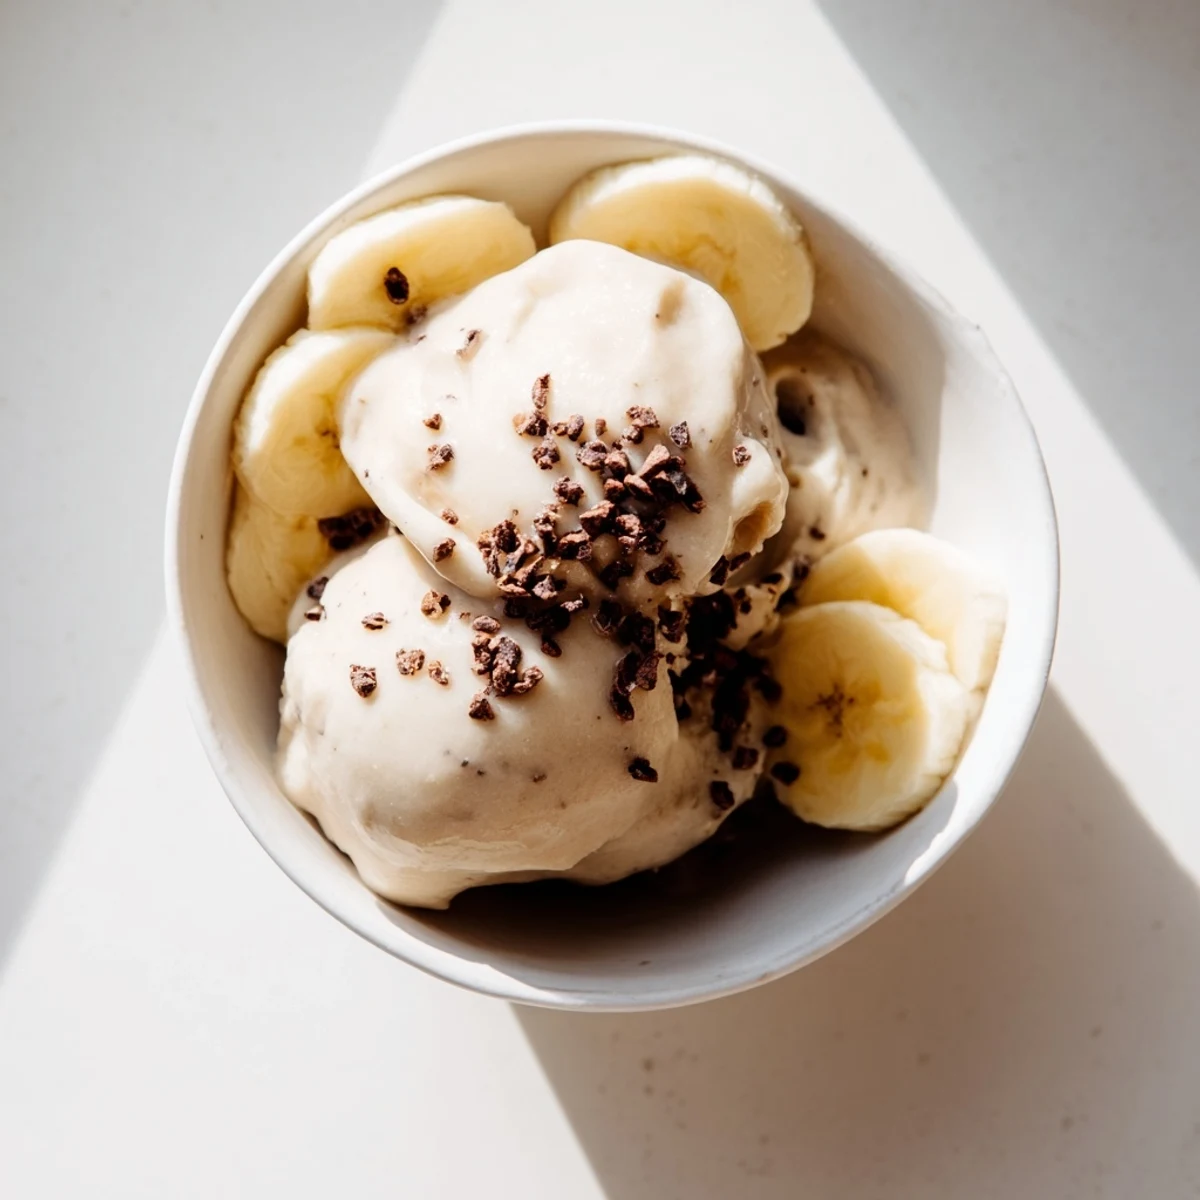
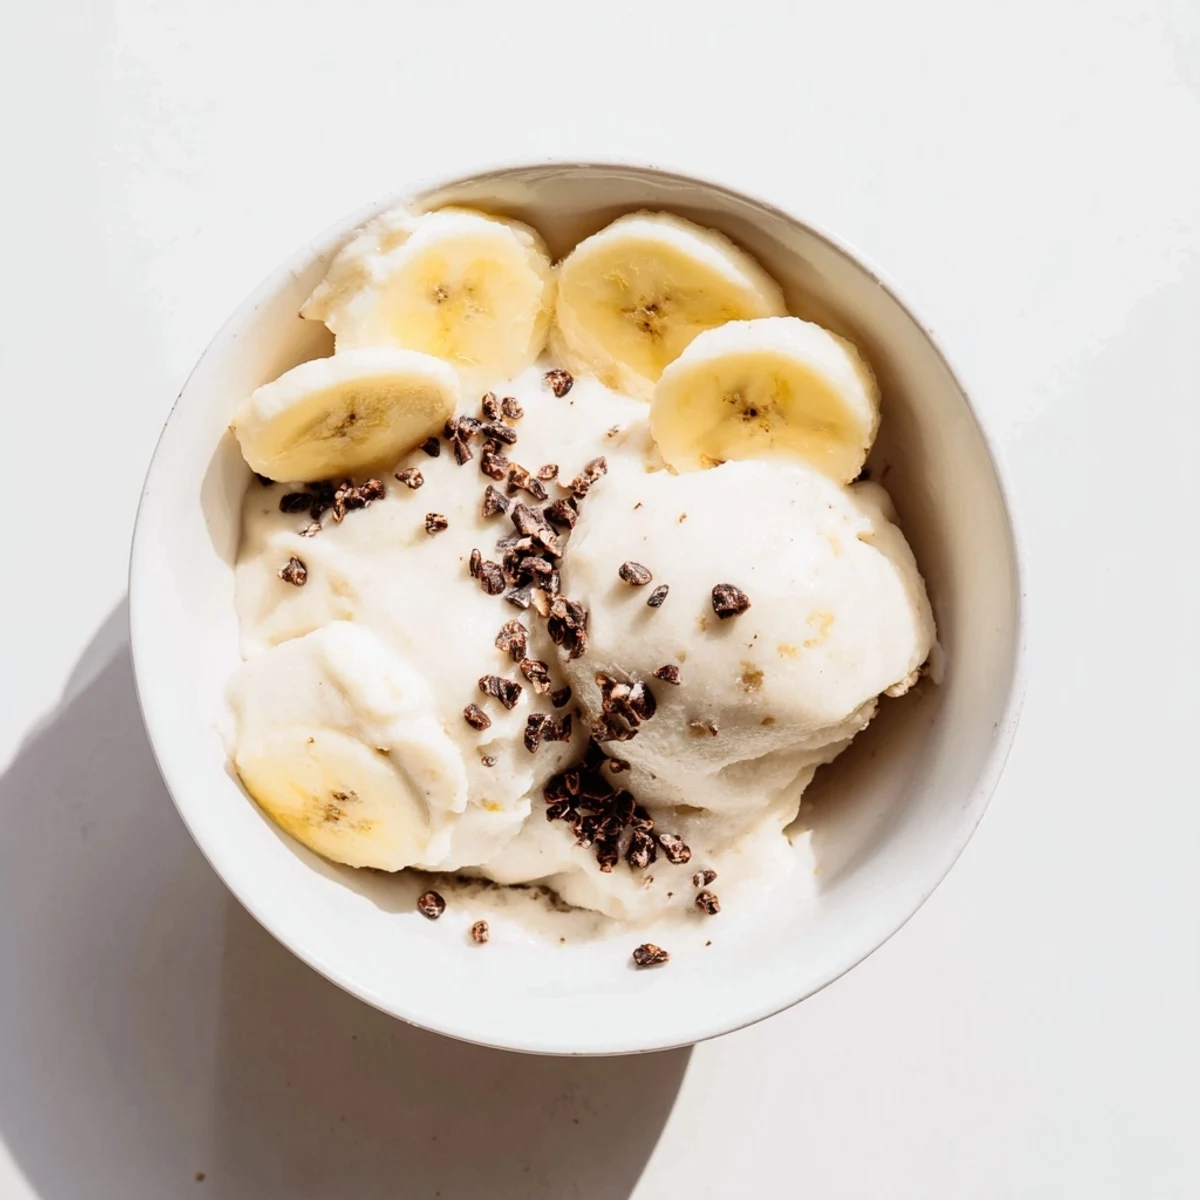
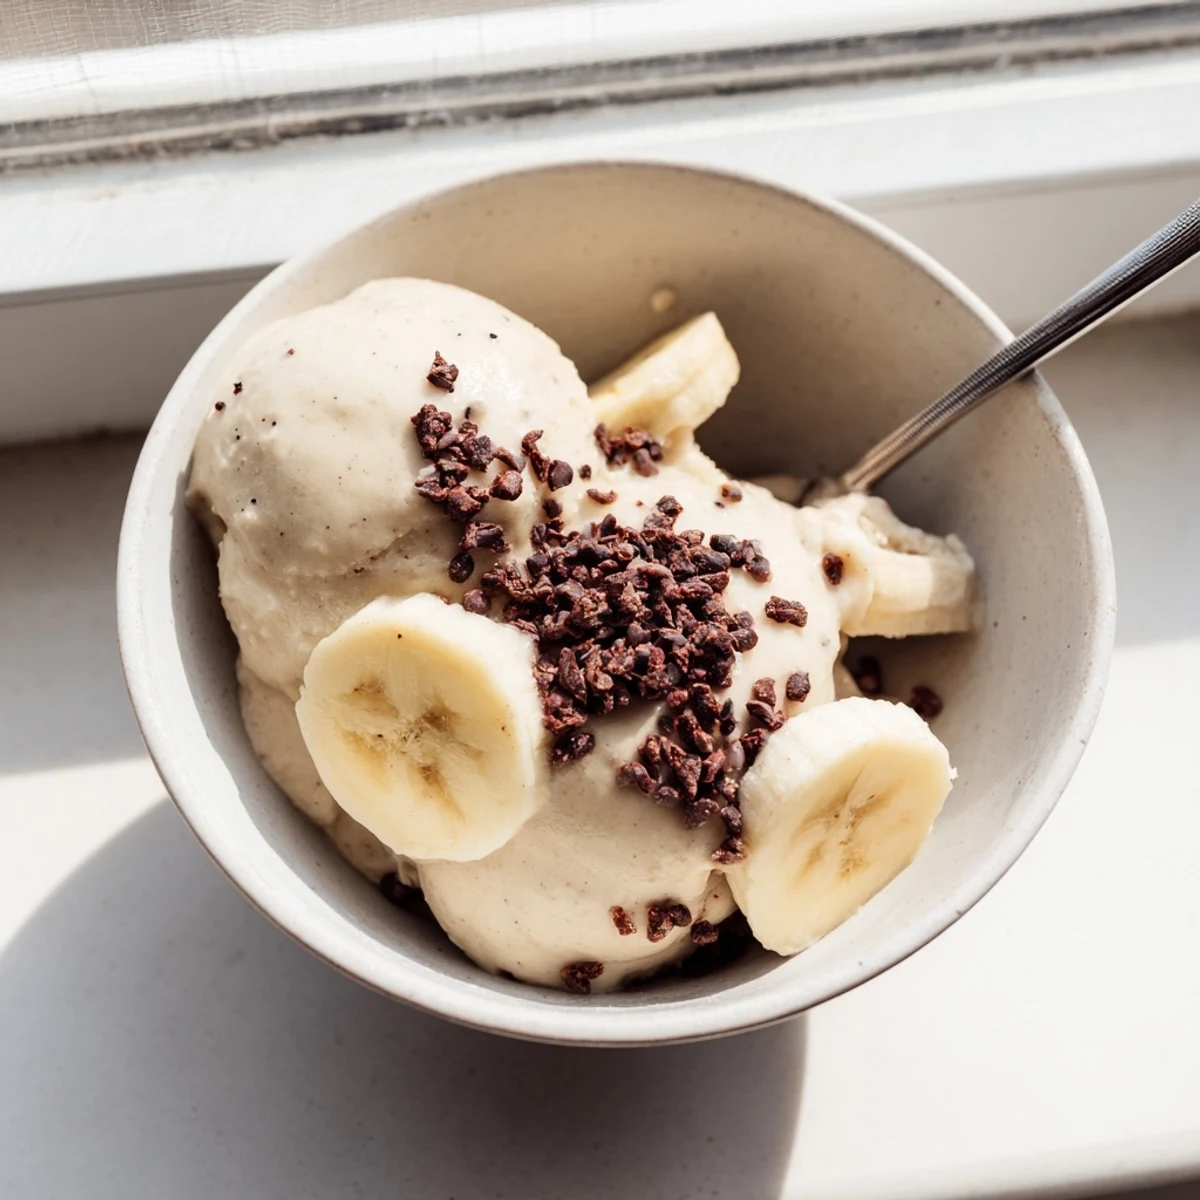
 Whip up this velvety frozen dessert using nothing but frozen bananas and your choice of natural mix-ins. The secret lies in blending frozen fruit until it reaches a remarkably creamy texture that rivals traditional ice cream. Customize with vanilla, cocoa powder, or berries for endless variety. This naturally sweet treat contains no dairy, added sugar, or artificial ingredients—just pure fruit transformed into something indulgent. Perfect for warm days or whenever cravings strike, it comes together in mere minutes and can be enjoyed soft or frozen for a firmer scoop.
My blender was struggling one humid July afternoon, growling like it had a personal vendetta against frozen banana chunks, and honestly I almost gave up on the whole experiment.
I served this to my niece last summer and she refused to believe there was no ice cream machine involved, which remains one of my proudest kitchen victories.
Ingredients
- 3 large ripe bananas, sliced and frozen: The riper the better, since those brown speckled peels mean natural sweetness you cannot fake any other way.
- 1 tsp pure vanilla extract: This lifts the banana flavor into something that genuinely tastes like a dessert rather than a smoothie bowl.
- 2 tbsp unsweetened cocoa powder: Use this when you want a chocolate variation that rivals any frozen yogurt shop.
- 1/2 cup frozen berries: A handful of berries turns the whole bowl a gorgeous magenta and adds a bright tangy note.
- 1 tbsp chopped nuts: Crunch on top makes every spoonful more satisfying.
- 1 tbsp cacao nibs: These little bitter bits balance the sweetness beautifully.
- Fresh fruit slices: Whatever is in season works wonders as a finishing touch.
Instructions
- Load the blender:
- Toss your frozen banana slices into a high powered blender or food processor and get ready for some noise.
- Blend and scrape:
- Run the machine on high, stopping to scrape down the sides every thirty seconds or so until the mixture transforms from crumbly chunks into silky ribbons.
- Add your flavors:
- Drop in the vanilla extract or any cocoa powder and berries you are using, then blend again until everything is uniformly combined.
- Chill if you like:
- For a firmer scoopable texture, transfer the nice cream to a freezer safe container and let it rest for one to two hours.
- Serve and enjoy:
- Scoop into bowls, scatter on your favorite toppings, and eat immediately before it melts into happiness.
 Pin to board
 There is something quietly magical about watching three humble bananas become a bowl of velvety frozen dessert right before your eyes.
Mixing Things Up
Once you master the basic version the door is wide open for creativity. A spoonful of peanut butter blended in creates a rich nutty twist that tastes almost decadent. I have also stirred in matcha powder on a whim and ended up with an earthy green bowl that photographed beautifully and tasted even better.
Tools That Actually Help
A food processor tends to produce a creamier result than a standard blender because the wide blade catches every last frozen chunk. You will also want a sturdy rubber spatula, because nothing is more frustrating than leaving half your nice cream stuck to the sides. A shallow freezer container comes in handy if you prefer the firmer texture after a short rest.
Keeping It Simple and Safe
This recipe is naturally free from gluten, dairy, and eggs, which makes it a reliable option for nearly any dietary need.
- Check labels on mix ins like nut butters or cocoa powder for hidden allergens.
- If you add nut toppings, mention it to anyone with sensitivities before serving.
- Leftovers can be refrozen but are best eaten within a day for the creamiest texture.
 Pin to board
 Keep a stash of frozen banana slices in your freezer at all times and a five minute dessert is never more than a blend away.
Recipe FAQs
- → What makes nice cream creamy without dairy?
-
The high pectin content in bananas creates a smooth, creamy texture when blended while frozen. Breaking down the fruit's cell structure releases natural thickeners that mimic the mouthfeel of traditional ice cream.
- → Can I make nice cream ahead of time?
-
Absolutely. Blend your nice cream, transfer to a freezer-safe container, and store for up to two weeks. Let it thaw 5–10 minutes before scooping for the best texture.
- → What fruits work best for nice cream?
-
Frozen bananas form the ideal base due to their creaminess and natural sweetness. Supplement with mangoes, pineapples, or berries for flavor variations. Avoid water-heavy fruits like melons.
- → How do I achieve a softer versus firmer texture?
-
For soft serve, enjoy immediately after blending. For scoopable nice cream, freeze for 1–2 hours. Longer freezing produces a firmer consistency similar to store-bought frozen desserts.
- → Can I reduce the natural sugar content?
-
Yes. Replace half the bananas with frozen avocado or peeled zucchini—both add creaminess without sweetness. You'll still get the rich texture with fewer natural sugars.
