 Pin to board
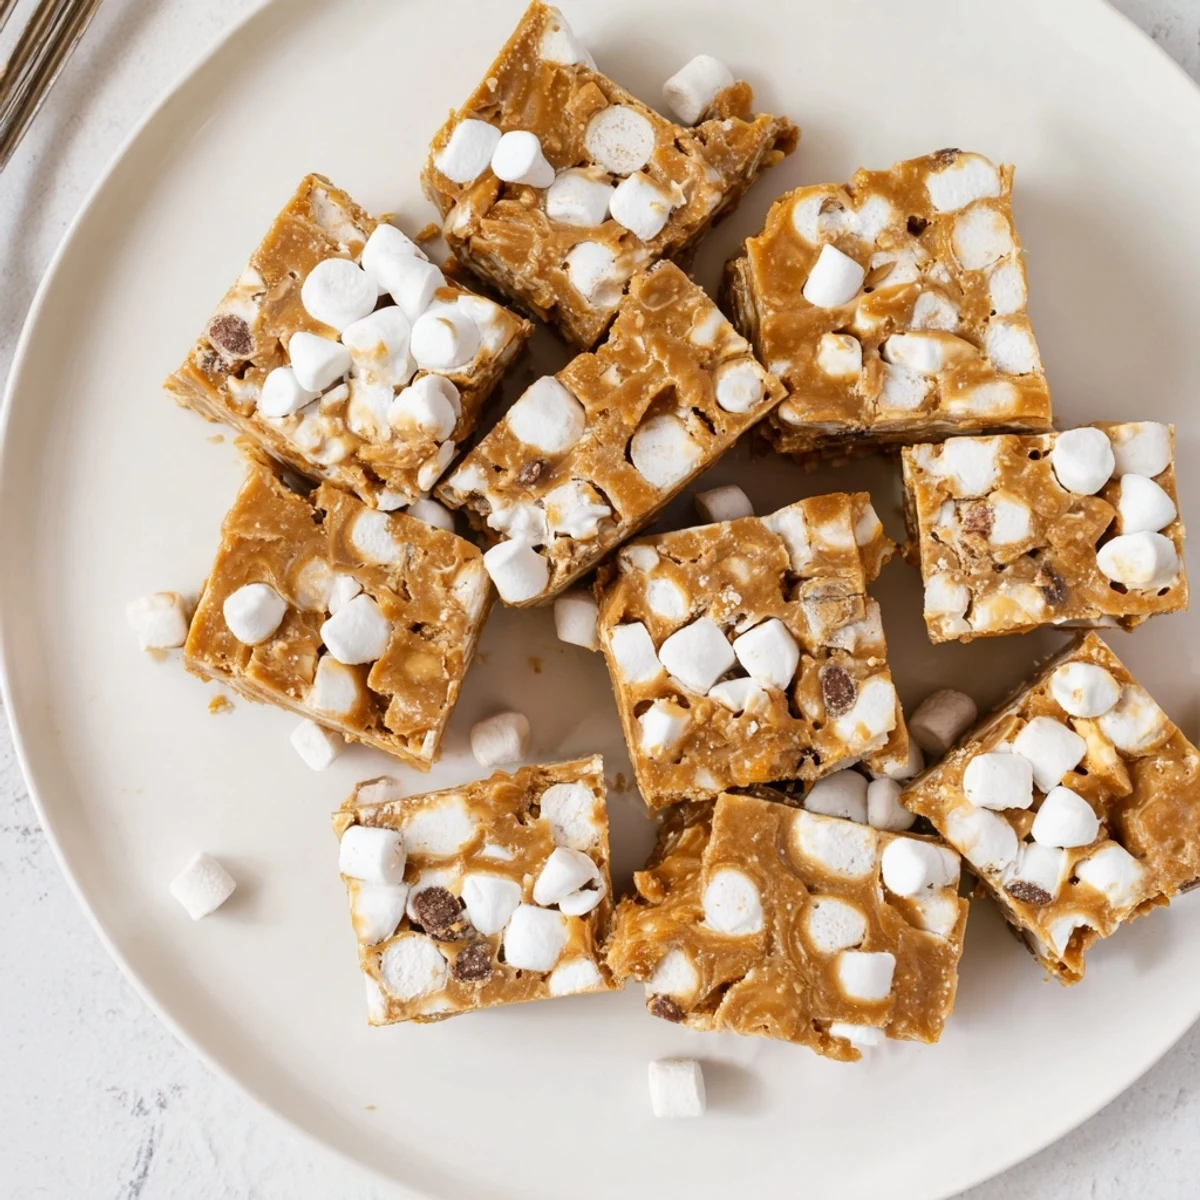
 These delightful squares combine rich peanut butter with fluffy marshmallows for a chewy, satisfying treat. The no-bake method makes them incredibly simple—just melt, mix, and chill. Perfect for last-minute gatherings or afternoon snacking, these gluten-free squares deliver restaurant-quality flavor with minimal effort.
The rain was hammering against the kitchen window the afternoon I stumbled onto this recipe, desperate for something sweet without the effort of turning on the oven. I had a half empty jar of peanut butter, a bag of marshmallows, and about fifteen minutes of patience. What came together in that pan was so absurdly good that my roommate walked in, stole two squares, and declared it dangerous. That chewy, creamy little square has since become my go-to for potlucks, late night cravings, and any moment that calls for comfort without complication.
I brought a batch of these to a friend's barbecue last summer and watched a tray of thirty six squares vanish before the burgers even came off the grill. One friend stood over the platter eating them straight while telling me about her week, barely coming up for air. She texted me the next morning asking if it was weird to want peanut butter marshmallow squares for breakfast. I told her I had already eaten two with my coffee.
Ingredients
- 1 cup creamy peanut butter: Use a brand where peanuts are the only ingredient for the cleanest flavor, and double check the label for gluten free certification.
- 1/2 cup unsalted butter: This adds richness and helps the mixture set with a smooth, fudgy consistency once chilled.
- 1 1/2 cups gluten free powdered sugar: Sift it before adding to prevent any chalky lumps from hiding in your squares.
- 1 teaspoon pure vanilla extract: A small amount rounds out the sweetness and gives the peanut butter a warmer, deeper flavor.
- 3 cups mini marshmallows: Certified gluten free is essential here since some brands use wheat derived starches as fillers.
- 1/2 cup gluten free chocolate chips: Optional but highly recommended for a thin layer of chocolate that melts slightly against the warm peanut butter base.
Instructions
- Prep your pan:
- Line an 8x8 inch baking pan with parchment paper, leaving enough overhang on the sides to lift the whole block out later like a sling.
- Melt the base:
- In a medium saucepan over low heat, stir the peanut butter and butter together until they melt into a single glossy pool that smells like the best sandwich you ever had.
- Sweeten and flavor:
- Pull the pan off the heat and stir in the powdered sugar and vanilla, mixing until the mixture is uniform and no dry streaks remain.
- Fold in the clouds:
- Let the mixture sit for two to three minutes so it cools slightly, then gently fold in the mini marshmallows with a spatula, stirring just until coated without letting them dissolve.
- Press and finish:
- Pour everything into your lined pan and spread it evenly, then press chocolate chips into the top if using, pushing gently so they stick.
- Chill and slice:
- Refrigerate for at least one hour until the block is firm to the touch, then lift it out and cut into sixteen neat squares with a sharp knife.
 Pin to board
 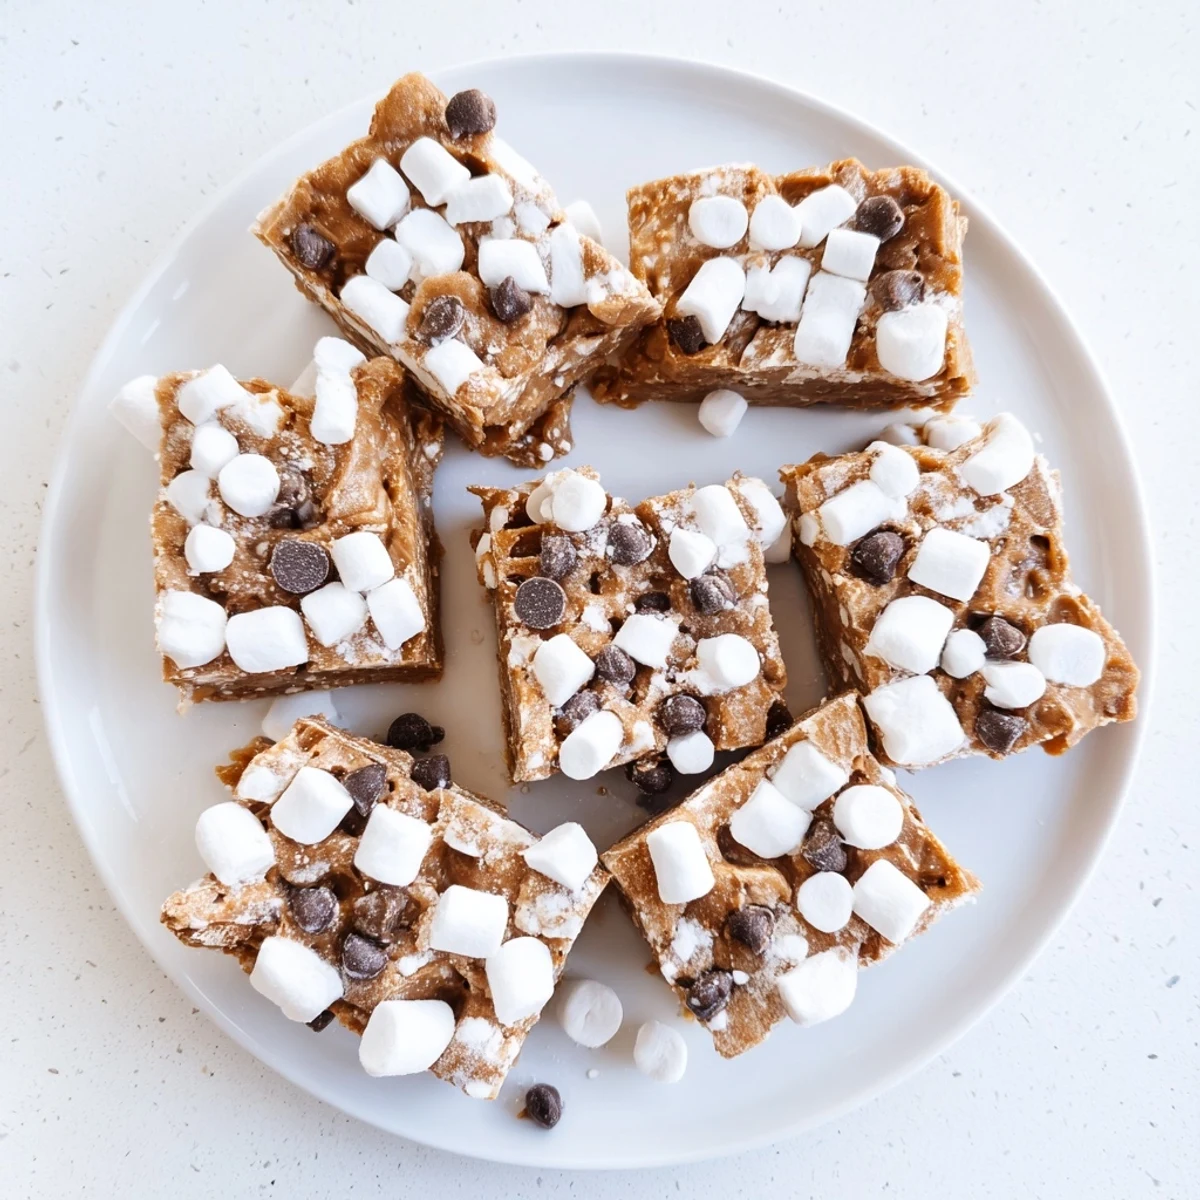 Pin to board
 There is something quietly magical about a recipe that requires no baking, no fancy equipment, and barely any cleanup yet produces something people genuinely moan over. I have made elaborate cakes that received less enthusiasm than a cold pan of these squares pulled straight from the fridge. Sometimes the simplest combination wins not because it is clever but because it is honest.
Making It Your Own
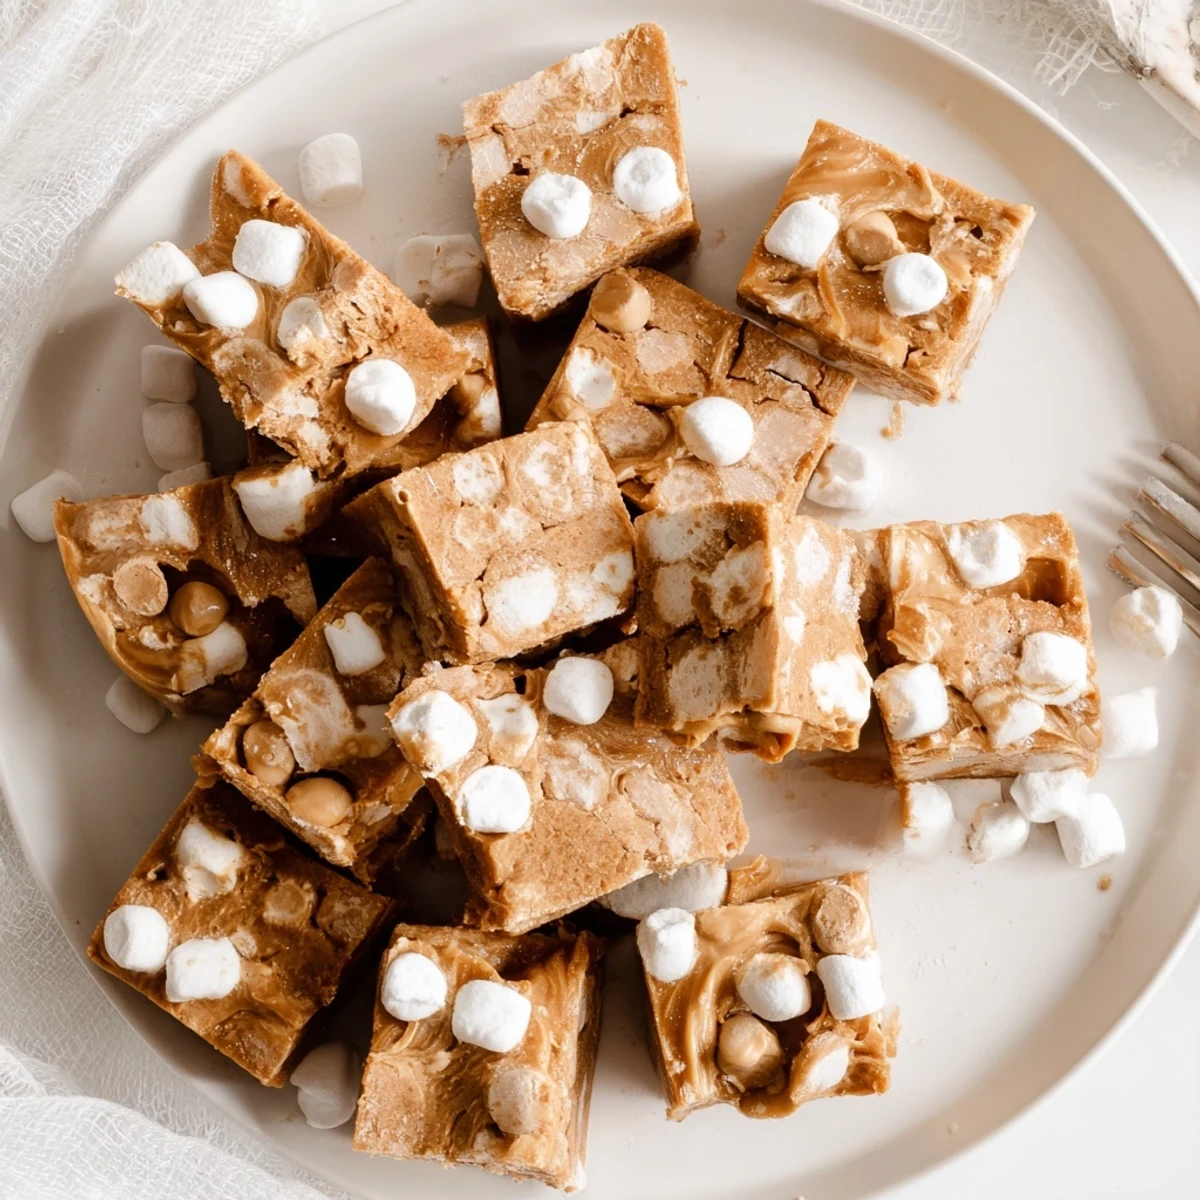
Sprinkle chopped roasted peanuts over the top before chilling for a satisfying crunch that plays beautifully against the soft interior. A pinch of flaky sea salt scattered across the surface transforms these from sweet to complex and makes every bite feel a little more grown up. If peanut butter is off the table, sunflower seed butter works surprisingly well and keeps the recipe school safe for classrooms with nut restrictions.
Storage and Serving
Keep the squares in an airtight container in the refrigerator and they will stay perfectly chewy for up to one week. They soften quickly at room temperature so if you are serving them at a party, arrange them on a chilled plate or keep the tray on ice. You can also freeze them layered between sheets of parchment paper for up to two months, though in my experience they never last that long.
Quick Reference Notes
A few small things I have picked up after making these more times than I can count.
- Wet your fingers or the back of a spoon with a little water before pressing the mixture into the pan to keep it from sticking to your hands.
- A plastic knife cuts through these squares more cleanly than a metal one, which tends to drag and leave ragged edges.
- Let the squares sit out for five minutes before slicing if they feel too firm straight from the fridge.
 Pin to board
 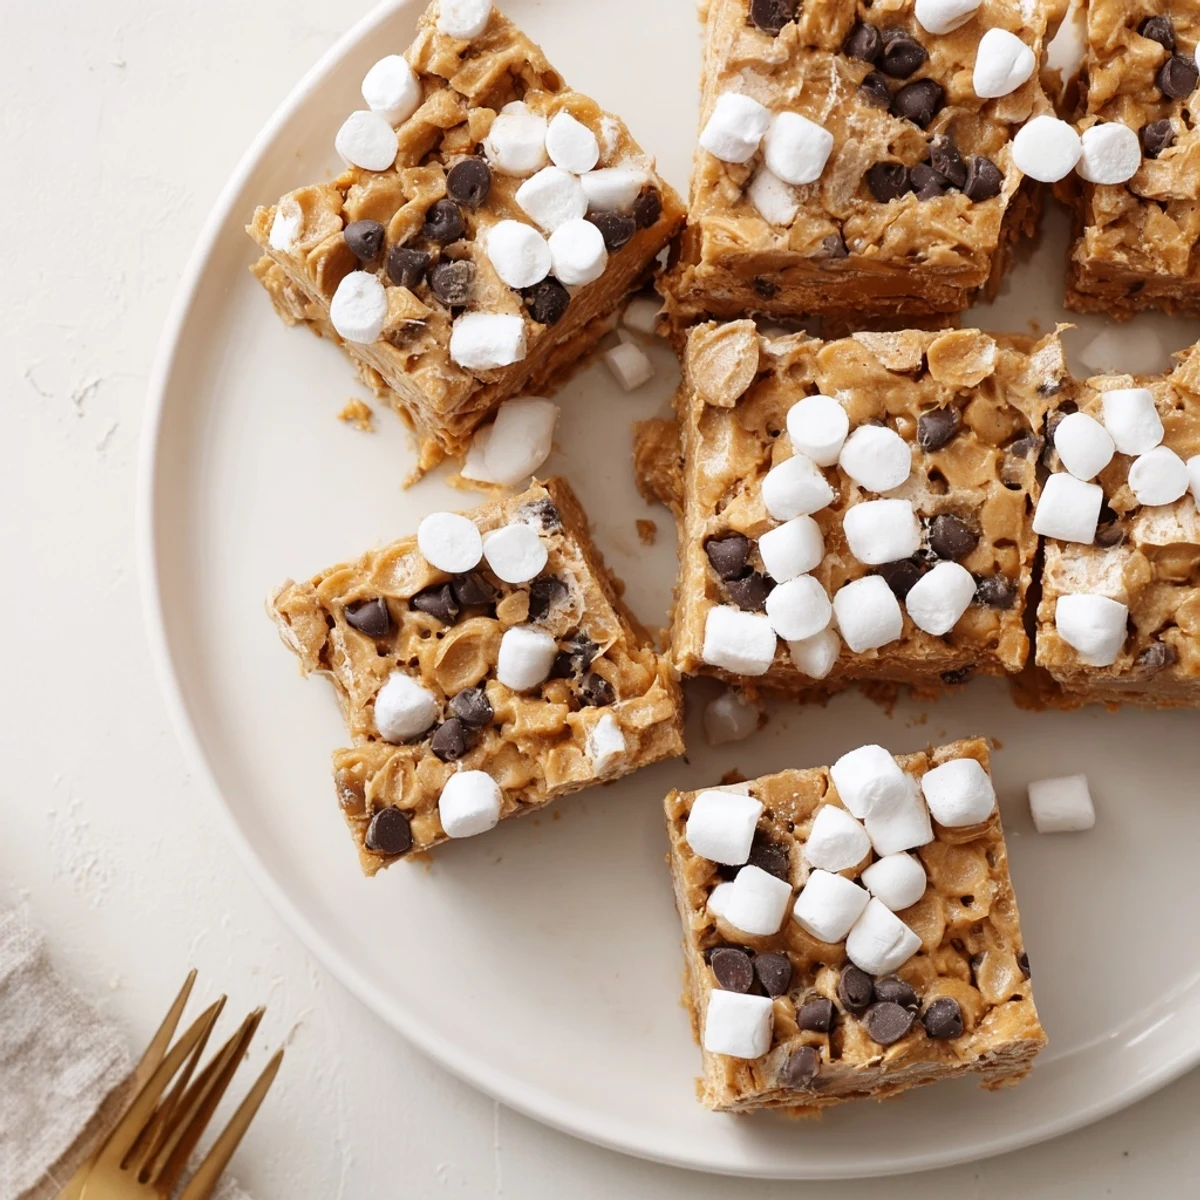 Pin to board
 Keep a batch in the fridge and you will never be caught without something sweet to offer, whether a friend drops by unexpectedly or you just need a quiet moment with a cup of tea. These humble little squares have a way of making any ordinary afternoon feel like a small celebration.
Recipe FAQs
- → How long do these keep fresh?
-
Store in an airtight container in the refrigerator for up to one week. The squares maintain their chewy texture and flavor beautifully when chilled.
- → Can I freeze these treats?
-
Yes, freeze individual squares wrapped in plastic for up to three months. Thaw in the refrigerator overnight before serving for best texture.
- → What's the best peanut butter to use?
-
Creamy peanut butter works best for smooth texture. Natural brands need stirring first. Avoid chunky varieties as they can create uneven pockets in the mixture.
- → Can I make these dairy-free?
-
Substitute coconut oil or vegan butter sticks for the unsalted butter. The texture remains similar, though chilling time may increase slightly for firm set.
- → Why did my marshmallows disappear?
-
The mixture must cool 2-3 minutes before adding marshmallows. Folding gently rather than stirring prevents them from melting completely into the base.
