
 Pin to board
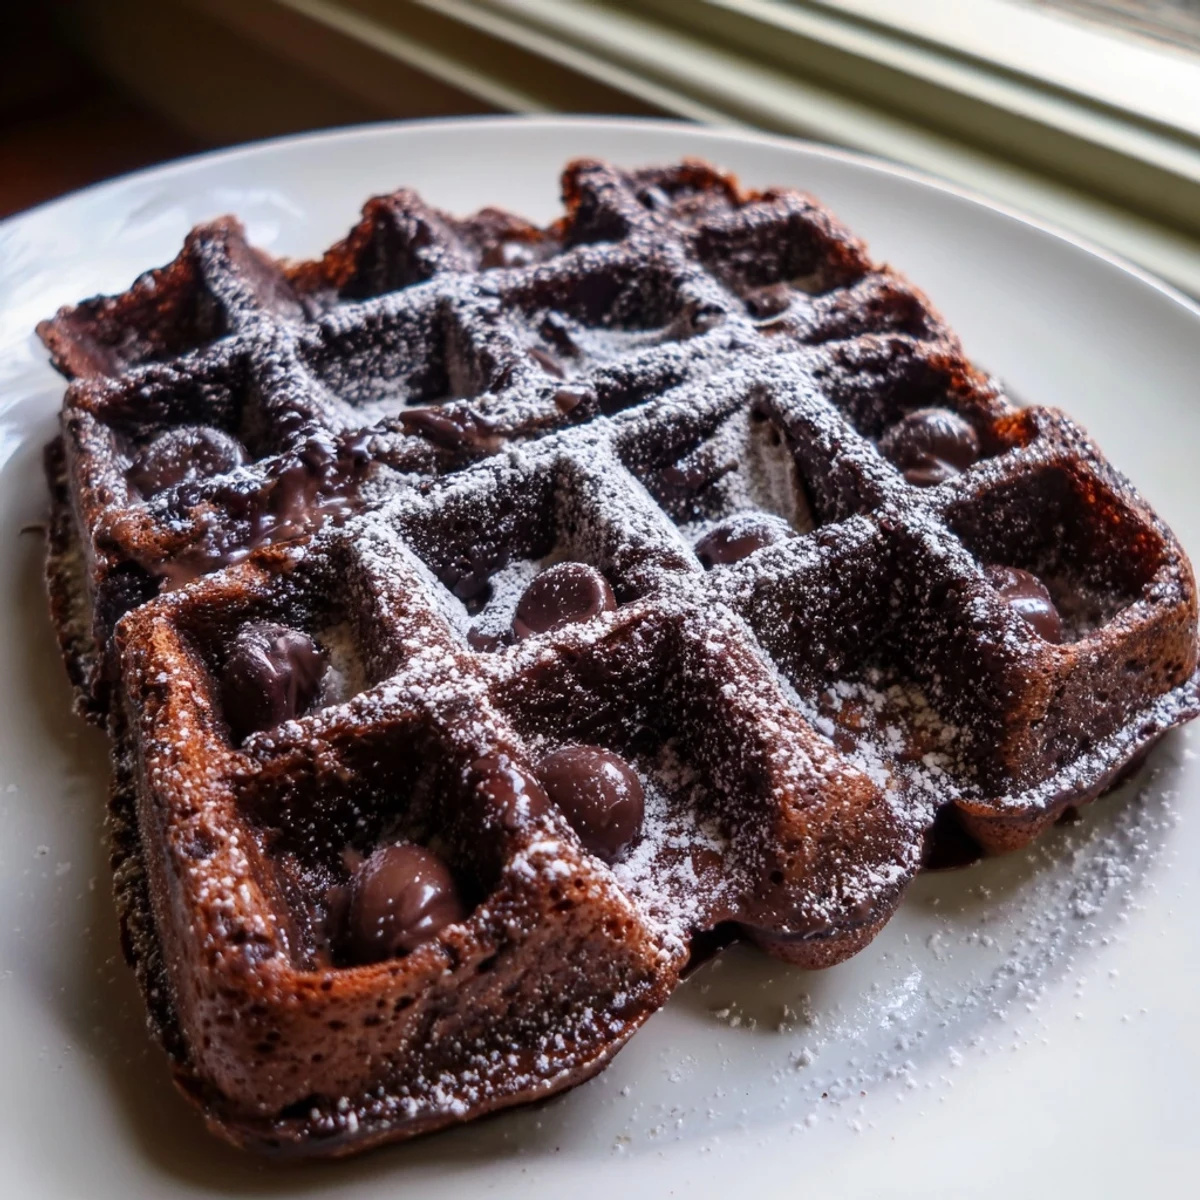
 Fudgy brownie waffles bring together everything you love about a rich, chewy brownie and the satisfying crunch of a freshly pressed waffle. Cocoa powder and semi-sweet chocolate chips deliver deep chocolate flavor, while melted butter keeps every bite tender.
The batter comes together in about 15 minutes with basic pantry staples—flour, sugar, eggs, milk, and vanilla. Simply whisk the dry ingredients, combine the wet ones, fold them together, and stir in the chocolate chips.
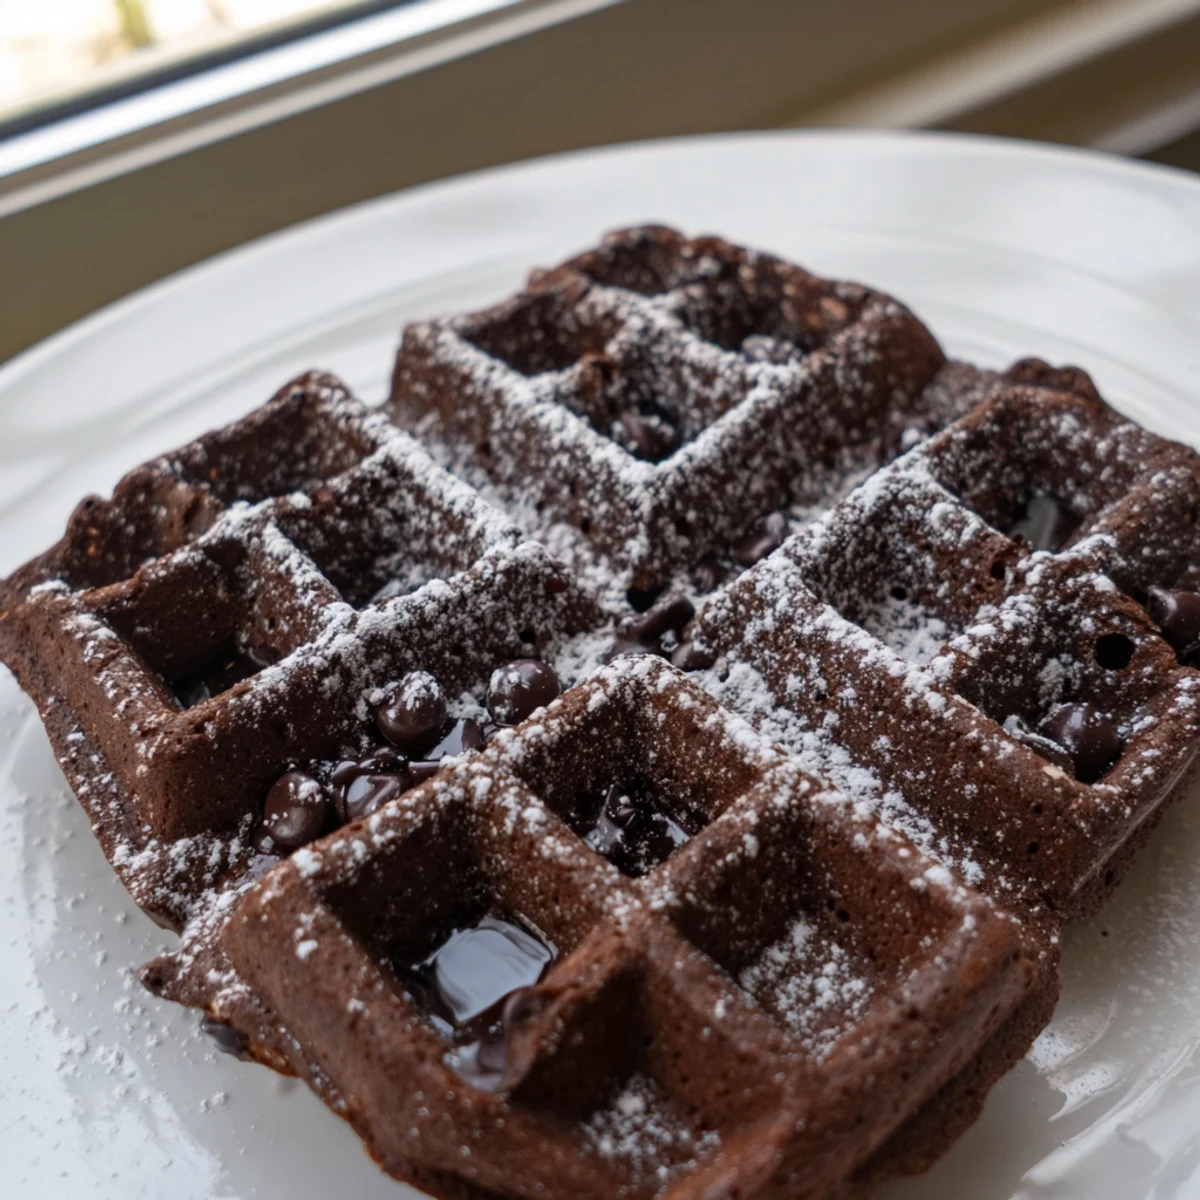
Cook each waffle for 4 to 5 minutes until the edges turn crisp and the centers stay wonderfully gooey. Serve them warm with a scoop of vanilla ice cream, fresh berries, or a dusting of powdered sugar for an irresistible treat any time of day.
My waffle iron sat neglected for two years until a rainy Tuesday when brownie batter changed everything. I had been craving something chocolatey but could not bear to turn on the oven in the summer heat, so I poured leftover brownie batter onto the iron instead. What emerged was nothing short of a revelation: crispy grid lines giving way to a molten, fudgy center that no oven baked brownie has ever matched since.
I served these at a brunch gathering last fall and watched three grown adults abandon their forks to eat them by hand, still hot, straight from the iron. My friend David called them a cross between a churro and a brownie, and honestly that description has stuck with me because it is entirely accurate. The crisp ridges hold a dusting of powdered sugar beautifully, and the little pockets trap pools of melting ice cream if you go that route.
Ingredients
- 3/4 cup all purpose flour: Just enough structure to hold the waffle together without turning it cakey or bread like.
- 1/2 cup unsweetened cocoa powder: Use a good quality Dutch processed one if you can find it, because the deeper color and smoother flavor make a noticeable difference.
- 1 cup granulated sugar: This amount may seem generous but it is essential for that chewy fudgy brownie texture and those caramelized crisp edges.
- 1/2 tsp baking powder and 1/4 tsp salt: A tiny lift from the baking powder keeps things from being flat, while salt amplifies every bit of chocolate flavor.
- 2 large eggs: Room temperature eggs blend more smoothly into the melted butter and create a better emulsion.
- 1/2 cup unsalted butter, melted and slightly cooled: Let it cool just enough so it does not scramble the eggs, but still pourable and warm.
- 1/4 cup whole milk: Whole milk gives the richest result, though any milk you have on hand will work in a pinch.
- 1 tsp pure vanilla extract: Vanilla and cocoa are best friends, and you will taste the difference if you use the real thing.
- 1/2 cup semi sweet chocolate chips: These melt into little pools of chocolate throughout the waffle, creating pockets of pure indulgence in every bite.
Instructions
- Heat the iron:
- Preheat your waffle iron according to its instructions and give it a light brush of oil or spray if it tends to stick. You want it fully hot before the batter touches it so those edges start crisping on contact.
- Whisk the dry:
- In a large bowl, combine the flour, cocoa powder, sugar, baking powder, and salt with a whisk until evenly blended and no cocoa lumps remain. Take a moment to really work through it because nobody wants a pocket of raw cocoa powder in their waffle.
- Blend the wet:
- In a separate bowl, whisk the eggs, melted butter, milk, and vanilla until completely smooth and glossy. The mixture should look like a thin custard when it is properly combined.
- Marry the two:
- Pour the wet ingredients into the dry and fold gently with a spatula until just combined, then stir in the chocolate chips. Stop as soon as you no longer see dry flour because overmixing is the enemy of fudgy texture.
- Cook to perfection:
- Spoon about half a cup of batter per waffle onto the hot iron, close it, and cook for four to five minutes until the edges are crisp and the center feels set but still soft. Trust your nose on this one: when the chocolate aroma fills your kitchen, they are probably ready.
- Serve immediately:
- Carefully remove each waffle with a fork or spatula and serve right away while the contrast between crisp edges and fudgy center is at its peak. Top with ice cream, whipped cream, fresh berries, or simply a dusting of powdered sugar.
 Pin to board
 There is something about handing someone a warm brownie waffle on a quiet morning that makes any ordinary day feel like a small celebration. It became our household tradition during holiday weekends, standing around the waffle iron taking turns, everyone claiming the crispiest one for themselves.
Getting the Right Texture
The magic of brownie waffles lives in that impossible sounding combination of crispy outside and gooey inside. Through many batches I learned that slightly undercooking them by about thirty seconds yields a softer, more truffle like center, while an extra minute gives you maximum crunch. Your waffle iron runs differently than mine, so treat the first waffle as your test batch and adjust the time from there.
Mix Ins and Variations
Once you have the base batter down, the possibilities are genuinely endless and half the fun is experimenting. Chopped walnuts or pecans add a toasty crunch that plays beautifully against the soft chocolate, while white chocolate chips create these gorgeous creamy pockets throughout. A pinch of espresso powder in the dry ingredients deepens the chocolate flavor without making it taste like coffee at all.
Serving and Storing
These are absolutely at their best within minutes of coming off the iron, but life does not always allow for immediate waffle consumption. If you need to store them, let them cool completely on a wire rack before wrapping individually so they do not steam themselves soggy.
- Reheat leftover waffles in a toaster or oven at 350 degrees for a few minutes to bring back some of the crispness.
- Frozen individually wrapped waffles will keep for up to one month and reheat surprisingly well.
- Always top with something cold like ice cream or whipped cream because the temperature contrast takes the experience over the top.
 Pin to board
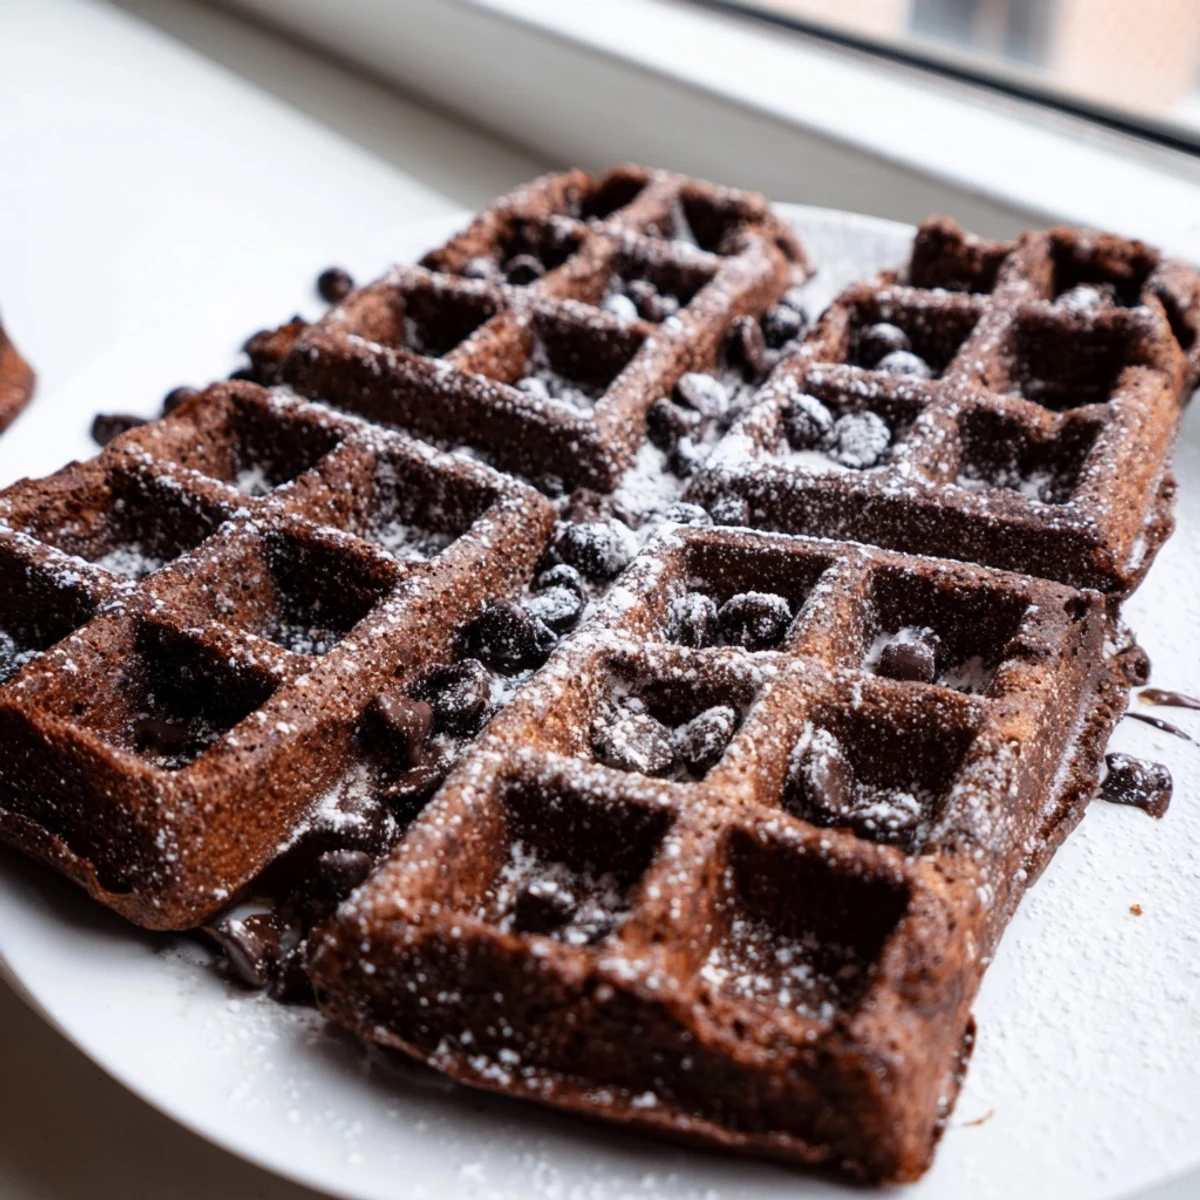
 Every time I make these I am reminded that the best recipes often come from breaking the rules a little. A waffle iron was never meant for brownie batter, and yet here we are, utterly unable to stop making them.
Recipe FAQs
- → Can I make brownie waffles ahead of time?
-
Yes, you can prepare the batter up to 24 hours in advance and store it covered in the refrigerator. Cooked waffles can also be frozen for up to 2 months—just reheat them in a toaster or oven to restore crispness.
- → What type of waffle iron works best?
-
A standard Belgian or regular waffle iron both work well. Belgian irons create thicker, deeper-pocketed waffles, while standard irons produce slightly crispier results. Just avoid overfilling, as brownie batter is thicker than typical waffle batter.
- → How do I know when the waffles are done cooking?
-
Cook for 4 to 5 minutes until steam significantly reduces and the edges feel crisp to the touch. The centers should still feel slightly soft for that signature fudgy texture. Avoid opening the iron too early, as the batter needs time to set.
- → Can I substitute the butter with oil?
-
You can replace the melted butter with an equal amount of vegetable oil or melted coconut oil. Butter adds a richer flavor, but oil will still produce moist, tender waffles with crisp edges.
- → How should I store leftover brownie waffles?
-
Place cooled waffles in an airtight container and store at room temperature for up to 2 days, or refrigerate for up to 5 days. For longer storage, freeze them in a single layer on a baking sheet, then transfer to a freezer bag.
- → Can I make these dairy-free?
-
Absolutely. Swap the butter for vegan butter or coconut oil, and use any plant-based milk such as almond, oat, or soy milk. Choose dairy-free chocolate chips to keep the entire batch free of dairy.