 Pin to board
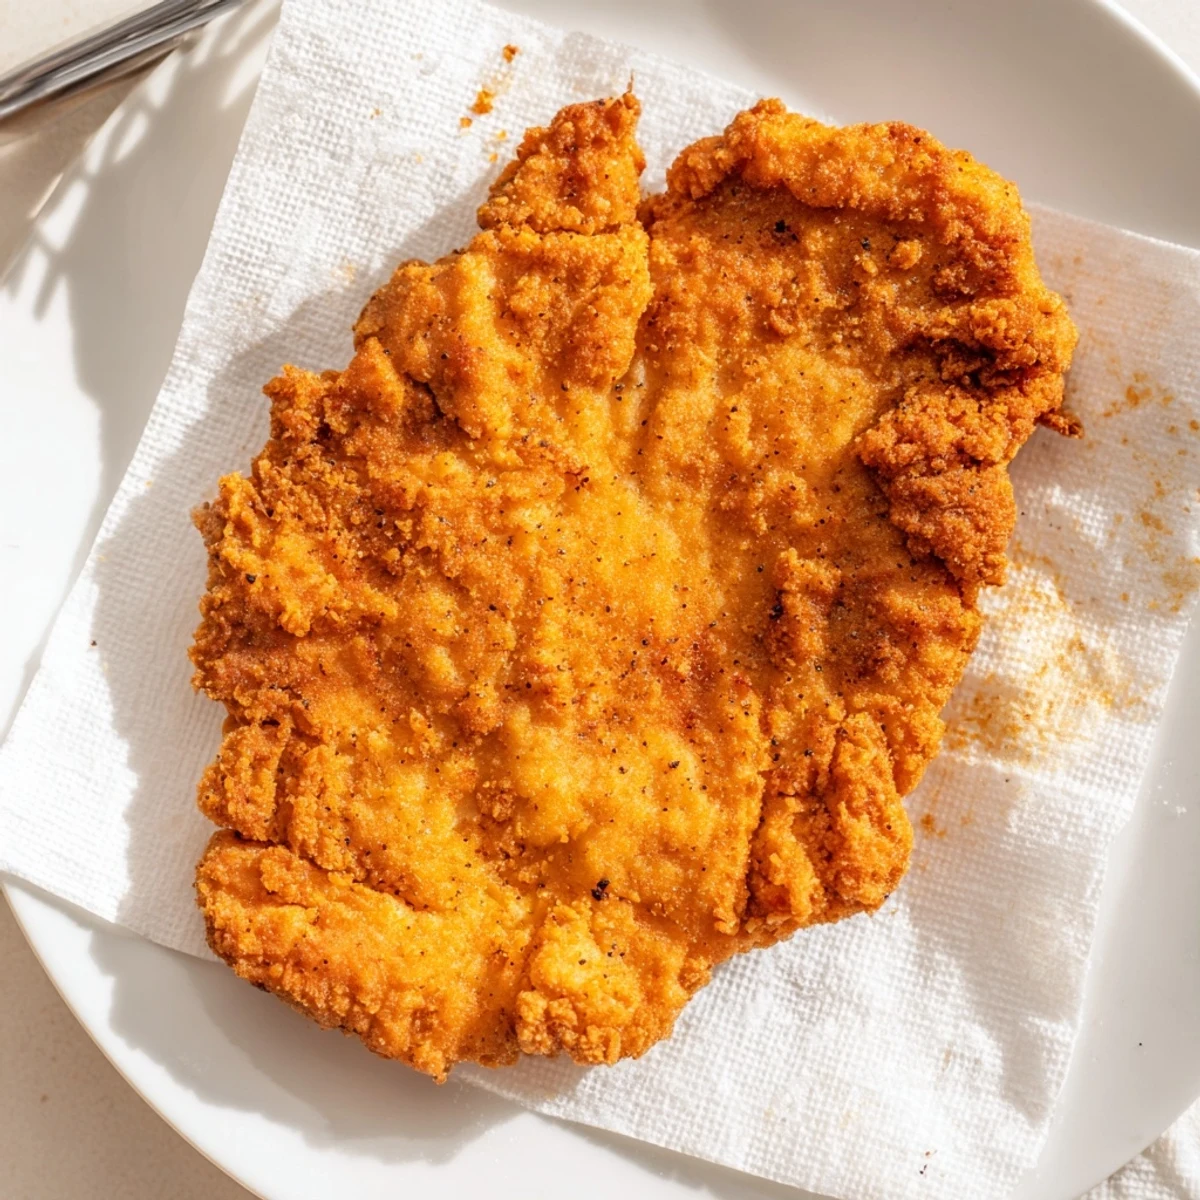
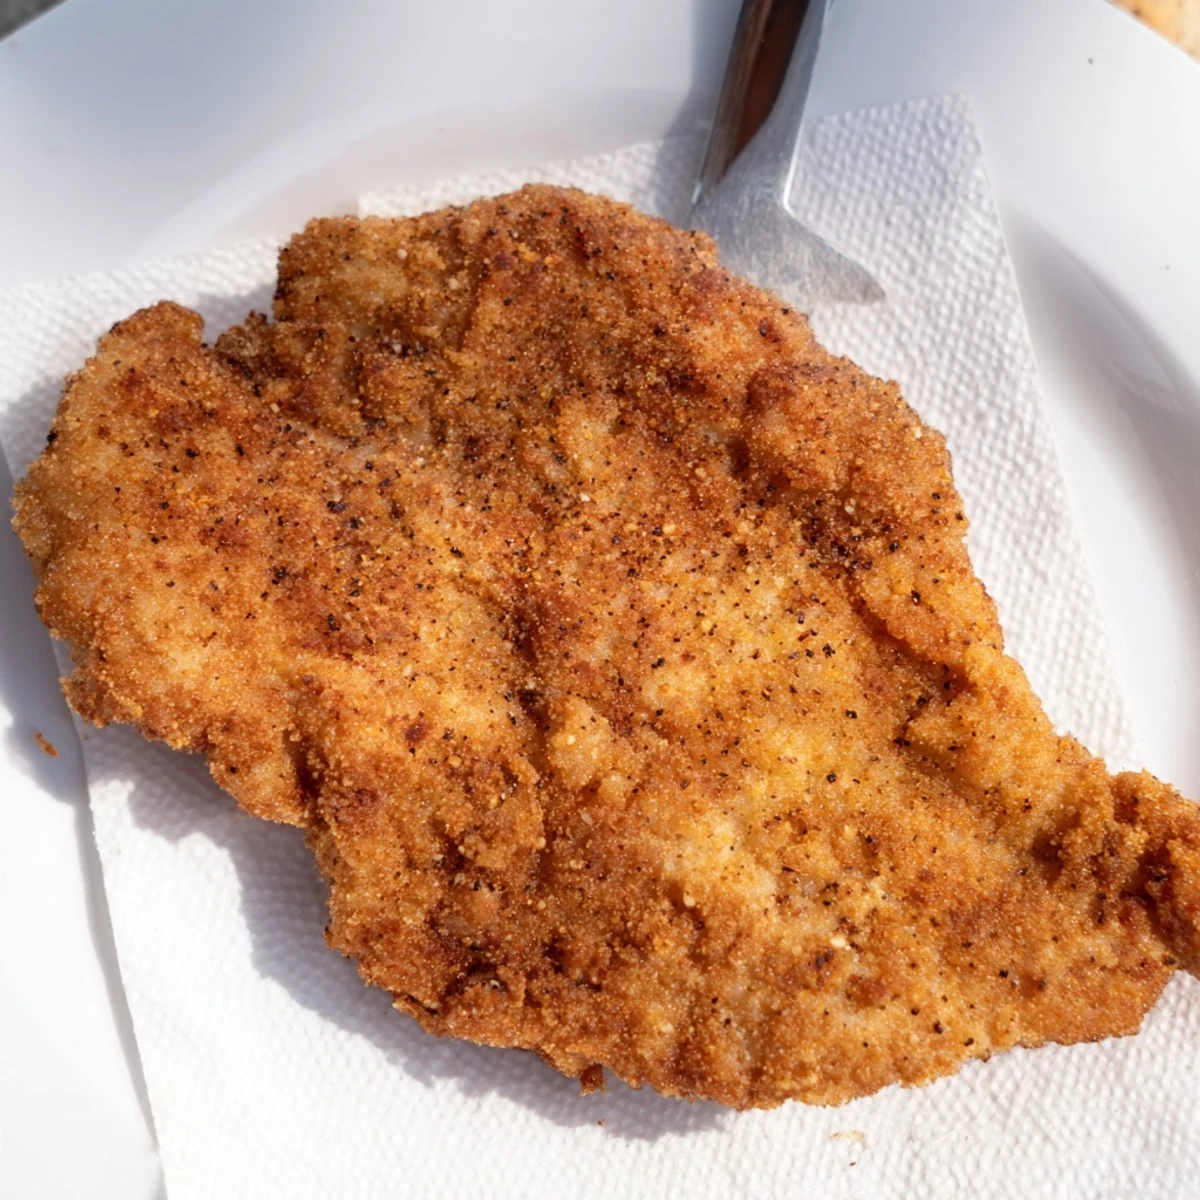
 Marinate boneless chicken breasts in buttermilk with salt and pepper to tenderize and flavor. Dredge in a blend of all-purpose flour, cornstarch, paprika, garlic powder and a pinch of cayenne, pressing to adhere. Heat oil to 350°F (175°C) and fry in batches until deeply golden and an instant-read thermometer hits 165°F (74°C). Drain briefly on paper towels and rest 2–3 minutes before serving to keep the meat juicy.
The sizzle of chicken hitting hot oil is one of those sounds that pulls everyone into the kitchen, no invitation needed. My neighbor once knocked on my door just to ask what I was cooking because the smell had drifted through her open window. That particular afternoon I was perfecting this fried chicken breast method after years of dealing with either burnt crusts or dry, sad centers. It turns out the secret lives in buttermilk and a little patience with the coating.
I made a huge batch of these for a backyard gathering last summer and watched grown adults fight over the last piece. My friend David, who normally picks at food, ate three helpings and asked if I could teach his wife the recipe. Something about the golden crust and the way the steam escapes when you cut into it makes people lose their manners in the best way.
Ingredients
- 4 boneless, skinless chicken breasts: Pound them evenly so they cook uniformly and you avoid the dreaded raw center.
- 1 cup buttermilk: This is the tenderizing magic, and the slight tang works its way into every fiber of the meat.
- 1 cup all-purpose flour: Forms the backbone of your coating and browns beautifully in hot oil.
- 1/2 cup cornstarch: The real secret weapon here, it creates an extra crispy texture that flour alone cannot achieve.
- 1 teaspoon paprika: Adds a warm color and subtle smokiness to the crust.
- 1 teaspoon garlic powder: Layers in savory depth without burning like fresh garlic would.
- 1/2 teaspoon cayenne pepper (optional): Gives a gentle heat that tingles rather than overwhelms.
- Salt and black pepper: Used in both the marinade and the coating for seasoned flavor throughout.
- Vegetable oil (about 2 cups): You need enough depth for proper frying, and vegetable oil handles high heat without smoking.
Instructions
- Flatten the chicken:
- Place each breast between two sheets of plastic wrap and pound with a mallet or rolling pin to about half an inch thick. Listen for that satisfying, even thud that tells you the thickness is consistent from edge to edge.
- Prepare the buttermilk bath:
- Whisk together the buttermilk, a teaspoon of salt, and half a teaspoon of pepper in a wide bowl. Submerge the pounded chicken completely and let it soak for at least thirty minutes, though a few hours in the fridge yields even better results.
- Mix the coating:
- In a separate wide bowl or shallow dish, combine the flour, cornstarch, paprika, garlic powder, cayenne if you are using it, remaining salt, and pepper. Run your fingers through it to make sure everything is evenly distributed and no spice clumps remain.
- Dredge with intention:
- Lift each piece of chicken from the buttermilk, let the excess drip off for a few seconds, then press it firmly into the flour mixture on all sides. Really press the coating in with your palms so it clings and creates those irresistible craggy bits.
- Heat the oil:
- Pour oil into a large skillet or deep pan to about half an inch deep and bring it to 350 degrees Fahrenheit over medium heat. You can test readiness by dropping in a pinch of flour and watching it sizzle immediately.
- Fry in batches:
- Carefully lay in the chicken pieces without crowding the pan, frying six to seven minutes per side until deeply golden. The crust should sound hollow when you tap it lightly with tongs, and the internal temperature should read 165 degrees Fahrenheit.
- Rest and serve:
- Transfer each finished piece to a paper towel lined plate and let it rest for two to three minutes. This brief pause lets the juices settle back into the meat instead of running out onto your plate.
 Pin to board
 One rainy Tuesday I plated this chicken alongside nothing more than buttered toast and a pickle spear, and it felt like the most luxurious dinner I had eaten all month.
Serving Suggestions That Actually Work
Mashed potatoes and gravy are the obvious pairing, and honestly they are obvious for a reason. I also love tucking a piece between a toasted brioche bun with pickles and a swipe of spicy mayo for a sandwich that rivals any restaurant version.
Handling Leftovers
If you have leftovers, which is a big if in my household, reheat them on a wire rack set over a baking sheet in a 375 degree oven for about ten minutes. The rack keeps the bottom from steaming and the crust stays remarkably close to its original glory.
Tools That Make a Difference
A kitchen thermometer removes all the guesswork from frying and takes about thirty seconds to use. A few small investments in your setup make the whole process smoother and more consistent.
- A meat mallet is worth owning even if you only use it for this one recipe.
- Long handled tongs keep your hands safely away from splattering oil.
- Always check your oil temperature between batches because it recovers slower than you expect.
 Pin to board
 Fried chicken has a way of turning an ordinary evening into something worth remembering, and this version never lets me down.
Recipe FAQs
- → How long should I marinate the chicken?
-
Marinate at least 30 minutes for a noticeable tenderizing effect; for best results refrigerate up to 4 hours or overnight to deepen flavor and moisture.
- → What keeps the coating extra crispy?
-
Adding cornstarch to the flour and pressing the dredge onto the meat creates a thin, crisp crust. Frying at a steady 350°F and avoiding overcrowding also helps maintain crispness.
- → How can I tell when the chicken is cooked through?
-
Use an instant-read thermometer: the internal temperature should reach 165°F (74°C) at the thickest part. The exterior should be golden brown and juices clear.
- → Can I make a spicier version?
-
Increase the cayenne in the flour mix, add a dash of hot paprika, or mix a little hot sauce into the buttermilk marinade for a more pronounced kick.
- → Is there a gluten-free option?
-
Substitute a gluten-free flour blend for the all-purpose flour and confirm the cornstarch and other seasonings are certified gluten-free for a safe swap.
- → What are good accompaniments for serving?
-
Classic pairings include mashed potatoes, coleslaw, steamed vegetables, or tuck the breast into a sandwich roll with pickles for a hand-held option.
