 Pin to board
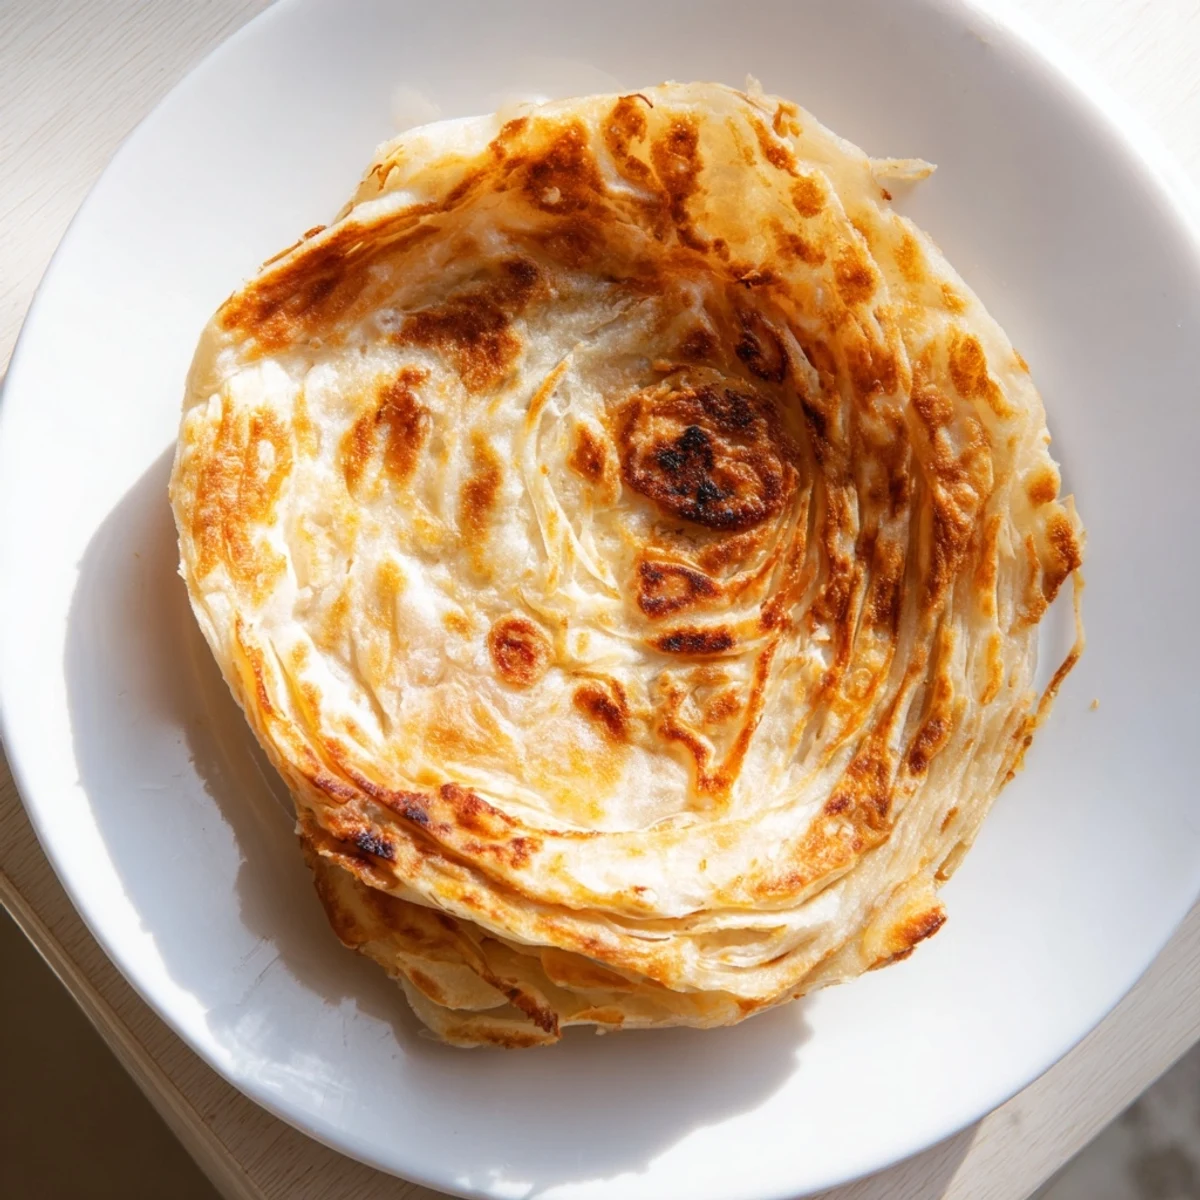
 Create the perfect flaky Roti Canai with this easy-to-follow guide. The dough is kneaded, rested, and stretched into thin layers before being folded and cooked to golden perfection. Serve with rich curries or a drizzle of condensed milk for a traditional Malaysian experience.
There was a rainy afternoon in a tiny Kuala Lumpur cafe where I first watched a chef flip roti canai with hypnotic speed. The sound of the dough hitting the grill echoed like a soft drumbeat, making my stomach rumble instantly. I knew I had to recreate that magic in my own kitchen, no matter how many tries it took.
My first attempt ended up more like a tough pancake than a flaky bread, but my family still devoured it with laughter. We learned that patience during the resting period is absolutely non-negotiable for those signature air pockets.
Ingredients
- All purpose flour: The foundation for structure and chew
- Salt: Enhances the overall flavor profile
- Sugar: Helps achieve a golden brown color
- Melted ghee: Adds richness and aids in flakiness
- Water: Brings the dough together
- Softened ghee: Essential for separating the layers
- Vegetable oil: Prevents sticking during the process
Instructions
- Mixing the dough:
- Combine flour salt and sugar in a large bowl then create a well for the melted ghee and water
- Kneading:
- Work the dough on a floured surface until it feels smooth and bounces back slightly
- Resting:
- Divide into six balls coat them with oil cover and let them relax for an hour
- Stretching:
- Oil your hands and surface then flatten and pull the dough until it is paper thin
- Folding:
- Brush the sheet with softened ghee fold it into thirds then roll it up like a coil
- Cooking:
- Flatten the coils cook on a hot skillet for a few minutes each side until golden brown
- The Finish:
- Clap the cooked roti between your hands to encourage the layers to separate
 Pin to board
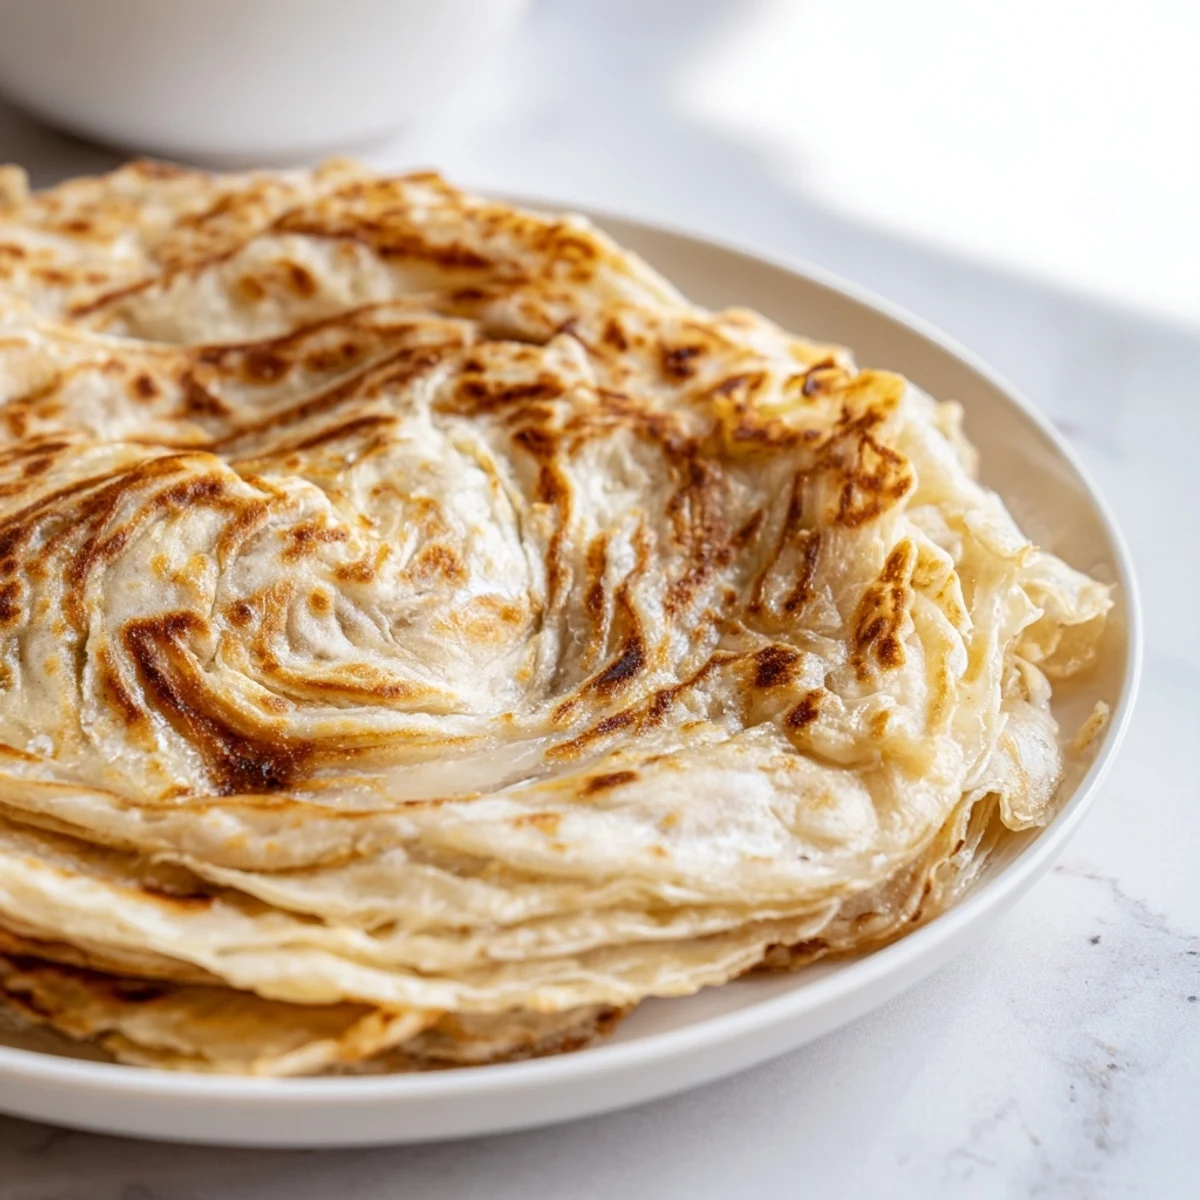
 Serving this bread hot from the pan became a Sunday tradition that everyone started looking forward to eagerly.
Choosing Your Fat
I have experimented with mixing butter and oil to find the perfect balance of flavor and lightness. Using all ghee offers a rich taste but can be heavy while oil keeps it incredibly airy.
The Stretching Technique
Do not stress if the dough tears a little while you are stretching it out. It will still fold up beautifully and bake into a delicious flatbread regardless of small rips.
Serving Suggestions
A warm roti pairs perfectly with a side of dhal or a spicy chicken curry for a complete meal. For a sweet treat try dipping it in condensed milk like a local favorite.
- Keep the cooked roti wrapped in a cloth to stay warm
- Use a flat spatula to press down gently while cooking
- Make sure your pan is fully hot before starting
 Pin to board
 Nothing beats the satisfaction of pulling apart that first warm layer.
Recipe FAQs
- → How do I achieve flaky layers?
-
Stretch the dough thinly, brush with ghee, then fold and coil before cooking.
- → Can I use butter instead of ghee?
-
Yes, butter works, but ghee adds a richer flavor and crispness.
- → What should I serve with Roti Canai?
-
Pair with dhal, chicken curry, or enjoy with condensed milk for sweetness.
- → How long should the dough rest?
-
Let the dough rest for 1 hour to relax gluten for easier stretching.
- → Can I make Roti Canai ahead?
-
Yes, prepare and coil the dough in advance, then cook when ready.
