 Pin to board
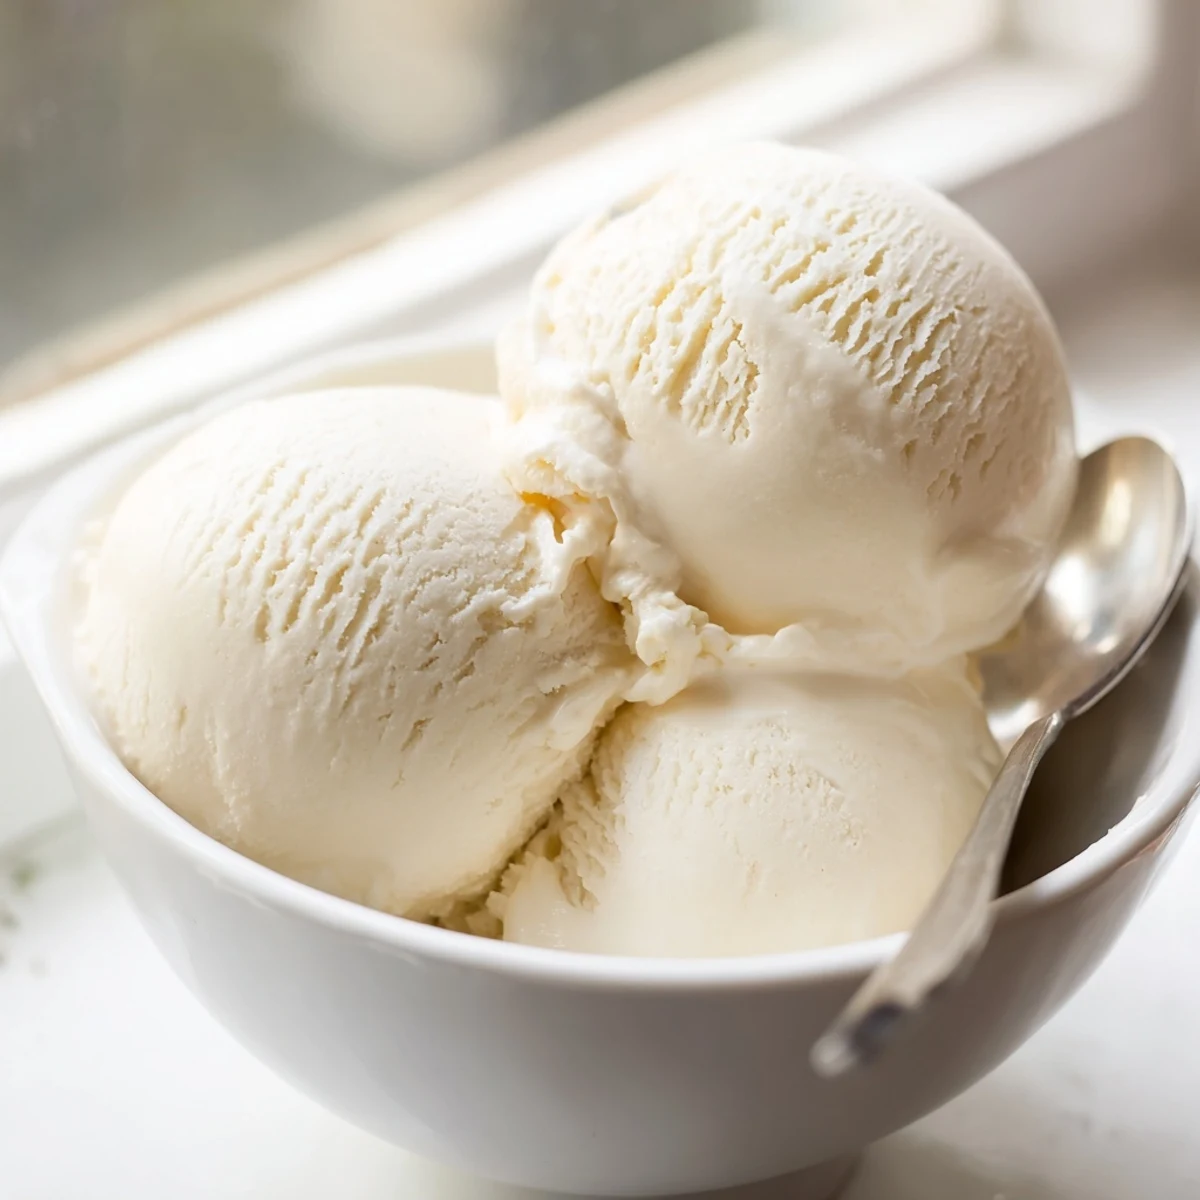
 This classic frozen dessert starts with a silky custard base made from heavy cream, whole milk, egg yolks, and pure vanilla extract. The process involves heating the dairy, tempering the eggs, and cooking until thickened before straining and chilling. After freezing in an ice cream maker, the result is incredibly smooth and luscious. The vanilla base is endlessly adaptable—add chopped chocolate, toasted nuts, or fresh fruit during the final minutes of churning. The entire process takes about 6 hours including chilling time, with most of that being hands-off waiting. Perfect for warm weather or anytime you're craving something sweet and creamy.
Something about the sound of an ice cream maker churning on a Sunday afternoon makes the whole house feel like a place where nothing bad can happen. Maybe it is the low hum, or the way everyone drifts into the kitchen asking is it ready yet. Homemade vanilla ice cream is one of those projects that sounds fussy until you actually do it and realize the custard is barely more work than making pudding. Once you have stood at the stove watching that mixture coat the back of a spoon, store bought ice cream quietly loses its appeal.
A friend once brought over a bag of fresh mint from her garden thinking we could infuse it into the cream, and we ended up with the best mint chip ice cream either of us had ever tasted. We sat on the porch with bowls of it watching the sun go down, completely ignoring the fact that dinner had technically never happened.
Ingredients
- 2 cups heavy cream: This is where the richness lives, so do not even think about skimming on fat content here.
- 1 cup whole milk: Balances the cream so the final texture is luscious rather than greasy.
- 3/4 cup granulated sugar: Sweet enough without cloying, and sugar also keeps the ice cream scoopable by lowering the freezing point.
- 5 large egg yolks: The yolks are your thickening power and give the custard that gorgeous pale gold color.
- 1 tablespoon pure vanilla extract: Use the real stuff, imitation vanilla will haunt every bite with a chemical aftertaste.
- 1/4 teaspoon salt: Just enough to make the vanilla pop and keep the sweetness honest.
Instructions
- Heat the cream mixture:
- Pour the cream, milk, and half the sugar into a medium saucepan and set it over medium heat. Watch for steam rising from the surface but pull it off before you see bubbles, because boiling cream is a mess you do not want to clean.
- Whisk the yolks:
- In a separate bowl, whisk the egg yolks with the remaining sugar and salt until the mixture looks pale and falls in thick ribbons from the whisk. This takes about two minutes of enthusiastic whisking and is oddly satisfying.
- Temper the eggs:
- Slowly ladle the hot cream into the yolk mixture while whisking constantly, which keeps the eggs from scrambling into something ugly. Once combined, pour everything back into the saucepan with confidence.
- Cook the custard:
- Stir gently over low heat with a wooden spoon, never stopping, until the custard thickens enough to coat the back of the spoon. Run your finger through the coating and if the line holds, you are done.
- Add vanilla and strain:
- Take the pan off the heat and stir in the vanilla extract, then pour the custard through a fine-mesh sieve to catch any stray bits of cooked egg. This straining step is what separates smooth ice cream from grainy regret.
- Chill thoroughly:
- Let the custard cool to room temperature, then cover it and refrigerate for at least four hours or ideally overnight. The colder the base, the smoother the churn.
- Churn in the machine:
- Pour the chilled custard into your ice cream maker and let it spin for about twenty to twenty-five minutes until it looks like soft serve. Stand nearby because it goes from perfect to over-churned faster than you expect.
- Freeze until firm:
- Scoop the churned ice cream into a freezer-safe container and freeze for at least two hours so it firms up into something scoopable. If you are adding mix-ins, fold them in gently right before this step.
 Pin to board
 The first time I served this at a dinner party, a guest asked which artisanal shop I had bought it from, and I nearly fell out of my chair grinning.
How to Customize Your Batch
Folding in mix-ins after churning is where this recipe becomes genuinely fun because almost anything works. Chopped dark chocolate, toasted pecans, crushed graham crackers, or a swirl of jam all transform plain vanilla into something personal. For chocolate ice cream, whisk half a cup of cocoa powder into the milk before heating and you are set.
Tools That Actually Matter
The ice cream maker is non-negotiable unless you want to try the bag method, which is a fun party trick but not the same result. A fine-mesh sieve saves you from the heartbreak of finding a lump of cooked egg in your dessert. Beyond that, a sturdy saucepan and a wooden spoon you trust are really all you need.
Storing Leftovers
Homemade ice cream does not have the commercial stabilizers that keep store brands soft for months, so eat it within a week for the best texture. Press a piece of plastic wrap directly against the surface before lidding to prevent ice crystals from forming. Let it sit at room temperature for five minutes before scooping because it will be firmer than what comes out of a tub.
- A shallow container freezes it more evenly than a deep one.
- Label the container with the date so you remember when you made it.
- Keep it in the back of the freezer where the temperature stays the most consistent.
 Pin to board
 Homemade ice cream is less a recipe and more a reason to gather in the kitchen and wait for something wonderful together. Every batch tastes a little different, and that is exactly the point.
Recipe FAQs
- → What makes this frozen dessert so creamy?
-
The combination of heavy cream, whole milk, and egg yolks creates a rich custard base. The egg yolks contain emulsifiers that prevent ice crystals from forming, resulting in an incredibly smooth texture. Cooking the mixture to 170-175°F properly thickens the custard for the best consistency.
- → Can I make this without an ice cream maker?
-
Yes, though the texture will be slightly different. Pour the chilled custard into a shallow dish and freeze, stirring every 30 minutes for the first 3-4 hours to break up ice crystals. The result will still be delicious, though possibly less smooth than machine-churned versions.
- → How long does the custard need to chill?
-
For the best results, chill the custard for at least 4 hours or overnight. This allows the flavors to mature and the mixture to become thoroughly cold, which helps it freeze faster and results in smaller ice crystals for a smoother final product.
- → What mix-ins work well with this vanilla base?
-
Almost anything! Try adding chocolate chips, crushed cookies, toasted nuts like pecans or almonds, fresh berries, or swirls of caramel or fruit sauce. Add mix-ins during the last 2-3 minutes of churning so they distribute evenly without breaking down.
- → How should I store this for best results?
-
Store in an airtight freezer-safe container, pressing a piece of parchment paper directly against the surface to prevent ice crystals. It will keep well for up to 2 weeks, though it's best enjoyed within the first week for optimal texture and flavor.
- → Can I reduce the sugar in this recipe?
-
You can reduce the sugar slightly, but keep in mind that sugar does more than add sweetness—it helps keep the texture soft and prevents the mixture from freezing too hard. Reducing sugar by more than 25% may result in a harder, icier finished product.
