 Pin to board
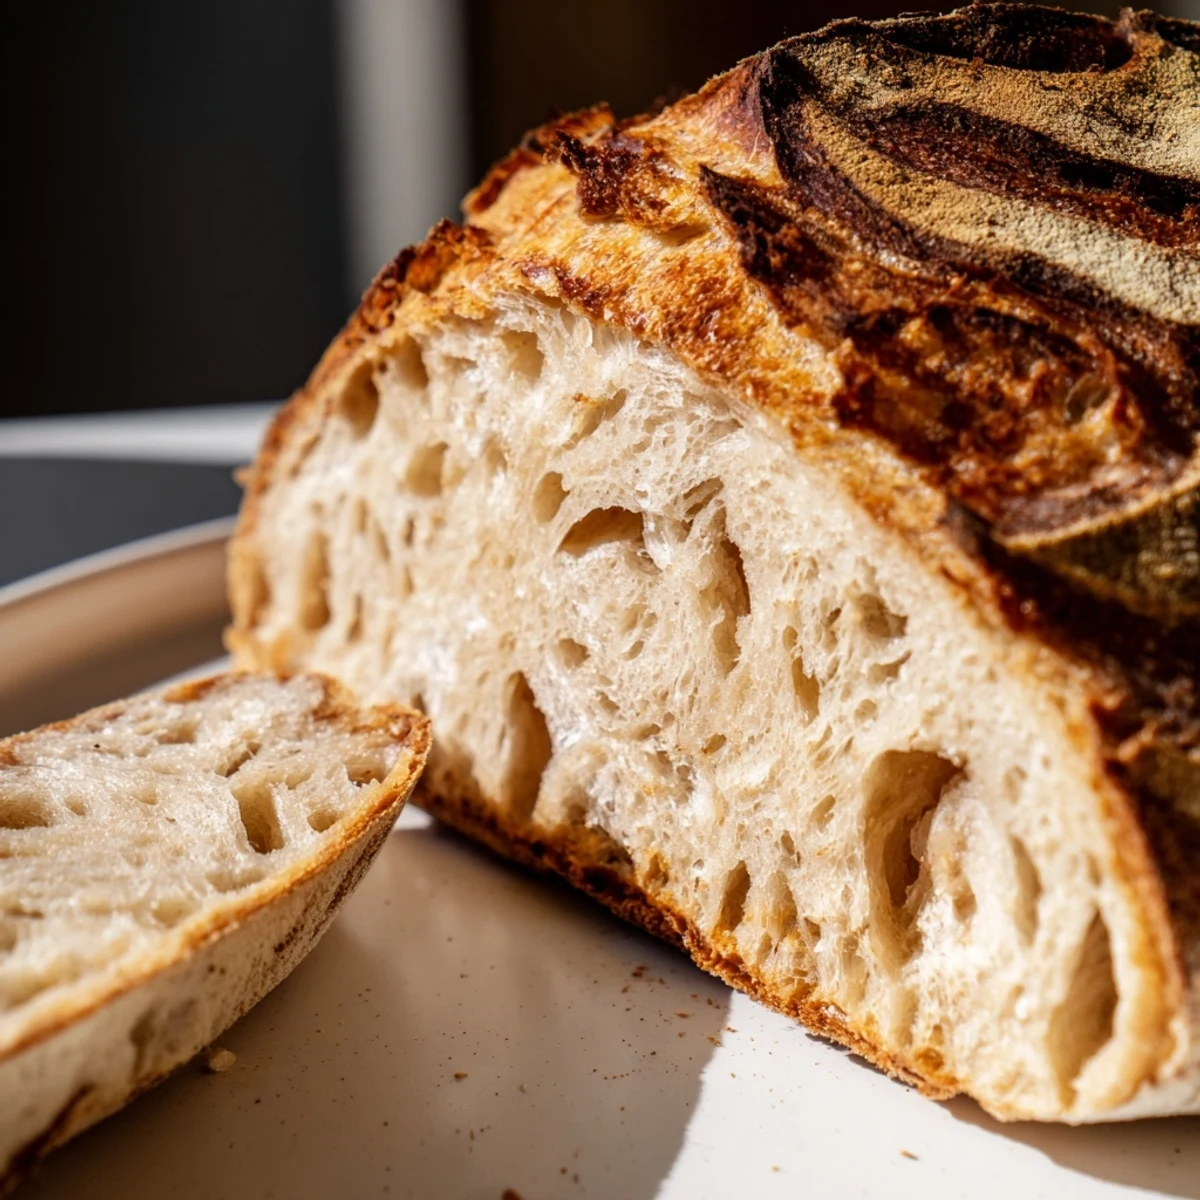
 Craft an exceptional artisan loaf using wild yeast fermentation for distinctive tangy flavor and remarkable texture. This traditional method produces a beautifully caramelized crust with an open, airy crumb structure that home bakers seek.
The process involves autolyse hydration, strategic stretch-and-fold development, and extended cold proofing for optimal flavor development. Baking in a preheated Dutch oven creates professional-grade oven spring and crust formation.
Perfect for experienced bakers ready to embrace natural fermentation timelines, this technique delivers bakery-quality results with just flour, water, salt, and an active starter culture.
My first sourdough starter was a gift from a neighbor who'd been feeding hers for seventeen years. She handed it over in a mason jar with handwritten instructions, warning me that it would take on the personality of our kitchen. Three years later, that bubbly culture has become the most living thing in my pantry, demanding attention and rewarding me with the most spectacular bread I've ever tasted.
Last winter, during a particularly bleak stretch of gray February days, I fell into a rhythm of baking sourdough every Saturday. The house would fill with that distinctive tangy aroma while snow fell outside the window, and something about that combination felt deeply grounding. Friends started timing their visits to coincide with oven temperature, and my tiny kitchen became the warmest place in the neighborhood.
Ingredients
- Bread flour: Higher protein content than all purpose gives your loaf the structure it needs to achieve that gorgeous oven spring
- Water at room temperature: Cold water can shock your starter, while water that's too warm might encourage unwanted bacteria
- Active sourdough starter: This is your wild yeast culture, and it should be bubbling vigorously and float in water before you use it
- Fine sea salt: Coarse salt won't distribute evenly, and iodized salt can inhibit fermentation and leave a metallic taste
Instructions
- Mix the autolyse:
- Combine your flour and water in a large bowl until no dry patches remain. The dough will look shaggy and rough, which is exactly right. Cover it with a damp towel and walk away for a full hour, giving the flour time to fully hydrate.
- Incorporate starter and salt:
- Add your bubbly starter to the rested dough along with the salt. Use your fingers to pinch and squeeze everything together until it forms a cohesive mass. The dough will feel awkward and sticky at first, but keep working until the salt dissolves.
- Build strength through folding:
- Every thirty minutes for two hours, grab one side of the dough and pull it up high, then fold it over the center. Rotate the bowl and repeat four times per session. This gentle handling develops gluten without tearing the structure.
- Let it rise:
- Cover your bowl and let the dough ferment at room temperature until it's noticeably larger, about four to six hours depending on your kitchen's warmth. You're looking for increased volume and visible bubbles on the surface.
- Shape your loaf:
- Turn the dough onto a lightly floured counter and fold the edges toward the center to create tension on the surface. Flip it over and rotate it against the counter to form a tight, smooth ball or oval that holds its shape.
- Cold proof overnight:
- Place your shaped loaf seam side up in a floured proofing basket, cover it well, and refrigerate for eight to twelve hours. This cold fermentation develops incredible flavor while making the dough easier to handle.
- Preheat with conviction:
- Put your Dutch oven in the oven and crank it to 230°C for at least thirty minutes. You want that pot thoroughly heated, because that initial blast of intense heat is what creates the crackly crust.
- Score with confidence:
- Gently turn your proofed dough onto parchment paper and use a sharp blade to make a decisive cut about half an inch deep. This score directs where the bread will expand, giving you that beautiful artisanal bloom.
- Bake covered first:
- Transfer the loaf, parchment and all, into your scorching Dutch oven and put the lid on immediately. Bake for twenty minutes, trapping the steam that creates that glossy, blistered crust.
- Finish with color:
- Remove the lid and bake for another twenty minutes until the crust turns a deep golden brown. If you want extra crunch, leave it in for five more minutes. The internal temperature should reach 99°C.
 Pin to board
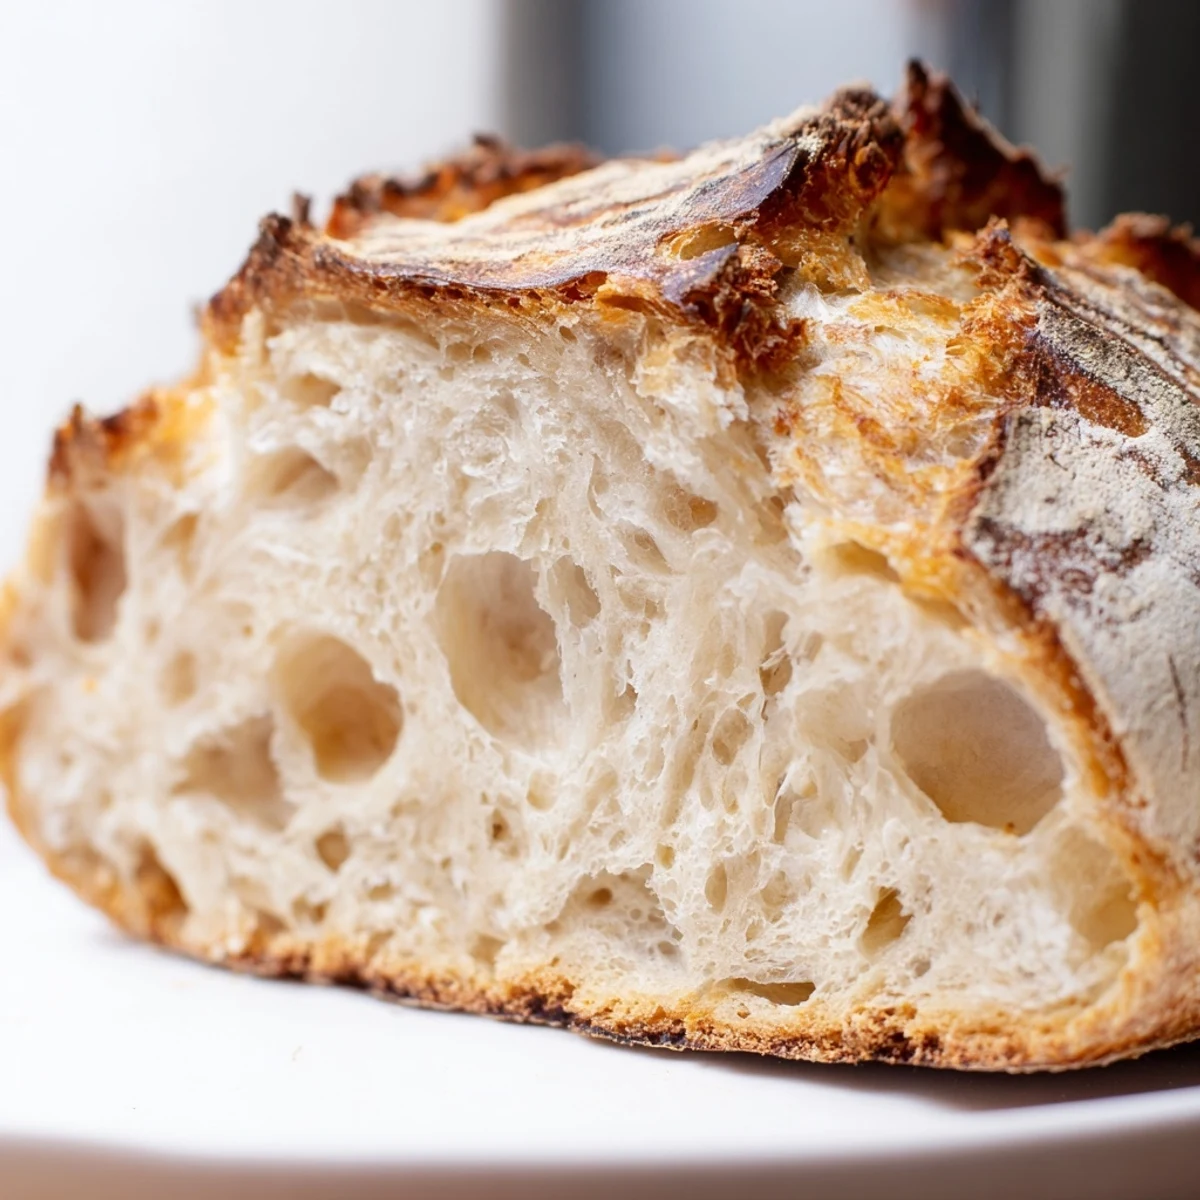
 There's nothing quite like that moment when you pull the lid off the Dutch oven and watch your loaf transform from pale to golden in the oven's glow. The sound of a crackling crust cooling on the rack is one of the most satisfying kitchen sounds I know, better than any music I've heard.
Understanding Your Starter
A healthy starter should double in size within four to six hours of feeding at room temperature, with a pleasantly tangy smell and plenty of bubbles throughout. If yours smells like alcohol or has a layer of gray liquid on top, it's hungry and needs more frequent feedings to get back to peak activity.
Temperature Matters
Your kitchen's ambient temperature dramatically affects fermentation speed. In a warm kitchen around 24°C, your dough might proof in four hours, but in a cool 18°C room, it could take six or seven. Learn to read the dough's development rather than watching the clock.
Storing Your Loaf
Once completely cool, store your bread cut side down on a wooden board or in a paper bag, never plastic. Plastic turns that beautiful crust soft and chewy within hours, while paper or wood keeps it crackling for days.
- If you won't finish the loaf within three days, slice it and freeze the pieces in a freezer bag
- Revive a day old loaf by sprinkling it with water and heating it at 180°C for ten minutes
- Stale sourdough makes the most incredible bread pudding or French toast you've ever tasted
 Pin to board
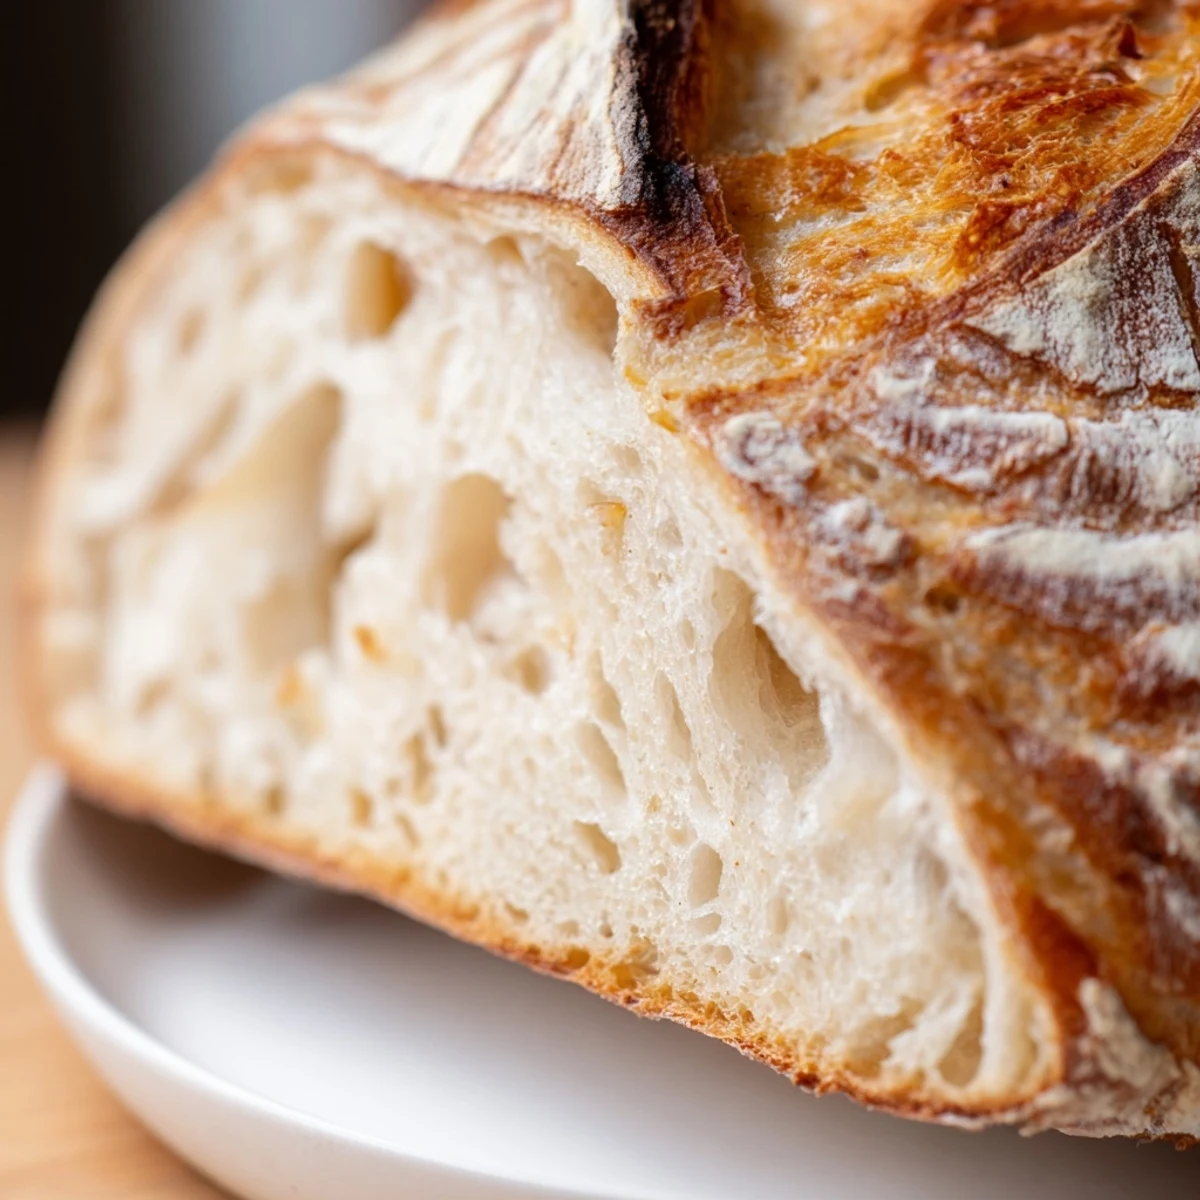
 Every loaf teaches you something new, and the learning curve is part of what makes sourdough so deeply rewarding. May your kitchen always smell like fermented possibilities and fresh baked everything.
Recipe FAQs
- → What makes sourdough different from regular bread?
-
Wild yeast fermentation creates distinct tangy flavor through longer rising times, while developing superior texture and keeping qualities. Natural enzymes break down gluten for easier digestion.
- → How do I know if my starter is active enough?
-
Your starter should double in size within 4-8 hours after feeding, show abundant surface bubbles, and pass the float test when dropped in water.
- → Can I skip the cold fermentation step?
-
While possible, cold proofing develops deeper flavor and makes handling easier. Room temperature proofing works in 2-3 hours but produces milder taste.
- → Why is a Dutch oven recommended?
-
The enclosed environment traps steam during baking, creating exceptional oven spring and a crispy, crackly crust that mimics professional deck ovens.
- → How long does sourdough stay fresh?
-
Properly stored at room temperature, remains excellent for 2-3 days. Freezing sliced portions extends freshness to 3 months.
- → What hydration level is this dough?
-
At 70% hydration (350g water to 500g flour), this offers manageable handling while producing an open crumb structure.
