
 Pin to board
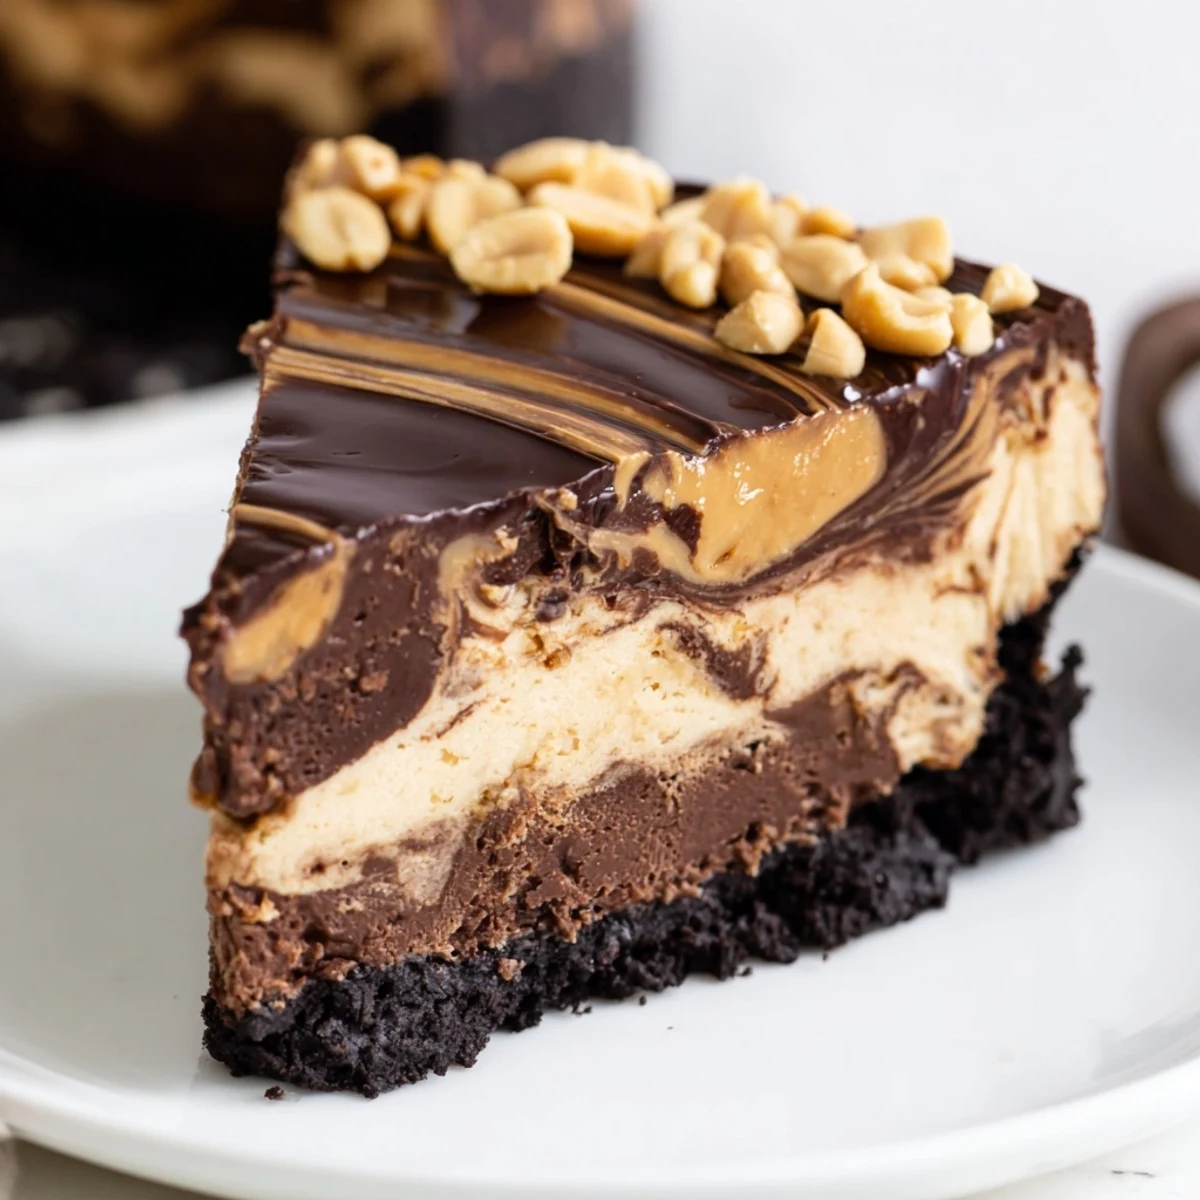
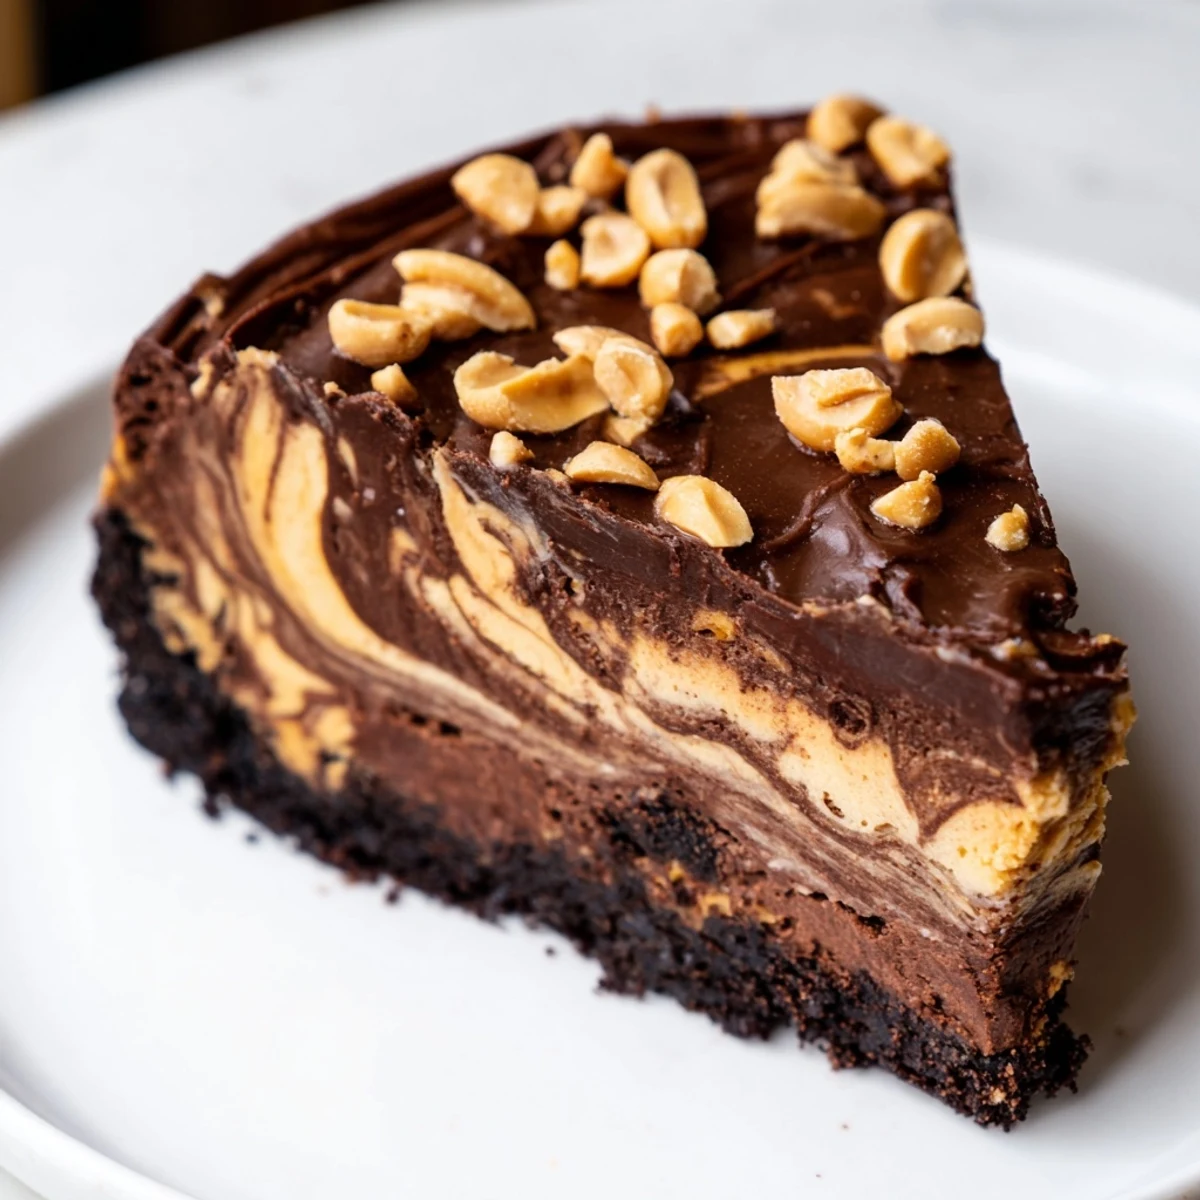
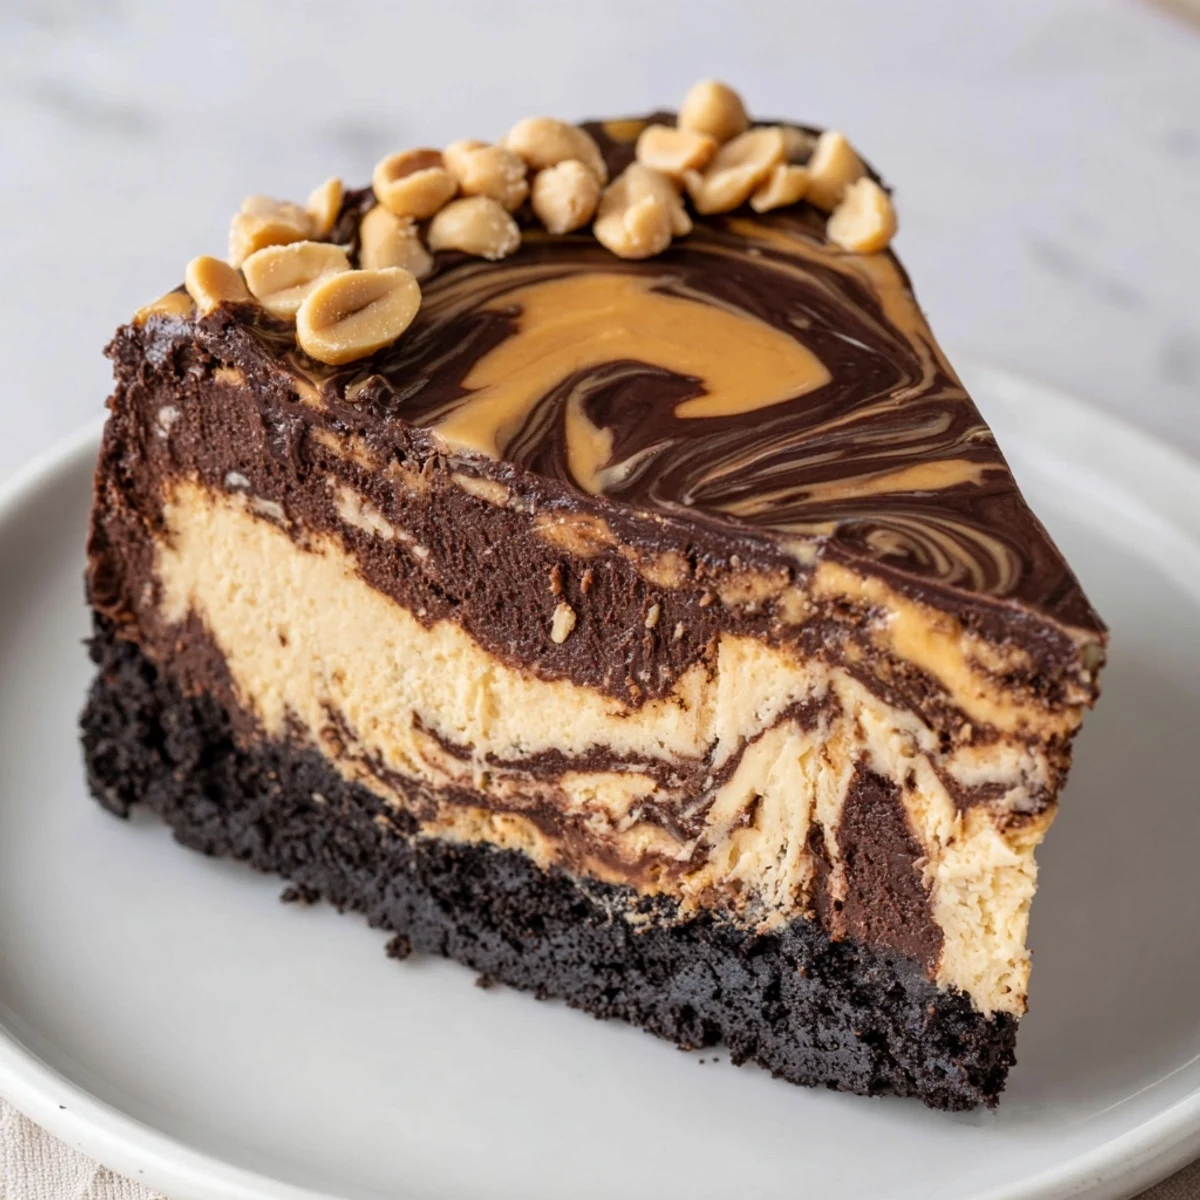
 This chocolate peanut butter cheesecake layers a crunchy Oreo cookie crust with a marbled filling of rich dark chocolate and smooth peanut butter cream cheese. Baked low and slow for a silky texture, then chilled to perfection.
Topped with a glossy chocolate peanut butter ganache and garnished with roasted peanuts, it's a show-stopping dessert ideal for celebrations, holidays, or any occasion worth celebrating.
The rain was hammering against the kitchen window the afternoon this cheesecake entered my life for good. I had volunteered to bring dessert to a friends gathering, scanned my pantry, and realized the only allies I had were cream cheese, peanut butter, and a forgotten bar of dark chocolate. Three hours later I was standing in a quiet kitchen with a cracked oven door and the most intoxicating smell I have ever pulled from my oven. That cake disappeared in fifteen minutes flat.
My neighbor walked in unannounced once while I was swirling the chocolate and peanut butter layers together. She stood watching, coat still on, and said it looked like edible art. We ate half the cake at my counter before it ever saw a plate.
Ingredients
- Chocolate sandwich cookies (200 g): Oreos are the classic choice here and you want them crushed fine, not chunky, so the crust holds together like a proper foundation.
- Unsalted butter (60 g), melted: This binds the crumbs and a little extra butter never hurt a crust.
- Cream cheese (600 g), softened: Cold cream cheese will leave you with lumps no amount of mixing can fix, so let it sit out until it yields when you press it.
- Smooth peanut butter (200 g): Use the standard commercial kind here, not the natural separating type, because the stabilizers help the texture set beautifully.
- Granulated sugar (200 g): This sweetens both halves of the filling and balances the deep bitterness of the dark chocolate.
- 3 large eggs: Add them one at a time on low speed to keep the batter smooth and avoid incorporating too much air.
- Vanilla extract (1 tsp): A small amount but it rounds out every flavor in this cake.
- Sour cream (120 ml): This is the secret to a cheesecake that tastes rich but not heavy, adding a slight tang that cuts through everything.
- Dark chocolate (100 g for filling, 120 g for topping): Use something around 60 to 70 percent cacao for depth without overwhelming bitterness.
- Heavy cream (120 ml): This transforms chopped chocolate into a glossy pourable ganache that sets with a professional shine.
- Creamy peanut butter (2 tbsp for topping): Stirred into the warm ganache, it gives the topping a soft peanut butter undertone that ties everything together.
- Chopped roasted peanuts (optional): A scattering of these on top adds crunch and makes the presentation look intentional and polished.
Instructions
- Set the stage:
- Preheat your oven to 160 degrees Celsius (325 degrees Fahrenheit) and grease a 23 cm springform pan before lining the bottom with parchment. This little step saves you from the heartbreak of a stuck cheesecake later.
- Build the crust:
- Crush the cookies into fine crumbs and stir in the melted butter until everything feels like damp sand. Press this mixture firmly and evenly into the bottom of your pan, then bake for 10 minutes until it just starts to smell toasty and let it cool completely.
- Start the filling:
- Beat the softened cream cheese and sugar together in a large bowl until the mixture is completely smooth with no visible specks. Scrape down the bowl at least once because cream cheese loves to hide in clumps along the edges.
- Add the peanut butter:
- Blend in the peanut butter until it disappears into the cream cheese mixture and everything looks uniformly pale and silky.
- Incorporate the eggs:
- Add the eggs one at a time on low speed, waiting until each is barely mixed in before adding the next. Then stir in the vanilla and sour cream until just combined.
- Split and flavor:
- Divide this filling evenly between two bowls. Fold the melted and slightly cooled dark chocolate into one half and leave the other half as the pure peanut butter mixture.
- Create the marble:
- Pour the chocolate filling over the cooled crust and spread it out evenly. Drop spoonfuls of the peanut butter filling on top, then take a knife and gently drag it through both layers in loose figure eights for a marbled look.
- Bake with patience:
- Bake for 50 to 60 minutes until the edges look set but the center still has a gentle wobble when you nudge the pan. Turn off the oven, crack the door open, and let the cheesecake cool inside for a full hour to prevent cracking.
- Chill thoroughly:
- Refrigerate the cheesecake for at least 4 hours or preferably overnight because patience at this stage is what gives you clean slices.
- Make the ganache topping:
- Heat the cream in a small saucepan until it steams but never let it boil, then pour it over the chopped chocolate and stir until you have a smooth glossy mixture. Stir in the peanut butter, let it cool slightly so it thickens a bit, and spread it over the chilled cheesecake.
- Finish and serve:
- Scatter chopped roasted peanuts over the top if you want the extra crunch and visual appeal. Slice with a warm clean knife for the neatest pieces.
 Pin to board
 The first time I served this at a holiday dinner my cousin actually set down his fork and stared at me across the table. He said nothing for a beat, then just nodded slowly, and that was the highest compliment I have ever received for anything I have cooked.
Getting That Marble Just Right
The swirl is the part that stresses people out but it should not. Think of it as casual and organic rather than precise, because the imperfections are what make each slice look unique. Use the tip of a knife and move slowly through the batter in long gentle curves. Fewer passes are always better than too many, which will muddy the two colors together into an unappetizing brown.
The Overnight Chill Makes the Difference
I know four hours is the minimum but if you can hold off until the next day the texture transforms completely. The flavors meld and deepen, the filling firms to a luxurious density, and slicing becomes almost effortless. I once rushed one out after three hours for a late night craving and while it still tasted incredible, the slices sagged on the plate like tired soldiers.
Serving and Pairing Thoughts
This cheesecake is rich enough that small slices go a long way, which makes it perfect for feeding a crowd. A cup of strong black coffee beside it is honestly ideal because the bitterness cuts straight through the sweetness and richness. A dessert wine also works if you are leaning into the indulgence of the whole experience.
- For a gluten free version, simply swap in your favorite gluten free chocolate cookies for the crust.
- Drizzle extra melted chocolate and peanut butter on top of the ganache for a more dramatic presentation.
- Always serve this chilled because warmth makes the filling soft and the ganache loses its satisfying snap.
 Pin to board
 This is the kind of cake that turns a regular evening into something people remember, and you deserve that kind of magic in your kitchen. Make it once and it will follow you to every gathering for years to come.
Recipe FAQs
- → Can I make this cheesecake ahead of time?
-
Yes, this cheesecake actually benefits from being made in advance. It needs at least 4 hours of chilling, but refrigerating overnight yields the best texture and flavor. It will keep well in the fridge for up to 5 days covered tightly.
- → Why did my cheesecake crack on top?
-
Cracks usually occur from overmixing the batter, which incorporates too much air, or from sudden temperature changes. Mixing on low speed, baking at a low temperature, and cooling gradually in the oven with the door cracked helps prevent cracking.
- → Can I use natural peanut butter instead of smooth?
-
Regular smooth peanut butter works best for a creamy, consistent filling. Natural peanut butter tends to separate and can make the texture greasy or uneven. If using natural, make sure to stir it very thoroughly before measuring.
- → How do I get a clean slice when cutting the cheesecake?
-
Use a sharp knife dipped in hot water and wiped dry between each cut. The warm blade glides through cleanly. For the neatest slices, chill the cheesecake thoroughly and work quickly while cutting.
- → Can I freeze this cheesecake?
-
Absolutely. Wrap individual slices or the whole cheesecake tightly in plastic wrap, then aluminum foil. Freeze for up to 2 months. Thaw overnight in the refrigerator before serving. The topping may lose some glossiness but the flavor remains excellent.
- → What can I substitute for the cookie crust?
-
You can use graham crackers, chocolate graham crackers, or gluten-free cookies as alternatives. Simply crush them finely and mix with melted butter using the same ratio. Each option brings a slightly different flavor profile to the base.